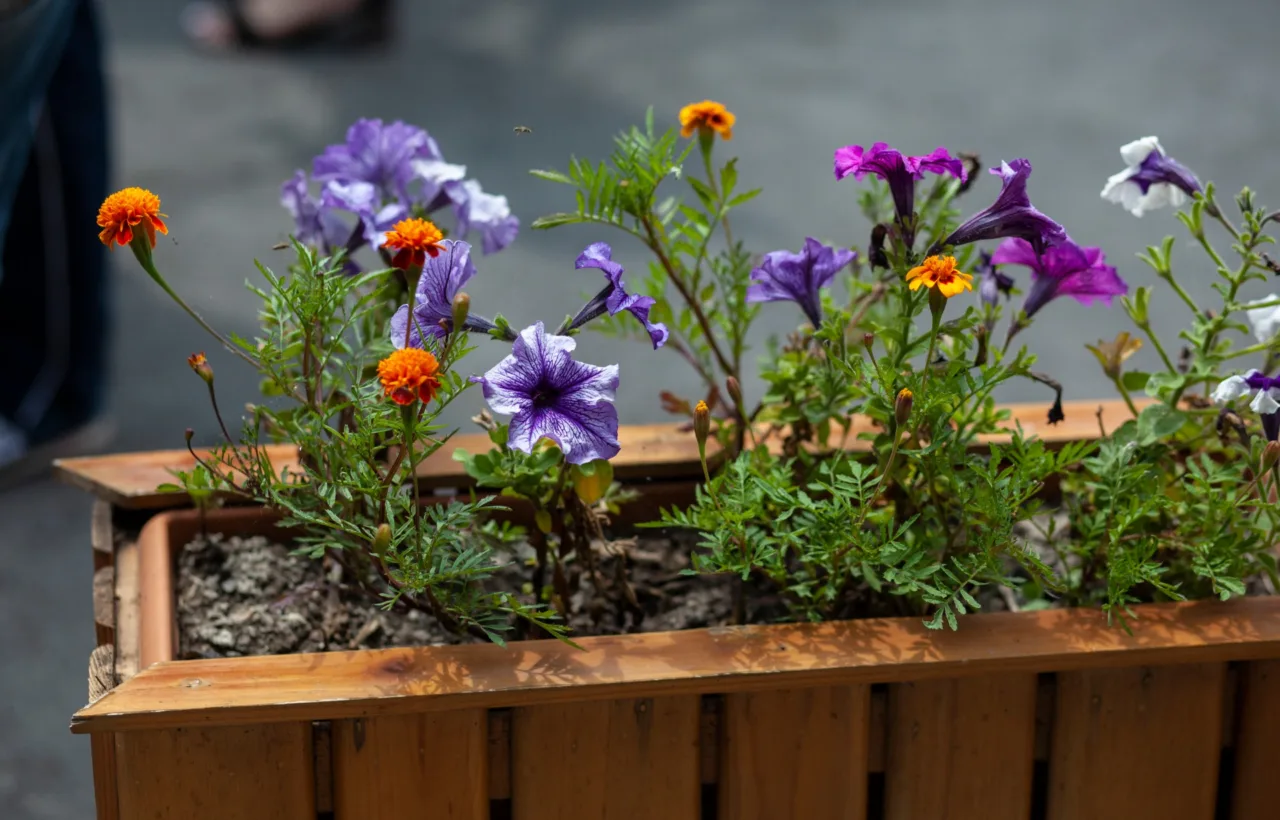

I never thought a few pots on my small patio could turn into a buzzing little meadow. Last spring I decided to try a wildflower container garden after watching bees ignore every formal flower I planted. I wanted color that felt free and natural. I also wanted something that would draw pollinators without taking over my limited space. That first season taught me more than any book. The results still make me smile every time I step outside.
Honestly? I almost gave up after the first week of seedlings flopping over. Then I adjusted a few things and the whole setup took off. Now my patio feels alive from late spring straight through fall. You can do the same even if you only have a balcony or a sunny corner.
Why a Wildflower Container Garden Makes Sense for Small Spaces
I live in a place with almost no ground to dig. Pots became my only option. Wildflowers turned out perfect for that setup. They grow tough. They handle lean soil better than most fancy annuals. They also bring in bees, butterflies, and the occasional hummingbird without demanding constant attention.
See, traditional bedding plants often need rich soil and regular feeding. Wildflowers prefer the opposite. They thrive when you keep things simple. That matched my style. I wanted beauty without a second job of gardening chores. A wildflower container garden gave me exactly that. FYI, the pollinators arrived within days of the first blooms opening. That alone made the effort worth it.
I also noticed the flowers looked more natural than anything I bought in six-packs at the garden center. The mix of heights and textures felt loose and cheerful. Neighbors started asking what I planted. I told them the truth. Ordinary seeds and ordinary pots did the work.
Choosing the Right Container for Success
Size matters more than looks. I learned that the hard way. My first attempt used shallow decorative bowls. The plants dried out in two days of sun. Roots had nowhere to go. Everything struggled.
Now I stick to containers at least 12 inches deep. Wider is better when I mix several species. A 14- to 18-inch pot holds enough soil to keep moisture steady and gives roots room. Drainage holes stay non-negotiable. I drill extra ones if a pot looks suspicious.
For a sun-baked patio, choose light-colored pots to reduce root-zone heat during summer afternoons.
Materials That Work Best
Terracotta dries out faster in hot weather. I use it for drought-tolerant types like California poppies. Plastic or glazed ceramic holds moisture longer. Those suit plants that prefer a bit more consistent water. Wooden barrels look rustic and give me the most volume. I lined one with landscape fabric once so the wood lasted longer. It worked fine.
I avoid pots without drainage. Water sits and roots rot. Simple rule. I also lift pots on feet or bricks so water can escape freely after rain.
The Soil Mix I Use Every Time
Wildflowers hate rich, heavy mixes. Commercial potting soil full of fertilizer often pushes too much leafy growth and fewer flowers. I mix my own now.
Equal parts garden soil and peat-free compost form the base. Then I stir in a generous scoop of perlite or coarse sand for drainage. The result stays open and lean. Roots breathe. Water moves through without pooling.
I fill the pot to about an inch below the rim. That leaves space for watering without overflow. Before sowing I water the mix thoroughly and let it settle. Dry pockets kill tiny seedlings fast.
Some people add water-retaining crystals. I skip them. Wildflowers prefer the natural cycle of drying a little between drinks. Overly moist soil invites problems.
Because your mix includes garden soil, sift it first; clods can create dense pockets that undermine drainage.
Best Wildflowers I Plant in Containers
I focus on compact growers and ones that bloom for months. Native or near-native species pull in more local insects. Here are the ones that perform best for me year after year.
- California poppy: Bright orange cups that open in full sun. Self-seeds gently. Handles heat and lean soil like a champion.
- Coreopsis: Yellow daisy-like flowers that keep coming. Compact types stay neat in pots.
- Blanket flower: Red and yellow blooms that last forever. Tough as nails once established.
- Black-eyed Susan: Classic golden petals with dark centers. Bees love them. Sturdy stems hold up in wind.
- Cornflower: Clear blue flowers that mix well with almost anything. Easy from seed and quick to bloom.
- Bee balm: Frilly clusters that draw hummingbirds. Needs a larger pot because it spreads a little.
- Cosmos: Airy foliage and open blooms in pinks and whites. Tall but still manageable in deep containers.
I often plant two or three together for longer color. Poppies and cornflowers make a cheerful early mix. Coreopsis and cosmos carry the middle of summer. Black-eyed Susan and blanket flower finish strong into fall.
IMO the key is matching water needs. Group the drought-tolerant ones together. Keep thirstier types in their own pot if needed.
Place taller cosmos and bee balm toward the sheltered back, keeping compact poppies and cornflowers visible at the pot’s edge.
How I Plant My Wildflower Container Garden Step by Step
I start in spring after the last frost or in early fall for some perennials. Seeds cost almost nothing and give the fullest look.
First I place a layer of rocks or broken pottery over the drainage holes. Then I fill with my soil mix. I firm it lightly with my hands.
I sprinkle seeds thinly across the surface. Most wildflower seeds need light to germinate so I press them in rather than bury them deep. A light dusting of the same mix covers them. Then I water with a gentle spray so nothing washes away.
I keep the surface moist until seedlings appear. That usually takes one to three weeks depending on the mix and weather. Once they show true leaves I thin any crowded spots. Crowding leads to weak plants.
For a quicker start I sometimes use small plugs from a native plant nursery. I tuck them into the mix and water well. Seeds still fill the gaps over time.
I place the finished pots in full sun. Most of these flowers want at least six hours a day. A spot that gets afternoon shade works for a few types but full sun produces the best blooms.
Skip the rock layer over drainage holes; it reduces usable soil volume and can leave roots sitting in wetter soil.
Everyday Care That Keeps Everything Blooming
Watering is the main job. Containers dry faster than garden beds. I check the top inch of soil with my finger. If it feels dry I water deeply until liquid runs out the bottom. In heat waves I water every day or two. Cooler weather stretches the gap longer.
I rarely fertilize. A light dose of diluted liquid feed once in early summer is plenty if the plants look pale. Too much food means leaves instead of flowers.
Deadheading spent blooms keeps many species flowering longer. I leave some seed heads later in the season so the plants can self-sow or provide food for birds. At the end of the season I cut most stems back to a few inches. Perennials often return the next year. Annuals I reseed or let the volunteer seedlings take over.
Weeds show up sometimes. I pull them early while the soil is soft. A light mulch of fine bark or gravel helps keep them down and holds moisture.
Mistakes I Made and What Fixed Them
My first season I overwatered everything. Seedlings damped off and the remaining plants looked leggy. I switched to checking the soil instead of watering on a schedule. That single change saved the next pots.
I also used pots that were too small. Roots circled and the soil baked. Bigger containers solved both problems. Now I buy the largest ones I can move or leave in place.
Another early error was choosing seed mixes full of non-native annuals that looked pretty but offered little to local insects. Now I read labels carefully and favor regional native blends. The difference in pollinator activity is obvious.
I once placed a pot in partial shade thinking the plants would handle it. Blooms stayed sparse. Full sun fixed that fast.
Acclimate nursery plugs to intense patio sun over several days, increasing exposure gradually to prevent transplant shock.
Frequently Asked Questions
Can I grow a wildflower container garden on a balcony? Yes. I did exactly that. Just make sure the balcony gets enough sun and that the pots have solid drainage so water does not pool underneath.
How often should I water a wildflower container garden? Check the soil every day or two in summer. Water when the top inch feels dry. Containers need more frequent attention than in-ground beds but wildflowers still prefer slight drying between drinks.
Do wildflowers in pots need fertilizer? Usually not. Lean soil suits them. I only feed lightly if growth looks weak. Rich soil often reduces the number of flowers.
Will the plants come back next year? Many perennials will if you protect the pots from extreme cold or move them to a sheltered spot. Annuals need reseeding or will return from self-sown seed if you leave some flower heads.
What size pot works best for a mixed wildflower container garden? I aim for at least 12 inches deep and 14 inches wide or larger. Bigger pots hold more plants and stay moist longer.
Final Thoughts From My Patio
A wildflower container garden gave me color, movement, and constant visitors without a big yard or endless work. The process stays simple once you nail the basics of container size, lean soil, and consistent but not excessive water. Start with one or two pots. Watch what thrives in your light and climate. Then expand.
I still check my pots every morning with coffee in hand. Bees already work the blooms by then. That quiet daily show beats any formal garden I ever tried. Grab some seeds and a deep pot this season. Your own little meadow is closer than you think.


