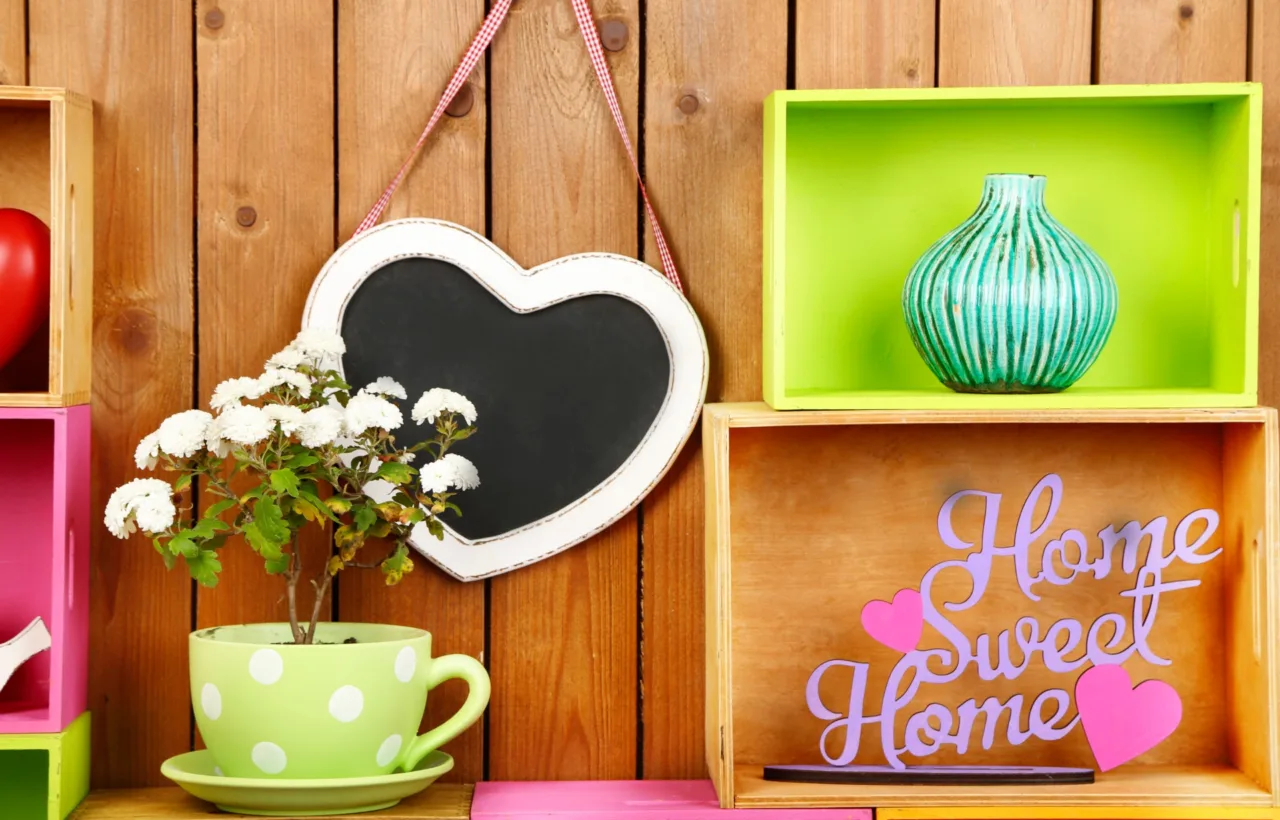

I pack my porch with mums every single fall. Those bright, fluffy blooms turn a plain entry into something that stops the neighbors. Over the years I have tested more mum container ideas than I can count, and I keep coming back to the same simple setups that deliver big color without constant fuss.
I still remember the first time I bought a flat of garden mums on a whim. I dumped them into whatever pots I had lying around. Half of them flopped over within a week. The rest dried out the second the weather turned warm. That season taught me hard lessons. Now I know exactly what works, and I want to share it with you so you skip the trial-and-error mess I went through.
Choosing the Right Pot for Your Mums
I always start with the container itself. Size matters more than most people realize. A pot under 10 inches across leaves the roots cramped and the soil dries out too fast. I reach for something at least 12 inches wide and about the same depth. That gives the plant room to settle in and hold moisture longer.
Material plays a role too. Terra cotta looks classic next to mums, but it sucks water out of the soil. Plastic and resin hold moisture better and weigh less when I need to move things around. I learned this the hard way after lugging heavy ceramic pots across the porch one windy afternoon. Now I stick with lighter options unless I want the weight for stability.
Drainage is non-negotiable. Every pot I use has holes in the bottom. I elevate them on small feet or bricks so water can escape freely. Soggy roots kill mums faster than anything else.
Soil and Planting Basics That Keep Mums Happy
I never use garden dirt in containers. It packs down and stays wet. Instead I fill pots with a quality potting mix that drains well but still holds some moisture. A scoop of compost mixed in gives the roots a little extra food.
When I plant, I keep the top of the root ball level with the soil surface. I water thoroughly right after planting so everything settles. FYI, those nursery pots often come root-bound. I gently loosen the roots before dropping the plant in. That small step makes a real difference in how quickly the mum starts growing.
Keep compost modest in the potting mix, since too much can reduce the fast drainage mums need in containers.
Classic Solo Mum Displays I Keep Coming Back To
Sometimes the simplest idea wins. I line up three matching pots of different heights along the front steps. One holds a deep burgundy mum, the next a golden yellow, and the last a pure white. The color progression pulls the eye up the walkway.
I also love dropping a single large mum into a weathered wooden crate or a galvanized tub. The rough texture of the container makes the soft blooms stand out. Last year I used an old metal washtub for a bright orange mum. People asked about it for weeks.
For a quick update, I leave the mum in its nursery pot and nest it inside a prettier container. Soil covers the plastic edge, and the whole thing looks intentional. When the blooms fade I swap it out in under a minute.
Raise wooden crates and metal tubs slightly off the porch to protect the surface from trapped moisture and rust marks.
Mixed Mum Container Ideas That Feel Full and Lush
I get the most comments when I mix plants. Mums shine as the star, but companions give the container depth and keep it looking good longer.
Here are the combinations I plant every fall:
- Orange mums with purple ornamental kale and trailing ivy. The kale holds its color after the mums finish, and the ivy softens the edges.
- Yellow mums, fountain grass, and creeping Jenny. The grass adds height and movement. Creeping Jenny spills over the rim in bright chartreuse.
- White mums, dusty miller, and pansies. Cool tones feel calm against warmer fall décor. The pansies keep blooming even after light frost.
- Burgundy mums, heuchera, and ornamental peppers. Dark foliage and tiny peppers create a rich, almost jewel-toned look.
I pack the pots full in fall. Growth slows as days shorten, so I leave almost no empty space. The result looks abundant right away.
Ornamental peppers can decline quickly after frost, so place burgundy mum combinations where they are easy to replace or shelter.
Placement Tricks That Make Containers Work Harder
I place the heaviest containers near the door where they get the most attention. Lighter ones go on railings or steps. Grouping three pots of different sizes creates a collected look that feels intentional rather than scattered.
Sun is key. Mums need at least six hours of light. I shift pots if one side starts looking leggy. Afternoon shade helps in hotter spots so the blooms last longer.
Water becomes my daily check. Containers dry out faster than garden beds. I stick a finger in the soil. If the top inch feels dry, I water deeply until it runs out the bottom. During warm stretches I sometimes water twice a day. Mulching the surface with a thin layer of shredded bark slows evaporation.
Rotate porch containers a quarter-turn weekly to keep mums growing evenly instead of leaning toward one side.
Overwintering Tips from My Own Trial Runs
I used to toss every mum after the first hard freeze. Then I tried bringing a few into the unheated garage. I watered just enough to keep the soil from bone-dry and left them alone. Several came back the next spring. Now I treat garden mums as potential perennials.
Florist mums rarely survive outside. I use those for one-season color only. When I want plants that return, I buy the hardy garden types sold in late summer. They need time to root before cold weather hits.
Budget-Friendly Mum Container Ideas That Still Look Expensive
I shop the clearance racks at big-box stores for pots. A chipped ceramic vessel gets a coat of outdoor paint and becomes the star of the porch. Old wooden crates from the farm store work beautifully once I line them with landscape fabric.
Dollar-store pumpkins and gourds nestle around the base of pots for free seasonal accents. Cornstalks lean against larger containers for height. None of this costs much, yet the overall effect feels abundant.
One year I planted leftover mums into a leaky wheelbarrow. I drilled extra drainage holes, filled it with potting mix, and wheeled it to the best light. Guests thought I had planned the whole thing months ahead.
Common Mistakes I Made So You Do Not Have To
I used to overwater because I worried about drought. Roots rotted. Now I wait for that top inch to dry. I also crowded too many plants at first. They competed and none looked their best. Spacing of about 12 to 18 inches between plants in a large pot keeps everything healthy.
Another early error: choosing pots with no drainage. Pretty, yes. Dead plants, also yes. I drill holes now if a container lacks them. A small investment in a bit saves the whole display.
Frequently Asked Questions
What size pot works best for mum container ideas? I stick with containers at least 12 inches wide. Smaller ones dry out too quickly and limit root growth.
Can I plant mums with other flowers in the same container? Yes. Ornamental kale, pansies, grasses, and trailing vines all pair well. Match their water and sun needs so nothing struggles.
How often should I water mums in containers? Check daily. Water when the top inch of soil feels dry. In warm weather that can mean every day or even twice a day.
Do florist mums work for outdoor mum container ideas? They give great short-term color but rarely survive winter. I use garden mums when I want plants that might return next year.
When is the best time to set up mum containers? Mid to late September works for me. The cooler nights help the blooms last, and the plants settle before the first real freeze.
I still get a little thrill every September when I haul home a cart full of mums. The porch transforms almost overnight. These mum container ideas have become my reliable fall ritual. They cost little, take almost no time once you know the basics, and deliver color that lasts for weeks. Grab a few pots this weekend and try one combination. Your front steps will thank you.


