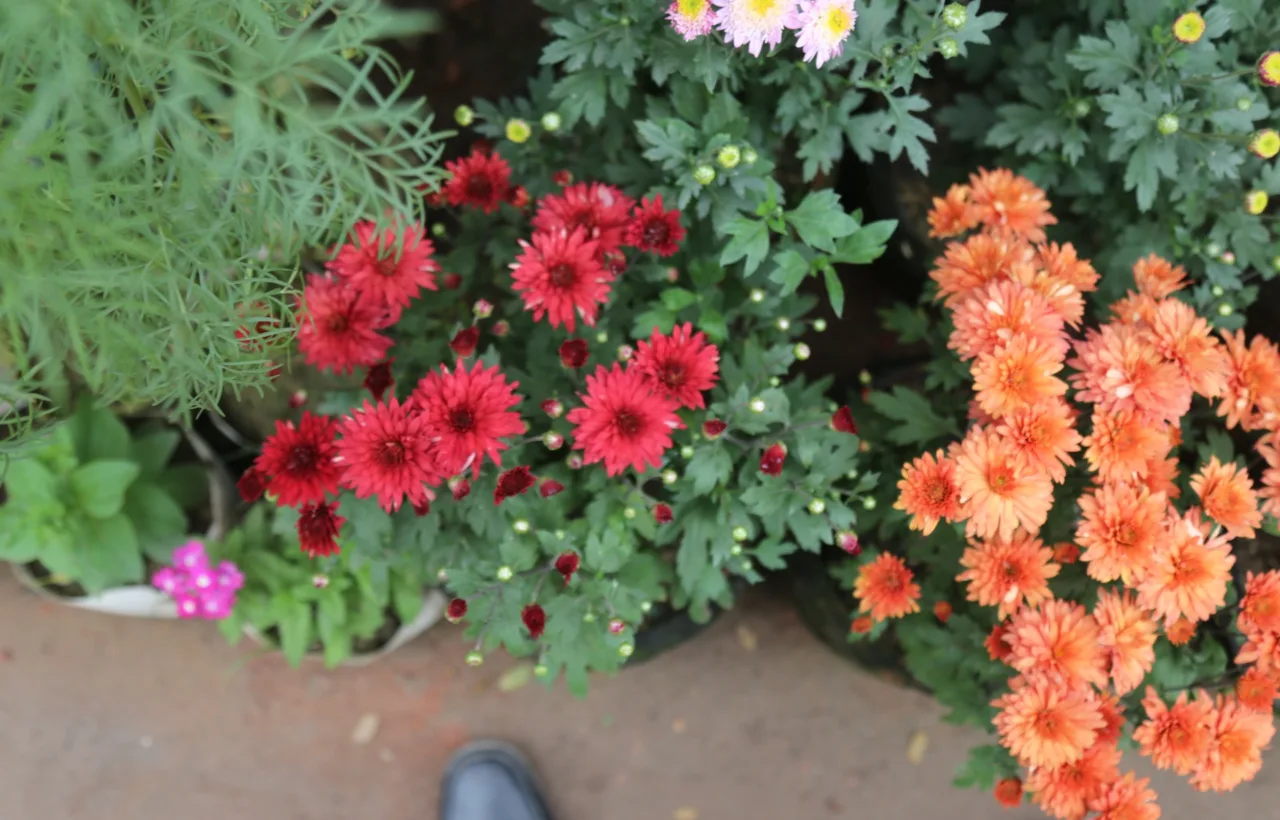

I spent last summer staring at a bare concrete patio that felt more like a parking spot than a place to relax. That changed the day I decided to plant a zinnia container garden right there. Those bright, daisy-like flowers turned the whole space into a cheerful mess of color that lasted until the first hard frost. I still check the photos when winter feels endless.
See, I live in a rental with zero garden beds. Containers were my only option. Zinnias turned out to be the perfect match for that limitation. They love heat. They bloom like crazy. And they do not demand a huge setup. I learned this the hard way after killing a few batches of fussy plants the year before. Honestly? Zinnias forgave my early mistakes faster than I expected.
If you have a balcony, deck, or even a sunny windowsill, this approach works. I will walk you through every step I took so you can skip the trial-and-error phase I endured.
Choosing the Right Zinnias for Containers
Not every zinnia belongs in a pot. I found that out when I first tried a tall cut-flower variety. It flopped over in the first windstorm and looked sad for weeks.
Compact and dwarf types solve that problem. They stay bushy. They produce flowers without needing stakes. And they fit the limited root space of a container.
The Varieties That Actually Performed for Me
I tested several series over two seasons. These three stood out:
- Zahara series: These reach 12 to 18 inches. They shrug off powdery mildew better than most. The colors stay vivid even in July heat.
- Profusion series: Mounding plants that keep flowering without much deadheading. I planted a mix of orange and white and the pots looked full from June onward.
- Thumbelina: Ultra-dwarf at 6 to 10 inches. Perfect for smaller pots or the front edge of a larger planter. The blooms are smaller but they cover the plant completely.
I avoid the giant Benary’s types in containers now. They need too much support and dry out the soil too fast. Stick with the shorter ones if you want reliable results. FYI, seed packets labeled for containers or bedding usually point you in the right direction.
Picking the Right Container and Spot
Size matters more than material. I learned this after watching roots circle in a too-small pot and the plants stop blooming.
Container Size and Material
Go at least 12 inches wide and deep for most compact varieties. A 14- or 16-inch pot gives even better results if you want three plants together. Drainage holes are non-negotiable. Zinnias hate wet feet.
I use a mix of plastic and terracotta. Plastic holds moisture longer during heat waves. Terracotta looks nicer but needs more frequent watering. Both work if the holes are clear.
Place the pot where it gets at least six hours of direct sun. Eight is better. My patio faces south and the zinnias reward that exposure with nonstop flowers. Anything less and the stems stretch and the blooms thin out.
Soil and Planting the Zinnia Container Garden
Garden soil from the yard does not belong in pots. It compacts and drains poorly. I stick to a good potting mix and tweak it a bit.
My Simple Soil Recipe
I mix:
- Two parts quality potting soil
- One part perlite or coarse coconut coir for drainage and moisture hold
- A small handful of compost for nutrients
That combination keeps the roots happy without turning into mud after a rain. I also add a tablespoon of slow-release fertilizer at planting time.
Timing and Method
Zinnias hate cold soil. I wait until nighttime temperatures stay above 60°F. Starting too early just produces sad, stunted seedlings.
I prefer direct sowing into the final pot. Zinnias resent root disturbance. I plant seeds a quarter-inch deep, space them a few inches apart, and thin later to about 6 to 8 inches between plants. Germination usually happens in 5 to 7 days if the soil stays warm and lightly moist.
If you buy transplants, plant them at the same depth they sat in their nursery pots. Water them in well and keep an eye on them for the first week.
Daily and Weekly Care That Keeps Blooms Coming
Once the plants take off, the real work is consistency. Containers dry out faster than ground soil, so I check them almost every day in peak summer.
Watering Routine
I water when the top inch of soil feels dry. Then I soak the pot until water runs out the bottom. Morning is best. It gives leaves time to dry and reduces disease risk. I never spray the foliage if I can help it.
In July heat my larger pots sometimes need water every day. A moisture meter helps on busy weeks, but my finger works fine most of the time.
Feeding for Continuous Flowers
Potting mix runs out of nutrients after about a month. Once the first flowers open I switch to a high-potassium liquid feed every two weeks. Tomato fertilizer works great. I dilute it to half strength to avoid burning the roots.
This step made the biggest difference for me. Without regular feeding the plants slow down and the new buds get smaller.
Pinching and Deadheading
When the plants hit about 10 inches tall I pinch the top growing tip. It feels mean at first. Then the plant branches out and produces way more flowers. After that I deadhead regularly. Snipping spent blooms right above a leaf node keeps energy going into new buds instead of seed production.
Some modern series like Zahara are more self-cleaning, but I still tidy them up once a week. The difference shows.
Common Problems I Ran Into and How I Fixed Them
Powdery mildew showed up one humid August. White coating on the leaves. I improved airflow by thinning a couple of crowded plants and switched to watering only at the base. It stopped spreading.
Aphids appeared once on new growth. A strong spray of water knocked most of them off. I followed with insecticidal soap for the stubborn ones.
Overwatering is the fastest way to kill container zinnias. Yellow lower leaves and a sour smell from the soil mean you need to cut back. Let the pot dry more thoroughly between waterings next time.
I also learned not to crowd the pots. Three plants in a 14-inch container is plenty. More than that invites disease and competition for water.
Design Ideas That Made My Patio Feel Alive
I started with one big pot of mixed colors. Then I added smaller pots of single colors around the edges. The effect looked intentional without much effort.
Zinnias play well with other heat lovers. I tucked some trailing sweet potato vine around the edges of larger planters. The contrast of the bright flowers against the dark leaves looked sharp. A few spikes of salvia added height without stealing the show.
Color combinations matter. I like pairing bold reds and oranges with a few whites for breathing room. All one color also works if you want a cleaner look. Either way the pollinators show up. Bees and butterflies visited constantly once the flowers opened.
Frequently Asked Questions
Can I grow a zinnia container garden from seed successfully? Yes. I start most of mine that way now. Direct sow after the soil warms and keep the surface lightly moist until they sprout. It is cheaper and the plants adapt better to the pot.
How often should I fertilize my zinnia container garden? I feed every two weeks once blooming starts. A balanced or high-potassium liquid fertilizer keeps the flowers coming without pushing too much leafy growth.
Do zinnias in containers need full sun every day? They perform best with six or more hours. Less than that and you get leggy stems and fewer blooms. I move pots around early in the season if needed to chase the light.
What size pot works best for a single zinnia plant? An 8- to 10-inch pot handles a dwarf variety. Compact types prefer 12 inches. Bigger is almost always better for root space and water stability.
Will my zinnia container garden survive a light frost? Usually not. Zinnias are tender annuals. I cover them with a sheet on cold nights if frost is predicted, but once a hard freeze hits they are done for the season.
Final Thoughts from One Season to the Next
I still smile when I look at last year’s photos. What started as a desperate attempt to brighten a dull patio became the highlight of my outdoor space. The zinnia container garden asked for sun, decent soil, consistent water, and a little deadheading. In return it gave me months of color and a steady stream of cut flowers for the kitchen table.
Start small if you feel unsure. One good pot of Zahara or Profusion will show you what these plants can do. Once you see the first flush of blooms you will probably want more. I know I did.
Grab some seeds this spring. Pick a sunny spot. And give it a try. Your patio (or balcony or front step) will thank you.


