
I fell hard for the look of flowers spilling out of container designs the first summer I tried one in my own backyard. Honestly? It started as a happy accident with a cracked terracotta pot I almost tossed. Now I plant several every year. The effect feels playful and intentional at the same time. Friends stop and stare. Neighbors ask how I did it. That single tipped pot turned my ordinary patch of dirt into something people actually notice.
See, I used to plant everything upright and neat. Straight rows. Matching heights. It looked fine. But it never made me smile the way this does. Flowers pouring out like a colorful river just hits different. You get movement. You get story. You get a garden that feels alive instead of arranged.
I write this as someone who still experiments every season. I mess up. I redo. I learn. And I want to walk you through exactly what works for me so you can skip some of the trial and error.
Why This Style Keeps Pulling Me Back
The spilled look does something regular planters never manage. It softens hard edges. It draws the eye along a path. It turns a simple container into a focal point that feels almost accidental.
I tried it first under an old maple tree. The pot lay on its side. Petunias and sweet potato vine tumbled out in a gentle curve. Within three weeks the whole thing looked like it had always belonged there. Birds hopped through it. Kids pointed. I stood there grinning like an idiot.
That reaction is the real reason I keep doing it. The garden stops feeling like a project and starts feeling like a conversation.
You can scale it any way you want. Tiny teacup versions for a porch step. Giant barrel versions that run several feet across a bed. The principle stays the same. Tip the container. Let the plants flow.
Choosing Containers That Actually Work
I learned the hard way that not every pot plays nice. Early on I used a narrow-necked vase. The flowers looked trapped. The spill never really happened. Lesson burned in.
Wide mouths win. Anything with an opening at least eight to ten inches across gives the plants room to pour out naturally. Terra cotta stays my favorite. It weathers well and looks right tipped over. Glazed pottery works too if you like color. Wooden barrels or old watering cans add instant character.
Broken pots are pure gold. I never force the break. I just wait for one to crack on its own or pick up chipped ones at yard sales. Place the broken side down into the soil. The jagged edge disappears. The remaining curve becomes the perfect mouth for the spill.
I also bury the base a little. About a quarter to half the pot sits nestled into the ground. That keeps it from rolling when the wind kicks up or the dog decides to investigate. Stability matters more than I first thought.
Don’t overthink the material. I have used plastic resin pots painted to look like stone. They held up fine. The key is the shape and the angle, not the price tag.
Turn chipped edges toward the ground and cover sharp ceramic with mulch, especially where children or pets pass nearby.
The Plants I Reach for Every Time
Plant choice makes or breaks the illusion. I want things that trail, spread, or mound low. Tall uprights kill the flow.
Repeat one bloom color at both the pot opening and the spill’s far end to maintain visual continuity as foliage thickens.
Here is what I plant most often:
- Petunias and Wave petunias. These are my workhorses. They bloom nonstop and cascade hard. I stick to one or two colors so the spill reads as a single river rather than a mixed salad.
- Calibrachoa, also called million bells. Tiny flowers in dense clusters. They spill cleanly and handle heat better than regular petunias in my zone.
- Sweet potato vine. The chartreuse or purple foliage gives dramatic length. I tuck it near the mouth of the pot so the leaves look like they are pouring out first.
- Lobelia and alyssum. These create soft, frothy edges. Perfect for cooler spots or when I want a gentler look.
- Marigolds and pansies. Bright and reliable for full sun. I use them when I want bold color right away.
- Succulents like sedum or hens and chicks. For the lazy version. Almost zero water once established. The textured leaves still create that spilling effect.
I match the plants to the light. Full sun gets the petunias and calibrachoa. Part shade gets impatiens, begonias, or coleus. Mixing sun and shade lovers in one spill is a fast way to watch half the arrangement die. I made that mistake once. Never again.
Trailing annuals like ivy or more sweet potato vine along the sides of the pot push the spilled effect even further. They blur the line between pot and ground.
How I Actually Plant the Spill
I start by digging a shallow hollow where the pot will rest. The curve of the container needs to sit snug. Then I lay the pot on its side with the opening pointed the direction I want the flowers to travel.
Next comes soil. I fill the pot partway with good potting mix. I also loosen and amend the ground along the planned spill path. Poor soil shows up fast once the roots spread.
Planting order matters. I put one or two plants inside the pot first, near the back. Then I add more as I move toward the mouth. Outside the pot I plant in a gradual curve that starts the same width as the opening and either stays steady or widens a bit. Taller plants go in the middle of the path. Shorter ones hug the edges.
I space them about three and a half inches apart. Closer for succulents. I water everything thoroughly right after planting. Then I wait. The first two weeks look sparse. By week four the plants fill in and the magic appears.
Sometimes I outline the spill with small stones or mulch. It defines the shape and keeps the soil from washing away in heavy rain. Optional, but I like the finished look.
Trace the planned curve with a garden hose before loosening soil, then adjust its width while the layout remains easy to change.
Mistakes I Made So You Don’t Have To
I once chose a pot with a tiny opening. The flowers never looked like they belonged. They looked stuck. Wide mouth or go home.
I planted everything the same height. The spill looked flat instead of flowing. Height variation creates the river effect.
I forgot about drainage. Standing water inside a tipped pot turns roots to mush. Every container needs holes.
I planted too early in cold soil. The plants sulked for weeks. Wait until the ground warms.
And I overwatered at the start. The soil stayed soggy and a few plants rotted. Now I check the top inch with my finger before I water.
See the pattern? Most problems come from ignoring the basics. Container shape, plant habit, soil, water. Nail those and the rest falls into place.
Check moisture near the pot’s lowest interior edge, where water may linger after the container is tipped.
Keeping the Spill Looking Good All Season
Once the plants establish, care stays simple. I water deeply when the top inch of soil dries. In hot weather that can mean every day for small pots. Larger spills hold moisture longer.
I deadhead spent blooms on the petunias and calibrachoa. It keeps new flowers coming. Sweet potato vine and alyssum need almost no fuss.
Fertilizer helps. I use a balanced liquid feed every two weeks during peak growth. Nothing fancy.
Weeds try to move in along the spill path. I pull them early while the plants are still filling out. After that the dense growth usually crowds them out.
By midsummer the whole thing looks lush. By fall some annuals fade. I pull the tired ones and let the hardier trailers or succulents carry the look until frost.
Inspect soil beneath dense sweet potato vine growth, because lush foliage can conceal drying potting mix.
Creative Twists I Have Tried
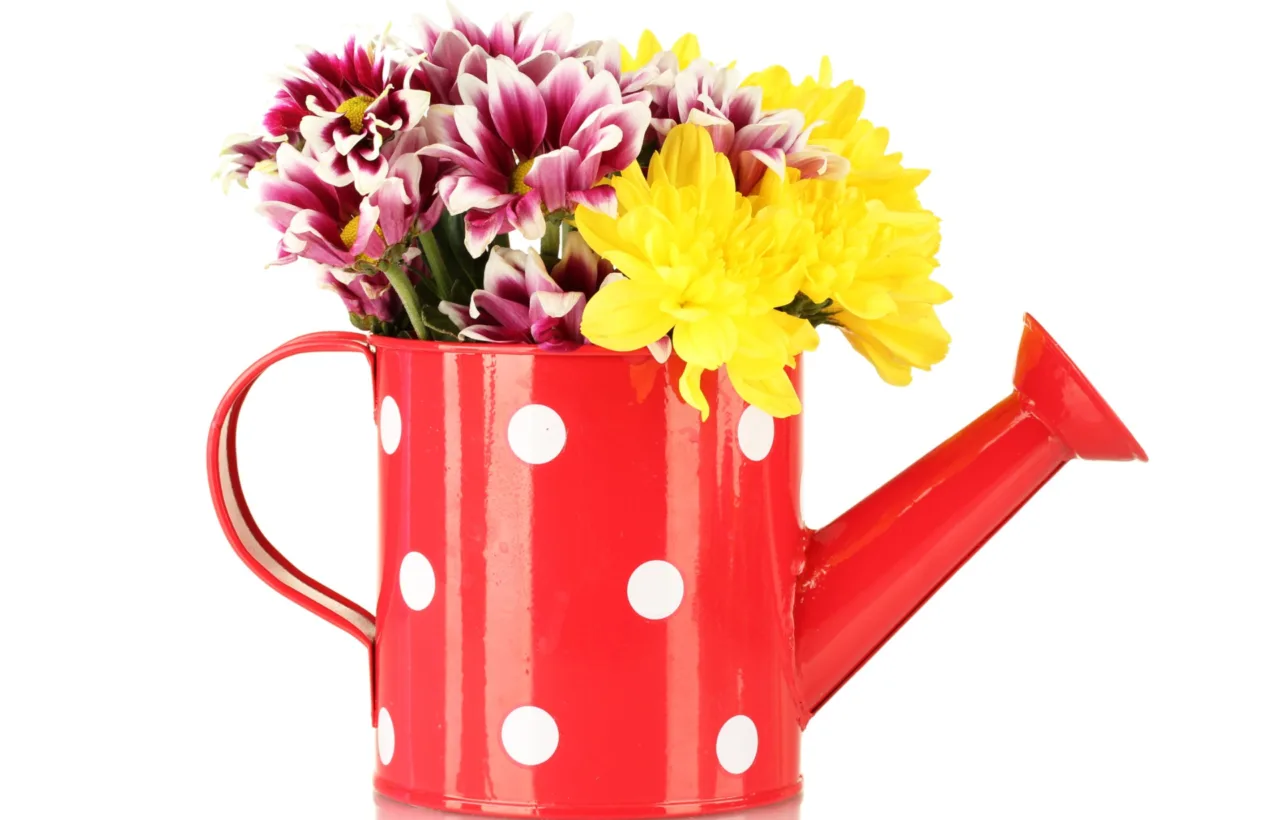
I once used an old metal watering can tipped on its side. The spout pointed downhill. Flowers spilled from the open top and a few even climbed near the spout. People thought it was intentional genius. It was pure luck.
Another time I placed two pots of different sizes facing each other. The spills met in the middle and created a double cascade. Odd numbers of pots always look better to my eye. Three small ones along a path beat two every time.
Under a tree the spill can circle the trunk. Along a pathway it can follow the edge like a living border. On a slope the flowers tumble downhill and look even more dramatic.
I have also done pure foliage versions with only sweet potato vine and creeping Jenny. No flowers. Still beautiful. The movement alone carries it.
Frequently Asked Questions
How long does it take for flowers spilling out of container to look full? In my experience the plants need three to four weeks of good weather to knit together and create that continuous spill. Patience pays off.
Can I make a spilled pot with only perennials? Yes. Creeping phlox, certain sedums, and hardy trailing verbena work well. The look lasts longer than annuals but the first-year impact is softer.
What if my soil is heavy clay? I dig the spill path deeper and mix in plenty of compost and potting mix. Heavy soil stays wet too long and the roots suffer.
Do I need to water the area outside the pot the same as inside? Yes. The roots eventually grow into that ground. Treat the whole spill as one planting zone.
Is this style only for large gardens? Not at all. I have made tiny versions with a teacup on a balcony table. Same principle. Just scale everything down.
Final Thoughts from Someone Who Still Gets Excited Every Spring
I still get a little rush when the first blooms start tumbling out of a new pot. The garden feels less like work and more like play. That is the real gift of this style. It invites you to tip something over on purpose and watch beauty pour out.
Start small if you want. One pot. A handful of plants. See how it feels. Then expand. The technique is simple once you do it once. The results keep surprising me year after year.
Go tip a pot this weekend. Let the flowers spill. Your garden will thank you. And so will anyone who walks past.


