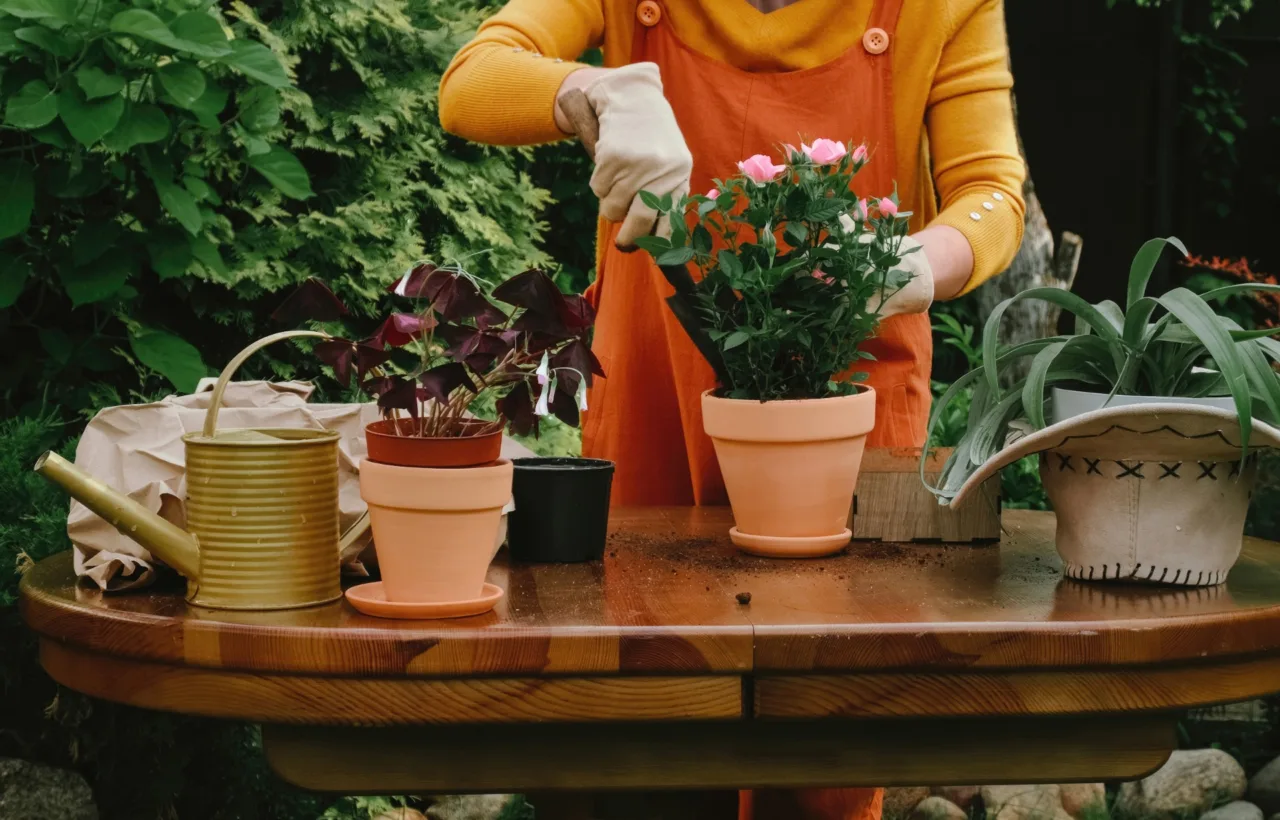

I started my backyard container garden three summers ago after staring at a patch of compacted clay that laughed at every seed I tossed into it. The soil drained like concrete. Weeds thrived. Vegetables failed. I needed food, color, and something that actually worked without a tiller or a truckload of amendments. Containers gave me that. They let me control every variable on a small patio and a narrow strip of concrete behind the house. Today that same backyard produces tomatoes, herbs, greens, and peppers that keep my kitchen stocked most of the year. This is the full story of how I did it, what worked, what flopped, and the exact steps I still follow every spring.
Why Containers Won Me Over
I spent years fighting my dirt. Honestly? The third year of sad tomato plants almost made me quit gardening for good. Then I noticed a neighbor’s pots overflowing with basil and cherry tomatoes on a bare concrete pad. No digging. No weeds. Instant soil control. I bought three cheap plastic tubs that weekend. The difference hit me within weeks. Roots stayed cool. Water stayed where I put it. Pests had fewer places to hide. I could move pots into shade during heat waves or under cover when storms rolled in. That flexibility changed everything. My backyard container garden became portable, adjustable, and far more productive than the ground ever managed.
Containers also solve space problems. My yard is small. The sunny spots sit right next to the house or under a big maple that steals light after noon. Pots let me chase the sun. I cluster them where light hits for six or more hours and shift them as the season changes. No permanent beds locked into the wrong microclimate.
Containers can extend harvest windows: move frost sensitive basil and peppers indoors or under cover during the first cold nights.
Choosing Containers That Actually Work
Size matters more than looks. I learned this the hard way. My first year I grabbed every pretty pot I could find. Half of them were too small. Plants dried out daily. Roots circled and choked themselves. Now I follow one simple rule: bigger is almost always better.
Here’s what I use and why:
- Five-gallon buckets or fabric grow bags: Perfect for single peppers, bush beans, or determinate tomatoes. Cheap, lightweight, and easy to drill drainage holes into.
- Ten- to twenty-gallon containers: My go-to for indeterminate tomatoes, eggplants, and zucchini. Roots need room. These hold moisture longer and support heavier plants.
- Wide, shallow boxes or half-barrels: Great for lettuce mixes, radishes, and herbs that stay compact. Depth of eight to twelve inches is usually enough.
- Fabric pots: I switched to these two seasons ago for most of my bigger crops. They air-prune roots, prevent circling, and keep soil cooler than black plastic in full sun. FYI, they dry out faster, so I water more often.
Drainage is non-negotiable. Every container gets holes. I drill four or five in the bottom of plastic and metal tubs. For fabric bags the material itself breathes. I skip anything without drainage. Waterlogged roots kill plants faster than drought in my experience.
Material choices depend on climate and how much I want to move things. Plastic and resin stay light. Terra cotta looks classic but cracks in freeze-thaw cycles and sucks moisture from the soil. Metal heats up fast in summer. I reserve it for heat-loving plants and keep those pots in partial afternoon shade. Wood works if it is untreated cedar or redwood. Pressure-treated lumber stays out of my garden.
Choose light colored plastic for full sun pots, especially peppers and tomatoes, because dark surfaces heat the root zone faster.
The Soil Mix That Saved My Plants
Garden dirt belongs in the ground. I tried it once in pots. It compacted into bricks. Roots suffocated. Plants stalled. Never again. I buy quality potting mix or make my own.
My current recipe for a twenty-gallon container:
- Two parts high-quality potting mix (peat- or coir-based with perlite)
- One part compost or well-rotted manure
- A handful of slow-release organic fertilizer mixed in at planting
I top-dress with compost mid-season when plants start looking hungry. Liquid fish emulsion or seaweed every two to three weeks keeps things moving during peak growth. Containers run out of nutrients fast. The limited soil volume means I have to feed regularly. Skipping fertilizer is one of the quickest ways to get yellow leaves and tiny fruit.
I also add a thin layer of mulch on top. Shredded leaves, straw, or even dry grass clippings cut evaporation. In July that mulch layer is the difference between watering once a day and twice.
Leave one to two inches below each rim for watering headroom, mulch, and soil settling.
Plants That Thrive in My Backyard Setup
I grow what I actually eat. Fancy ornamentals look nice for a month. Edibles feed me for months. My core list stays simple and reliable.
Tomatoes top the list. Determinate varieties like Celebrity or Patio stay compact and produce a concentrated flush. Indeterminate types like Sungold or Cherokee Purple need bigger pots and sturdy cages, but the flavor payoff is worth the extra space. Peppers love heat and do beautifully in five- to ten-gallon pots. I grow both sweet bells and hot varieties side by side. Eggplants need the same conditions and reward me with glossy fruit if I keep them watered and fed.
Leafy greens are the easiest wins. Lettuce, spinach, arugula, and kale grow fast in shallow containers. I succession plant every two weeks so something is always ready to harvest. Herbs live near the kitchen door. Basil, parsley, thyme, and chives in separate pots or mixed in larger ones give me fresh flavor without a trip to the store.
Bush beans and determinate cucumbers fill smaller containers. Squash takes more room and water, so I limit myself to one or two plants in twenty-gallon pots. Strawberries in hanging baskets or elevated boxes keep the fruit clean and away from ground pests.
I group plants by water and light needs. Sun lovers stay together. Shade-tolerant greens go under the maple or against the north wall. Mixing high-water and low-water plants in the same pot creates problems. I avoid that now.
Daily Care That Keeps Everything Alive
Watering is the biggest daily job. Containers dry out faster than ground beds. In peak summer I check soil every morning. If the top inch feels dry, I water until it runs out the bottom. Early morning is best. Evening watering can invite fungal issues in my humid climate. Self-watering containers help on busy weeks, but I still prefer the control of hand watering most of the time.
Heat stress shows up fast. Wilting at noon is normal for some plants. Wilting at 8 a.m. means they need water now. I move pots into afternoon shade during heat waves above 95 degrees. A simple shade cloth draped over tomato cages works wonders.
Pests still appear, just fewer of them. Aphids show up on tender new growth. I blast them with water or use insecticidal soap. Tomato hornworms get hand-picked. Squash bugs are the worst. I check undersides of leaves daily and crush eggs. Healthy plants resist better, so I focus on consistent water and food first.
Support matters for taller crops. I install cages or stakes at planting time. Waiting until plants flop is a mess. Fabric pots with built-in handles make moving easier when I need to rearrange for light or storms.
Empty saucers after storms, especially beneath containers moved under cover, so drainage holes cannot sit in stagnant water.
Mistakes I Made So You Can Skip Them
I wasted money and time on several fronts. Small pots were my first error. Plants looked cute for two weeks, then stalled. Drainage holes that were too few or too small caused root rot in a couple of early containers. I fixed that by over-drilling rather than under-drilling.
Using regular garden soil once taught me never to do it again. The mix turned rock-hard. I had to dump everything and start over. Under-fertilizing produced beautiful green plants with almost no fruit. Overcrowding containers looked full and lush at first, then everything competed and none of them thrived. Now I give each plant the space the label recommends and then some.
Ignoring microclimates cost me plants. A west-facing wall reflected heat and cooked a batch of lettuce. Moving those pots taught me to observe light and heat patterns for a full day before committing to a final layout.
Frequently Asked Questions
How much sun does a backyard container garden need? Most vegetables and flowering plants want six to eight hours of direct sun. Leafy greens and some herbs tolerate four to six hours. I watch the light patterns in my yard for a couple of days before placing pots.
Can I use regular dirt from my yard in containers? No. Garden soil compacts and drains poorly in pots. Stick with potting mix designed for containers. Your plants will thank you with better growth and fewer problems.
How often should I water my backyard container garden? Check daily in hot weather. Water when the top inch of soil feels dry. In extreme heat some pots need water twice a day. Larger containers hold moisture longer than small ones.
What are the easiest plants for beginners? Lettuce, basil, bush beans, and determinate tomatoes. They grow fast, forgive small mistakes, and give quick rewards that keep motivation high.
Do I need to fertilize container plants? Yes. Nutrients wash out with every watering. I use slow-release fertilizer at planting and liquid feed every two to three weeks during active growth.
Final Thoughts From My Patio
My backyard container garden started as a desperate workaround for terrible soil. It turned into the most reliable and enjoyable way I grow food. The pots give me control. They let me experiment without risking an entire bed. They move when the light changes or the weather turns ugly. Three seasons in, I still tweak the mix, try new varieties, and rearrange the layout every spring. The harvests keep coming. The work stays manageable. The satisfaction of walking out the back door and picking dinner never gets old.
Start small if you need to. Three or four good containers with plants you actually eat will teach you more than a perfect plan on paper. Watch the water. Feed the soil. Give roots room. The rest follows. I’m still learning every year. That is part of the fun.


