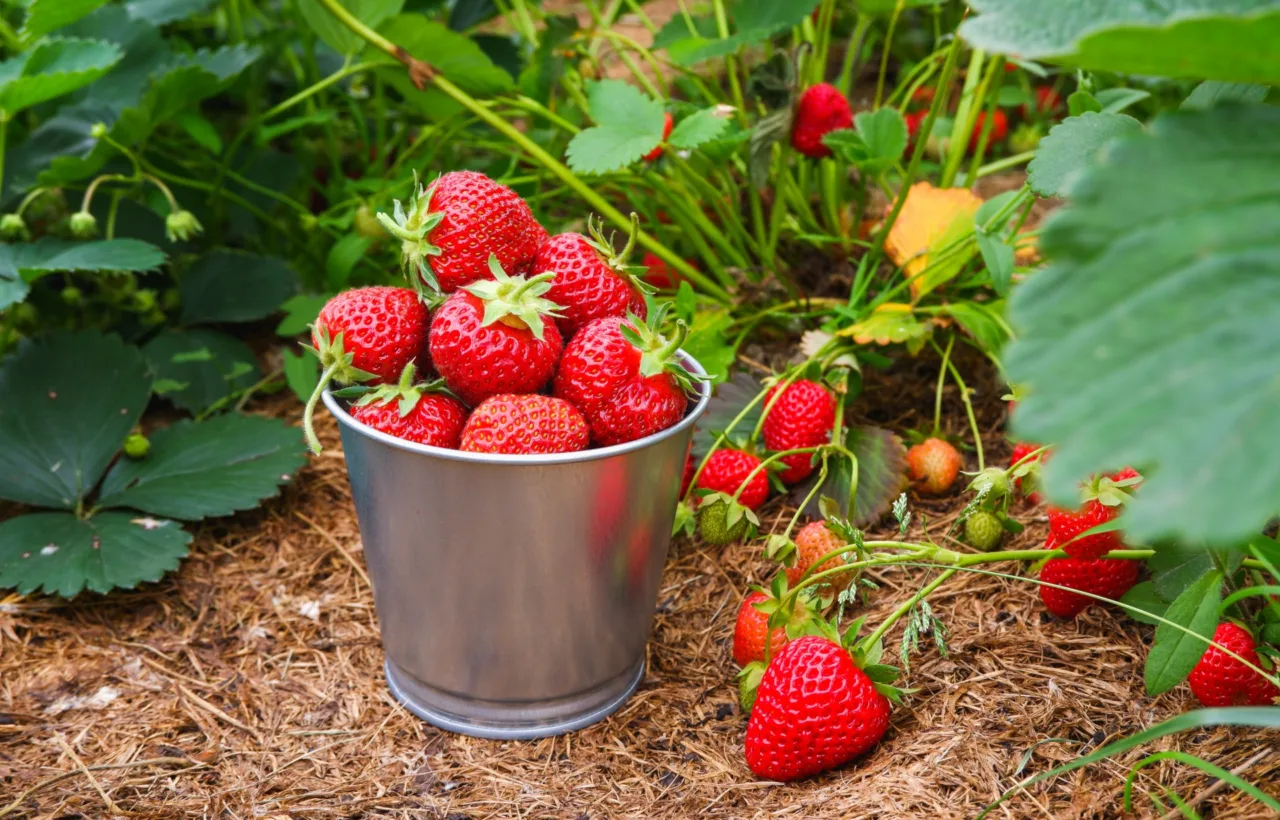

I started my strawberry container garden three summers ago with two cheap plastic pots and a bag of random nursery plants. My patio is barely big enough for a chair and a small table. I wanted fresh berries without digging up the only patch of actual dirt I own. What followed was a mix of solid wins, a few total flops, and enough ripe fruit that I stopped buying the sad grocery-store ones.
Honestly? The first season nearly made me quit. Plants wilted by noon. Berries stayed tiny. Birds treated my pots like a free buffet. I kept going anyway. Now I harvest handfuls of sweet strawberries from late spring into fall, all from containers that sit right outside my kitchen door.
This is the setup that finally worked for me. I’m sharing the exact choices that produced real results so you can skip the wasted plants and soggy soil.
Why a Strawberry Container Garden Beats Traditional Beds for Small Spaces
I live in a rental with limited ground. Containers solved that. They also keep the fruit cleaner. No mud splash. No slug trails across every berry. Harvesting is as simple as walking outside with a bowl.
Strawberries have shallow roots. They spread sideways more than they dig deep. That makes them perfect for pots. You control the soil. You move the whole setup if the sun shifts or a cold snap hits. I can even bring the best pots under the eaves when a late frost threatens.
See, the big advantage is mobility and cleanliness. Once I accepted that, everything got easier.
Choosing Containers That Actually Support a Strawberry Container Garden
I tried three different styles before settling on what works.
Size and Shape Matter More Than Looks
Go wide, not deep. A pot that is 10 to 12 inches wide and at least 8 inches deep holds two or three plants comfortably. Anything narrower dries out too fast. Anything deeper wastes potting mix on space the roots never use.
I currently run:
- Two fabric grow bags (15-gallon size)
- One classic terracotta strawberry jar with side pockets
- Three simple plastic pots in light colors
The fabric bags win for drainage and root health. Air pruning keeps the roots from circling. The strawberry jar looks great and packs more plants into a small footprint. Plastic is cheap and holds moisture longer in hot weather.
Avoid dark pots in full sun. They cook the roots. I learned that the hard way when half my plants sulked through a heat wave.
Drainage Is Non-Negotiable
Every container needs holes. I drill extra ones if the pot only has one. Standing water kills strawberry roots faster than almost anything else. I never leave pots sitting in saucers full of water. Elevate them on pot feet or bricks so excess drains freely.
FYI, grow bags and hanging baskets make watering and harvesting easier because the fruit hangs clear of the soil surface.
The Varieties That Gave Me the Best Yield
June-bearing types give one big flush and then stop. That felt wasteful on a patio where I wanted ongoing fruit.
I switched to day-neutral and everbearing varieties. They produce smaller but more consistent crops over months. My current favorites:
- Albion: Large, firm berries with excellent flavor. Handles heat better than most.
- Seascape: Reliable producer. Good balance of size and taste.
- Tristar: Compact and productive. Great for tighter pots.
- Ozark Beauty: Classic everbearing that still earns a spot.
I plant three or four plants per 12-inch pot max. Overcrowding cuts airflow and invites mold. In the strawberry jar I place one plant in each pocket and a couple on top.
I buy bare-root plants in early spring or potted starts later. Bare-root is cheaper. Soak them in water for half an hour before planting.
Pair heat-tolerant Albion with compact Tristar to balance sustained harvests and limited patio space across different pot sizes.
Soil Mix and Planting Technique That Prevents Rot
Garden soil is a disaster in containers. It compacts and stays wet. I use a high-quality potting mix made for containers and mix in about 30 percent finished compost. A handful of perlite improves drainage further.
Planting is simple but precise.
- Fill the container most of the way.
- Make a small mound in the center for each plant.
- Spread the roots over the mound.
- Cover so the crown sits right at soil level. Not buried. Not floating high.
- Firm the soil gently and leave an inch of space at the top for watering.
- Water thoroughly until it runs out the bottom.
I add a light layer of straw mulch after planting. It keeps berries clean and slows moisture loss. Keep the mulch away from the crown itself.
If a plant leans, I point the crown toward the edge of the pot. The foliage spills over nicely and makes better use of the space.
Do not let filled pots sit in runoff-filled saucers, since trapped water can undo the mix's drainage and encourage root rot.
Daily Care That Keeps Plants Producing
Sunlight
These plants need at least six hours of direct sun, preferably eight. My patio gets morning sun and some afternoon shade. That works. Full-day baking sun in peak summer can stress them, so I sometimes shift pots a few feet.
Watering Rhythm
Containers dry out fast. I check the top inch of soil with my finger every morning. If it feels dry, I water until liquid runs from the drainage holes. In hot spells I water twice a day. Morning is best so leaves dry before night.
Underwatering gives small, seedy berries. Overwatering causes yellow leaves and root rot. Consistency is the goal.
Feeding Schedule
I mix a slow-release fertilizer into the potting mix at planting. Then I feed with a diluted liquid fertilizer high in potassium every two to three weeks once flowering starts. Fish emulsion or a tomato-style feed works. Too much nitrogen gives lush leaves and fewer berries.
Common Problems I Faced and How I Fixed Them
Birds were the first issue. One morning I found half my ripe fruit pecked. I draped lightweight row cover over the pots during peak ripening. It lets light and water through but blocks the birds.
Gray mold appeared after a stretch of cool, wet weather. Better airflow and keeping fruit off the soil fixed most of it. I also remove any rotting berries immediately.
Wilting plants usually meant either bone-dry soil or, less often, soggy roots. Checking the soil with my finger solved the guesswork.
Yellow leaves mid-season often signaled the plants had used up the nutrients in the pot. A liquid feed brought them back.
Runners can take over. I pinch most of them off so the plant focuses on fruit. I root one or two if I want free plants for next year.
Vine weevil grubs once destroyed a whole pot from the roots up. Now I inspect carefully when repotting and use beneficial nematodes if I suspect trouble.
Beneficial nematodes are most effective against vine weevil larvae when applied to consistently moist potting mix, not dry containers.
Harvesting and Getting the Plants Through Winter
I pick berries when they are fully red and still firm. Morning harvest gives the best flavor. I check pots every other day during peak production.
In my climate the plants rarely survive winter in the open. I treat most as annuals and start fresh each spring. For the strongest pots I move them against the house wall and wrap the containers with bubble wrap or move them into an unheated garage once the plants go dormant. They need a cold period but not a hard freeze of the roots.
After three or four years even the best plants slow down. I replace them rather than fight declining yields.
Frequently Asked Questions
How many strawberry plants fit in one container? A 12-inch wide pot holds two or three plants. A classic strawberry jar with side pockets can hold six to eight. Crowding reduces berry size and increases disease risk.
Can I grow a strawberry container garden indoors? Yes, but only with strong light. A south-facing window or grow lights for 12 to 16 hours a day are required. Hand-pollinate the flowers with a soft brush for better fruit set.
Do strawberries in containers need special fertilizer? A balanced potting mix with compost gets them started. Once flowering begins, switch to a liquid feed higher in potassium than nitrogen. Feed every two to three weeks during active growth.
What is the biggest mistake beginners make with a strawberry container garden? Burying the crown or using garden soil. Both lead to rot. Keep the crown at soil level and stick to a well-draining potting mix.
How often should I water strawberry plants in pots? Check daily in warm weather. Water when the top inch of soil feels dry. Thorough watering until drainage occurs is better than frequent light sprinkles.
I still walk outside every morning and check the pots first thing. Some days there is nothing. Some days I fill a small bowl. The first time I ate a berry still warm from the sun, picked two steps from my kitchen, I knew the effort was worth it.
Start with two solid pots and a couple of day-neutral plants. Get the crown height right and water consistently. The rest follows. Your own strawberry container garden does not need to be perfect. It just needs to produce. Mine does. Yours can too.


