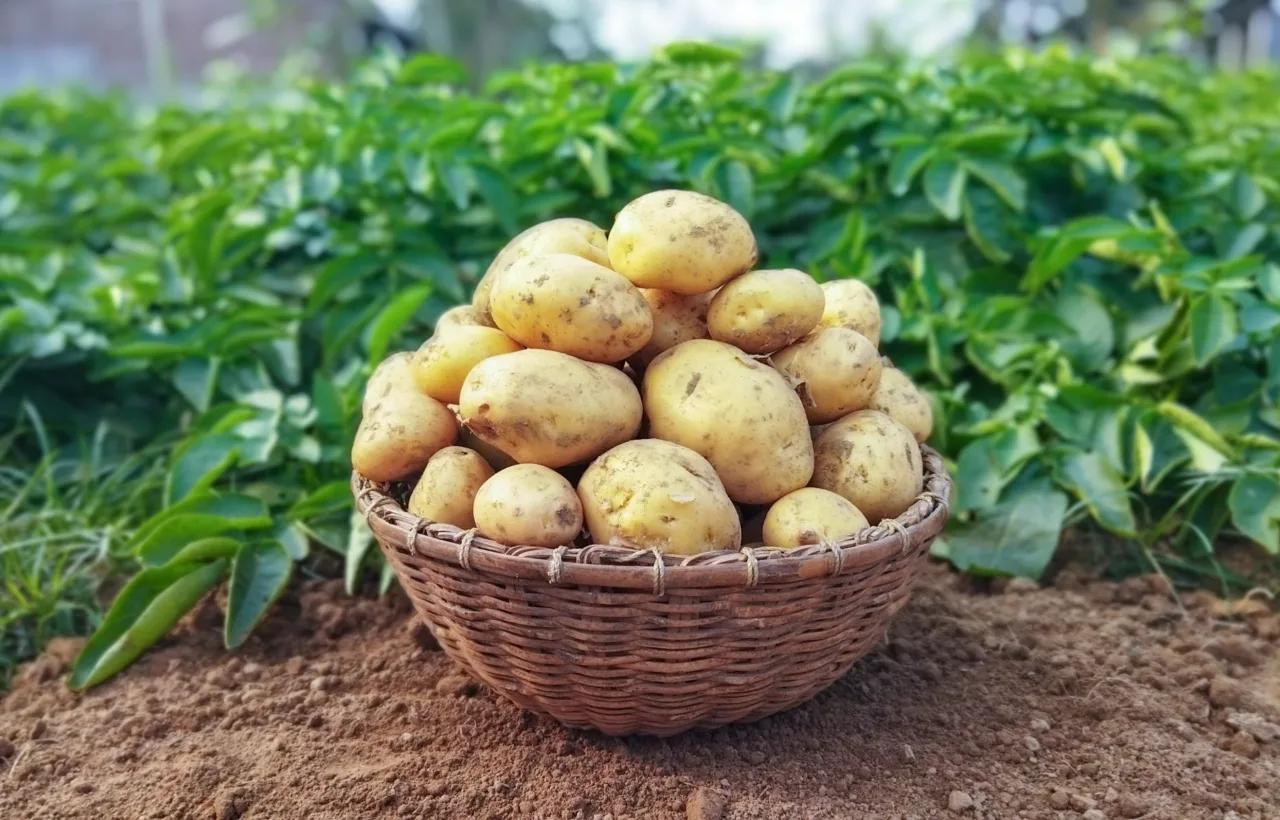

I started my potato container garden three seasons ago because my backyard is basically a postage stamp with bad soil and zero room for traditional rows. I needed a way to grow real food without digging up the lawn or fighting compacted clay. What I ended up with was a simple system of grow bags and buckets that now gives me more potatoes than my family can eat in a single summer.
Honestly? I almost gave up after the first try. The plants looked fine until harvest day, when I dumped the container and found three sad little tubers. That failure taught me everything that follows.
Why a Potato Container Garden Beats Traditional Planting for Small Spaces
I live in a rented place with a concrete patio and a landlord who does not want holes in the grass. Ground planting was never an option. Containers fixed that problem in one afternoon.
You get full control over soil quality. You avoid soil-borne diseases that hang around in garden beds for years. Harvesting becomes a five-minute dump onto a tarp instead of hours of careful digging with a fork.
I also noticed fewer pests. No voles tunneling under the plants. No wireworms chewing the tubers. The containers sit up off the ground, so the usual underground attackers stay away.
IMO the biggest win is mobility. When a late frost threatens, I drag the bags under the porch overhang. When the sun moves in late summer, I shift them a few feet. You cannot do that with a traditional patch.
Picking Containers That Actually Work
Size matters more than looks. I learned this the hard way with a pretty ceramic pot that held maybe three gallons of soil. The plants grew tall and then stalled.
Go for at least 10 to 15 gallons of volume. Anything smaller dries out too fast and limits how many tubers form. I now use a mix of 15-gallon fabric grow bags and a couple of old plastic storage bins I drilled full of holes.
A large container still fails without drainage, so elevate storage bins slightly after drilling holes to keep outlets from sealing against concrete.
Fabric Grow Bags Versus Rigid Pots
Fabric bags win for drainage. Water runs out the sides as well as the bottom, so roots never sit in puddles. They also stay cooler on hot days. Rigid plastic pots hold heat longer and need more careful watering.
Trash cans work if you drill plenty of holes in the bottom and a few inches up the sides. I tried one once. It produced fine potatoes, but moving a full 30-gallon can of wet soil is a two-person job. I stick with the lighter bags now.
Opaque is non-negotiable. Clear or translucent containers let light hit the tubers and turn them green. Green potatoes contain solanine and are not safe to eat. Stick to dark fabric or solid plastic.
Seed Potatoes and the Prep That Makes a Difference
Grocery-store potatoes often come treated to stop sprouting. They can also carry disease. I buy certified seed potatoes from a local nursery or online seed company every spring.
Early varieties finish faster and suit containers better. Yukon Gold, Red Norland, and most fingerlings have given me the best results. They mature in 70 to 90 days and do not need the full depth that big russets demand.
I chit them first. That means I set the seed potatoes in an egg carton in a cool, bright room for two weeks until short green sprouts appear. Chitting jumps the plants ahead by a week or two once they go in the soil.
If the potatoes are larger than a golf ball, I cut them into chunks. Each piece needs at least two eyes. I let the cut surfaces dry for a day so they form a callus. That simple step cuts down on rot.
Label each egg carton with variety and chitting date, especially when combining 70-day Yukon Golds with slower fingerlings.
Setting Up Your Potato Container Garden Step by Step
Here is the exact process I follow every spring.
I place the empty containers where they will get six to eight hours of direct sun. Potatoes are greedy for light. A shady corner will give you leafy plants and almost no tubers.
I fill the bottom with four to six inches of mix. My mix is half soilless potting medium and half finished compost. Garden soil compacts and drains poorly in a pot. I never use it.
I set the seed pieces on the soil with the eyes facing up, spaced four to six inches apart and a few inches from the sides. Then I cover them with another two to three inches of mix and water until it drains out the bottom.
Record each container’s planting date and variety, then stagger future plantings to spread harvests beyond one busy week.
The Hilling Routine That Builds Your Harvest
This is the part most people skip or rush.
When the stems reach about six to eight inches tall, I add more soil or a mix of soil and straw until only the top leaves stick out. I repeat this every time the plants grow another six inches.
Hilling forces the plant to keep forming new tubers along the buried stem. Without it you get one layer of potatoes near the original seed piece. With it you get layers all the way up the container.
I stop hilling when the soil reaches two inches from the rim. The plants need room to keep growing above the soil line.
Water, Food, and the Daily Habits That Keep Plants Happy
Containers dry out faster than garden beds. I check the soil every morning by sticking a finger two inches down. If it feels dry, I water until excess runs out the drainage holes.
In July the bags sometimes need water twice a day. I learned to water early so the foliage can dry before nightfall and reduce disease risk.
Fertilizer stays light. Too much nitrogen grows leaves at the expense of tubers. I mix a slow-release organic fertilizer into the initial soil and then give a diluted fish emulsion every two weeks once the plants are growing strong.
Keep the soil slightly acidic. Potatoes prefer a pH between 5.0 and 6.0. Most potting mixes sit in that range. I never add lime.
Harvest Day and What I Do With the Spuds
I wait until the foliage yellows and starts to die back. That usually happens 90 to 110 days after planting, depending on the variety.
For new potatoes I dig carefully with my hands a few weeks after flowering and pull a few small ones. The rest stay in the ground until full maturity.
On harvest day I simply tip the bag or bin onto a tarp. The tubers spill out clean. No pitchfork damage. No searching through soil for the ones that always hide.
I cure them in a dark, cool spot for a week, then store them in a cardboard box with newspaper in a basement that stays around 45 to 50 degrees. They last months.
Last season my six 15-gallon bags gave me just over 40 pounds. That is more than enough for weekly roasted potatoes, soups, and the occasional potato salad through fall and winter.
Avoid washing cured potatoes before storage, because damp surfaces encourage rot during their months in the 45 to 50 degree basement.
Common Mistakes I Made So You Do Not Have To
I once planted too many seed pieces in one bag. The plants competed and yields dropped. Stick to three or four pieces in a 15-gallon container.
I also overwatered early on. The soil stayed soggy and a few tubers rotted. Now I wait for the top two inches to dry before adding more water.
Skipping the chitting step cost me two weeks of growth one year. I do not skip it anymore.
Using garden soil once led to compacted roots and a sad harvest. Potting mix only from then on.
Frequently Asked Questions
Can I grow a potato container garden on a balcony that only gets morning sun? No. Potatoes need six to eight hours of direct light. Morning sun alone will not cut it. Move the containers if you can, or choose a different crop for that spot.
How many potatoes should I expect from one 15-gallon grow bag? I usually pull eight to twelve decent-sized tubers per bag when I follow the hilling method. Early varieties give slightly less weight but more of the smaller new potatoes.
Do I need special fertilizer for a potato container garden? A balanced slow-release organic fertilizer mixed into the starting soil is enough. I top it up with diluted fish emulsion every couple of weeks. Heavy nitrogen formulas just make tall leaves and fewer tubers.
What if green potatoes show up at harvest? Throw them out. Green skin means the tubers saw light and produced solanine. Next time hill more carefully and keep the containers fully opaque.
Can I reuse the soil from last year’s potato container garden? I do not. Potatoes can leave behind disease organisms. I dump the old mix into the compost pile and start fresh each spring.
I still get a kick out of dumping a bag and watching the potatoes tumble out. That first successful harvest felt like finding money in an old coat pocket. The system is simple once you stop overthinking it.
Grab a couple of grow bags, some certified seed potatoes, and a bag of potting mix. Start small this season. Next year you will already know exactly what works on your patio. The spuds will taste better than anything from the store, and you will have grown them yourself with almost no ground to dig.


