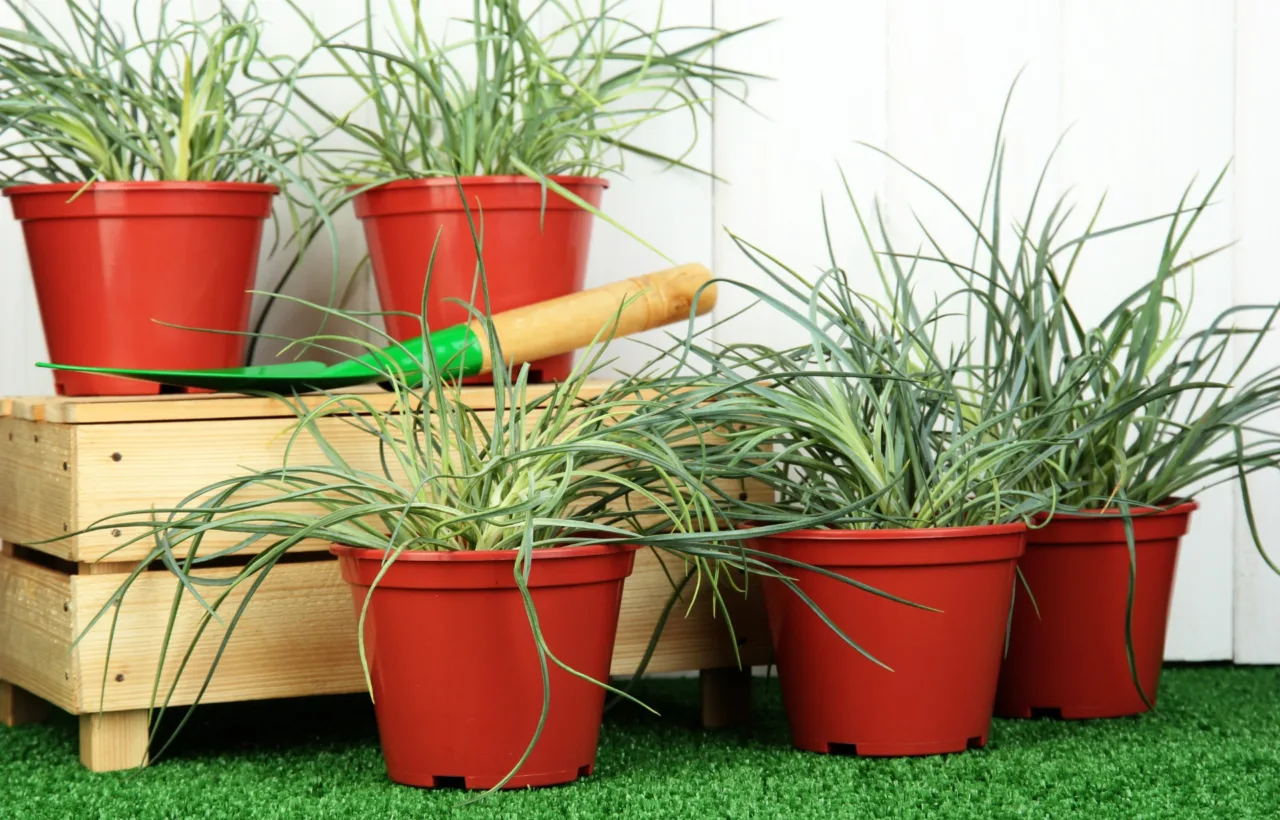

I never thought a few pots could change how I eat. My apartment patio measures maybe eight feet by four. Concrete. Harsh sun half the day. Zero real dirt. Still, I decided to try a small container garden last spring. I wanted fresh herbs and salad greens without driving to the store every other day. What started as three cheap pots turned into a setup that feeds me most of my summer greens and enough cherry tomatoes to snack on while I water.
Honestly? I almost quit after the first month. The basil wilted. The lettuce bolted. I overwatered everything. Then I fixed the basics and the whole thing clicked. This is the full story of what worked for me, what failed, and exactly how you can build your own small container garden without wasting money or time.
Why a Small Container Garden Makes Sense for Real Life
Space is the obvious reason. But I also like the control. I pick the soil. I move pots when the sun shifts. I avoid the weeds that used to take over my old backyard beds. Containers dry out faster, sure. That forced me to check them every day. The daily habit stuck. Now I notice problems early instead of finding dead plants a week later.
I grow mostly food. Herbs, leafy greens, a couple of dwarf tomatoes, and some peppers. Flowers show up as fillers because they look good and pull in pollinators. The whole setup costs less than a couple of grocery runs once you get past the first soil bags.
Picking Containers That Actually Work
Size matters more than looks. I learned that the hard way. My first pots were cute six-inch ones from the clearance aisle. Roots hit the sides in three weeks. Plants stalled.
Go bigger than you think you need. Here’s the minimums I use now:
- Herbs and radishes: 1-gallon pots or larger
- Lettuce and spinach: 2- to 3-gallon containers at least 8 inches deep
- Peppers and bush beans: 5-gallon buckets
- Dwarf tomatoes: 5 gallons minimum, 10 gallons if you can swing it
Drainage is non-negotiable. Every pot needs holes. I drill extra ones if the factory holes look skimpy. Plastic buckets from the hardware store work great. I clean them, drill the bottoms, and paint them if I feel fancy. Terracotta looks nicer but dries out faster. Fabric grow bags breathe well and fold flat in winter. I use both.
See, the container is the home. Give the roots room and air and the plant handles the rest.
Fill large buckets or grow bags in their final patio position; saturated five to ten gallon containers become difficult to move safely.
Upcycling Without the Headache
I hate buying new plastic when old stuff sits around. Old laundry baskets lined with landscape fabric work for greens. Five-gallon food-grade buckets from restaurants cost almost nothing if you ask. Just rinse them hard and skip any that held chemicals.
One tip: skip dark metal pots in full sun. They cook the roots. Light-colored plastic or wood stays cooler.
Soil Mix That Does Not Fail Me
Garden dirt fails in pots. It packs down and stays wet. I use a simple mix I make myself now.
Equal parts:
- High-quality potting mix
- Finished compost
- Perlite or coarse sand
I add a slow-release organic fertilizer at planting time. That’s it. The mix stays light. Water moves through. Roots breathe. I top-dress with compost every month or so during the heavy growing season.
Store-bought bagged potting soil works if you are short on time. Just check the label for something labeled for containers. Avoid the cheap stuff that turns to mud after two waterings.
Plants That Thrive in a Small Container Garden
I stick to varieties labeled compact, patio, bush, or dwarf. Full-size plants fight the pot and lose.
My current winners:
- Leaf lettuce and arugula: Cut-and-come-again types. I harvest outer leaves and the plant keeps going for weeks.
- Basil, chives, parsley, thyme: These stay small and produce nonstop if I pinch the tips.
- Cherry tomatoes like ‘Tiny Tim’ or ‘Patio Princess’: One plant in a 5-gallon pot gives me handfuls every few days.
- Bush beans and dwarf peppers: Productive without sprawling.
- Radishes and green onions: Fast. I succession plant every two weeks.
I tried corn once for fun. It worked in a huge 20-gallon tub but felt ridiculous on my small patio. Skip the experiments until the basics produce.
Mix heights in the same pot when space is tight. Tall plant in the center, medium around it, trailing plant over the edge. Looks intentional and uses every inch.
When cherry tomato flowers open indoors or on a sheltered patio, gently tap the flower clusters to improve fruit set.
Watering and Feeding Without Guesswork
Containers dry out fast. In July I water most pots every morning. Finger test: stick your finger two inches down. Dry? Water until it runs out the bottom. Then stop.
I water at the soil level, not over the leaves. Wet leaves invite fungus. Mulch with a thin layer of straw or shredded leaves. It cuts evaporation and keeps soil cooler.
Fertilizer depletes quickly in pots. I use a liquid organic feed every two weeks once plants start growing hard. Balanced stuff works for most crops. Tomatoes get a higher-potassium mix once flowers appear.
IMO the biggest beginner mistake is inconsistent watering. Plants hate the feast-or-famine cycle. Set a phone reminder if you need one. I did for the first month.
After several feedings, occasionally water thoroughly without fertilizer to flush accumulated salts from container soil.
My Real Setup and Daily Routine
I group pots by water needs. Herbs and tomatoes sit together in the sunniest corner. Lettuce and spinach get afternoon shade from the railing. I can reach every pot from one path so I never skip a day because something sits behind a chair.
Vertical helps. A simple metal shelving unit holds three levels of smaller pots. Hanging baskets for strawberries and trailing herbs free up floor space.
Every evening I spend ten minutes. Check soil. Pick what is ready. Pinch basil tips. Remove any yellow leaves. That short habit keeps the whole small container garden healthy.
Mistakes I Made So You Can Skip Them
I overcrowded the first year. Plants competed and none thrived. Now I give each one its recommended spacing even if the pot looks sparse at first.
I used regular garden soil. Roots drowned. Lesson learned.
I planted full-size indeterminate tomatoes. They took over half the patio and still underproduced. Stick to bush types.
I ignored the weather forecast. One heat wave cooked three pots because I left for the weekend without a self-watering bottle or a friend to check in. Now I group pots in shade if I leave town or use water globes for short trips.
Expanding Without Losing Control
Once the first few pots succeed, add slowly. I wait until the current ones look strong before bringing home more. Two healthy pots beat ten struggling ones.
Rotate crops when possible. After a tomato finishes, I plant fall greens in the same soil after refreshing with compost. Keeps the soil working and the harvests coming.
Frequently Asked Questions
How much sun does a small container garden need? Most vegetables and herbs want at least six hours of direct sun. Leafy greens tolerate four to five. I move pots around until I find the right spots.
Can I grow a small container garden indoors? Yes for herbs and microgreens on a bright windowsill. Fruiting plants usually need more light than most windows give. Grow lights help if you want tomatoes inside.
How often should I fertilize my small container garden? I feed every two weeks with liquid fertilizer during active growth. Slow-release pellets at planting cover the first month. Watch the plants. Pale leaves mean they need more.
What is the cheapest way to start? Buy a couple of 5-gallon buckets, drill holes, fill with bagged potting mix, and plant seeds or starts of lettuce and basil. You can be harvesting in under a month for under twenty dollars.
Do I need special tools? A watering can, a small trowel, and pruning shears cover almost everything. I added a moisture meter later but my finger works fine.
Final Thoughts From My Patio
I started this small container garden because I missed fresh food and had no yard. Now I walk out the door and pick dinner. The setup stays simple on purpose. Big enough to produce. Small enough that I never feel behind.
Start with two or three pots this weekend. Choose one herb and one green. Get the drainage right. Water consistently. Watch what happens. The rest follows once you taste the first handful of leaves you grew yourself. That first harvest still surprises me every time.


