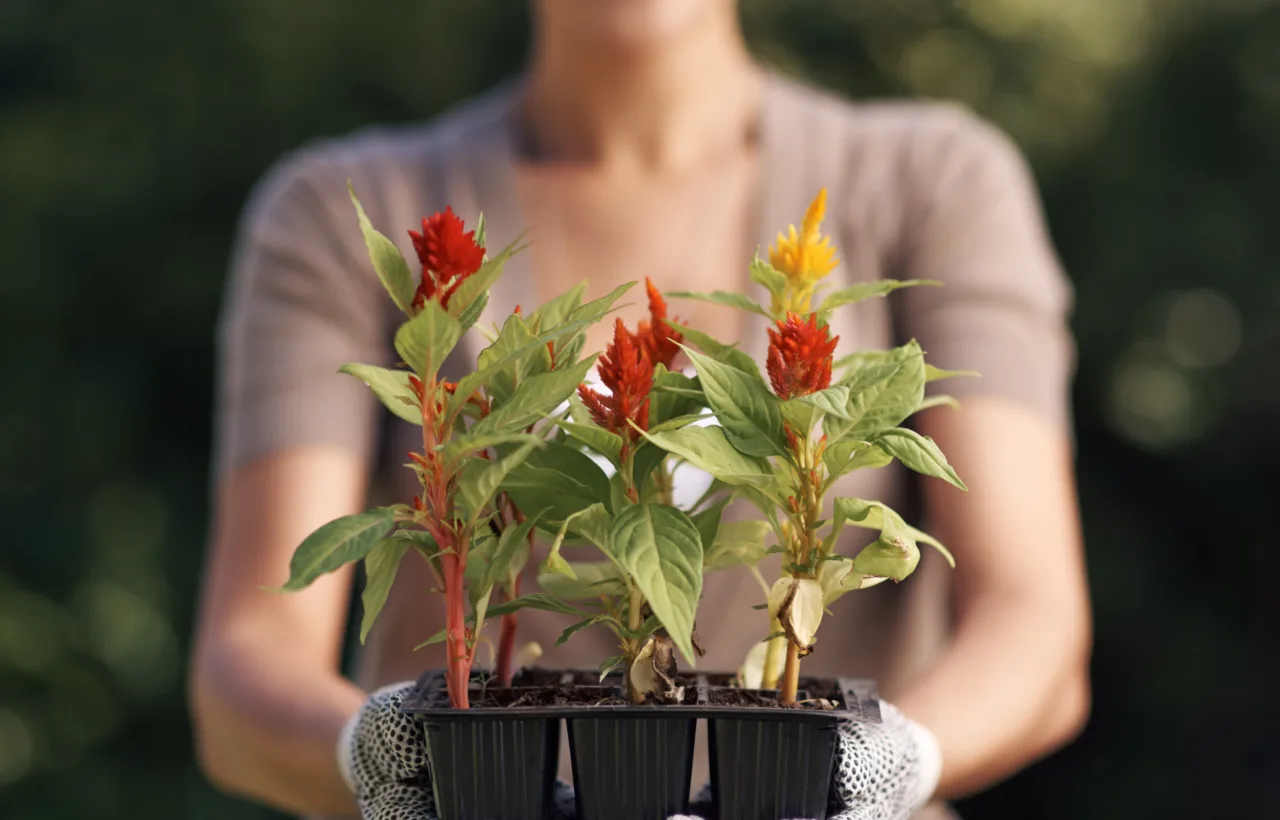

I started container planting on a cramped second-floor balcony that got maybe four hours of decent sun. No yard. No raised beds. Just a few cheap pots, some sad herbs from the grocery store, and a stubborn belief that I could still grow real food and flowers. That first season taught me more than any book. Plants died. Soil turned to mud. I overwatered everything. Then I figured out what actually works, and now my little setup produces tomatoes, basil, peppers, and cascading blooms every summer.
This is the guide I wish someone had handed me. Straight talk from one gardener to another. No fluff. Just the methods that finally stuck.
Why Container Planting Became My Only Option
I live in a rental with concrete everything. Digging into the ground was never possible. Container planting gave me control. I could move pots for better light. I could protect tender plants from late frosts. I could experiment without wrecking a whole yard.
Honestly? The freedom felt addictive. One year I grew three different tomato varieties side by side just to compare them. Another year I filled every corner with herbs. See, when space is limited, you stop wasting it. You start noticing what each plant actually needs.
The real win hit when friends started asking how my balcony looked so full. That is when I realized container planting works for almost anyone. Apartment dwellers. Renters. People with terrible native soil. Even folks who just want portable color on a patio.
Choosing Containers That Do Not Fight You
I wasted money on pretty pots that killed plants. Lesson learned the hard way.
Drainage holes matter more than looks. Every container I use now has holes in the bottom. No exceptions. If a pot arrives without them, I drill them myself. Water that sits at the bottom rots roots fast.
Size counts too. Small pots dry out in a single afternoon during heat waves. I go larger whenever possible. A 12-inch pot works for a few herbs. Tomatoes and peppers need at least 5-gallon containers. Bigger means more stable moisture and happier roots.
Material changes everything. Terracotta breathes well but dries out quicker. Plastic holds water longer and weighs less. Fabric grow bags keep roots cooler and prevent circling. I mix them depending on the plant. For heavy feeders like tomatoes I prefer fabric or large plastic. For succulents I stick with unglazed clay.
Weight becomes real when you have to move pots. I learned to plant large containers in their final spot. Dragging a waterlogged ceramic pot across a balcony is not fun.
A fully watered 5-gallon container becomes surprisingly heavy, so check balcony load limits before clustering large tomato or pepper pots.
The Soil Mix That Actually Works
Garden soil belongs in the ground. I tried it once. It compacted into a dense brick. Roots could not breathe. Plants stalled.
I use potting mix only. The lightweight stuff sold for containers. It drains while still holding enough moisture. Some seasons I mix my own. One-third good compost, one-third coco coir or peat alternative, one-third perlite. That blend stays airy and feeds plants longer.
I never pack the mix tight. Roots need oxygen. I fill the container about two-thirds, set the plants, then top off. I leave an inch or two of space at the rim so water does not spill over every time I water.
Slow-release fertilizer goes in at planting time for most setups. Containers lose nutrients faster than ground soil because water washes them out. A balanced granular formula keeps things steady for weeks.
Reserve compost-rich mixes for hungry vegetables; succulents need sharper drainage and substantially less organic matter to avoid persistently wet roots.
Matching Plants So They Thrive Together
Mixing random plants looks fun until one hogs the water or blocks the light. I group by needs now.
Sun lovers stay with sun lovers. Moisture hogs stay with other moisture hogs. Growth rates matter too. A fast spreader can smother slower companions.
The thriller-filler-spiller approach still works for me. Thriller plants stand tall in the center or back. Ornamental grasses or upright cannas do the job. Fillers mound around them. Coleus, begonias, or bushy herbs fill the middle. Spillers cascade over the edge. Sweet potato vine, trailing petunias, or creeping Jenny soften the rim.
I plant in odd numbers. Three or five of something feels natural. Even numbers look stiff. FYI, I still break that rule sometimes when a plant is just too good to leave out.
For vegetables the rules shift. One tomato plant gets its own large pot. Peppers can share if the container is wide enough. Leafy greens and herbs pack tighter because they stay smaller.
Trim sweet potato vine runners early in mixed pots, or they can quickly cover coleus, begonias, and smaller fillers.
My Step-by-Step Container Planting Process
I plant the same way every time now. Consistency saves plants.
- Water the nursery plants thoroughly the day before. Dry root balls fight you.
- Cover the drainage holes with a piece of screen or a broken pot shard if needed. Nothing that blocks flow.
- Add potting mix until the container is two-thirds full. Moisten it so it settles a bit.
- Slip the plants out of their pots. Gently loosen any circling roots. I tease them outward with my fingers.
- Place the tallest plant first. Center or slightly off-center depending on where the pot will sit. Keep the original soil line level with the new mix.
- Add the fillers and spillers. Work from the center outward. Keep everything at the same depth it grew in the nursery pot.
- Fill gaps with more mix. Press lightly to remove big air pockets. Do not stomp it down.
- Water deeply until liquid runs out the bottom. Top up any sunk spots with extra mix.
That process takes maybe twenty minutes per pot once you get the hang of it. The first few felt slow. Now it feels automatic.
Watering and Feeding Without Killing Plants
Containers dry faster than ground beds. Heat hits the sides. Wind pulls moisture. Roots have nowhere to go looking for water.
I stick my finger into the top inch of soil. Dry means water. Still damp means wait. In peak summer some pots need daily drinks. Morning works best. Leaves stay dry longer and disease stays lower.
Deep watering beats frequent light sprinkles. I pour until water exits the drainage holes. That encourages roots to grow downward. Shallow watering creates lazy surface roots that burn up faster.
Fertilizer follows a simple schedule. Slow-release at planting covers the first stretch. After that I use a diluted liquid feed every two weeks during heavy growth. Containers cannot pull nutrients from a big soil volume the way in-ground plants do. They rely on you.
Overfeeding burns roots. I err on the light side. Yellow leaves often signal too much water or not enough light, not always a fertilizer shortage.
Never apply diluted fertilizer to bone-dry mix; water first, then feed, preventing concentrated nutrients from scorching container roots.
Mistakes I Made and How I Fixed Them
I killed plenty of plants learning these lessons.
Small pots were my first failure. Everything dried out by noon. Larger containers fixed that overnight.
Skipping drainage holes turned roots into mush. Now I check every pot before filling.
Packing plants too tight looked full at first. Then they fought for light and air. I thin more aggressively now. Better to see a little soil than watch everything struggle.
Using the same soil year after year drained it of life. I refresh or replace most of the mix each spring. A little compost stirred in helps too.
Ignoring mature size bit me with zucchini once. The plant spilled over the entire railing. Read the tags. Plan for the final footprint.
See, every dead plant taught me something useful. Failure is data if you pay attention.
Growing Real Food with Container Planting
Vegetables surprised me most. Cherry tomatoes in a 7-gallon fabric bag produced more fruit than I expected. Peppers thrived in 5-gallon pots. Bush beans climbed a simple trellis I stuck in the container.
Leafy greens like lettuce and spinach work in shallower wide pots. I succession plant them. When one batch bolts I pull it and sow more.
Herbs are almost too easy. Basil, parsley, chives, and mint all handle containers well. Mint stays in its own pot because it spreads like crazy.
Support matters for taller crops. I use tomato cages or simple stakes right at planting time. Waiting until the plant flops creates broken stems.
Pollination happens fine outdoors. A little hand-shaking helps tomatoes set fruit when bees are scarce.
Harvest outer lettuce and spinach leaves first, leaving the center growing point intact for repeated harvests before bolting.
Frequently Asked Questions
How often should I water container plants in summer? I check the soil daily and water when the top inch feels dry. Hot windy days can mean twice a day for smaller pots. Larger containers hold moisture longer.
Can I reuse potting mix from last year? I refresh it by mixing in fresh compost and a bit of new potting mix. If the previous plants had disease I replace everything and scrub the container with a mild bleach solution.
What is the biggest mistake beginners make with container planting? Choosing pots that are too small or lack drainage. Both problems show up fast and kill plants before they have a chance.
Do I need special fertilizer for containers? Regular balanced fertilizer works. Containers just need more frequent light feeding because nutrients wash out with watering. Slow-release at planting plus liquid feed every couple weeks covers most situations.
Can I grow perennials in containers long-term? Some yes. Dwarf shrubs and certain herbs handle it. Most perennials prefer winter protection or moving into the ground after a season or two. Roots get cold in exposed pots.
Final Thoughts from My Balcony
Container planting gave me a garden when I had no ground. It forced me to pay closer attention to each plant. Watering. Light. Soil. Companions. Every detail sits right in front of you.
I still lose the occasional plant. That is gardening. The difference now is I know why it failed and how to adjust next time.
Start small. One good pot. One solid mix. A few plants that share the same needs. Watch them closely for the first couple weeks. You will learn faster than any article can teach.
Then expand. Add another pot. Try a new vegetable. Move things around until the light feels right. Before long that limited space starts feeling abundant. Mine did. Yours will too.


