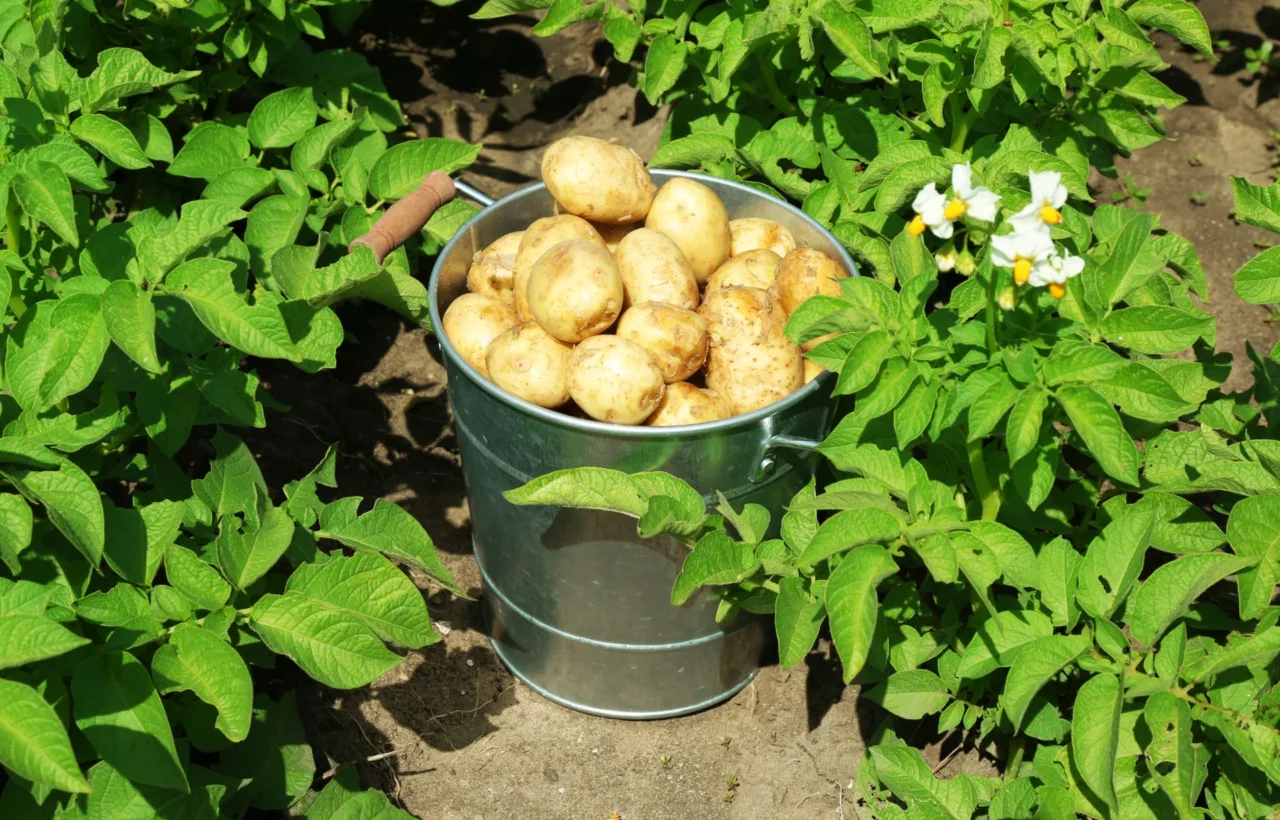

I started potato gardening container style three seasons ago after my backyard turned into a muddy swamp every spring. Limited space forced my hand. I needed something that worked on a narrow patio without digging trenches or fighting weeds. The first attempt gave me a handful of small tubers. The next one filled a kitchen drawer. Now I pull pounds of clean potatoes every year from a few bags and buckets.
This approach solves the exact problem most of us face: no big garden plot. You still get real food. I keep the process simple because complicated systems collapse under real life.
Choosing the Right Potato Gardening Container
Size matters more than brand names. I learned this the hard way. A shallow pot left me with sad little roots and almost no harvest.
I look for containers that hold 10 to 15 gallons of soil and stand at least 14 to 24 inches tall. That depth lets me hill soil as the plants grow. Wider bases work better than tall skinny ones because water stays even from top to bottom.
Fabric grow bags became my favorite. They drain fast. Roots stay cooler. I can tip the whole thing over at harvest time and dump everything out. Plastic storage bins work too if I drill plenty of holes in the bottom and a few inches up the sides. Five-gallon buckets hold one or two plants if that is all the space I have. I avoid anything transparent. Light turns potatoes green and bitter.
Opaque material keeps the tubers safe. Food-safe plastic or thick fabric is non-negotiable. Old tires stay off my list. Chemicals can leach and I refuse to risk that.
FYI, handles on the bags make moving them easy when a heat wave hits or a storm rolls in. I move mine around the patio to chase the sun.
Soil Mix That Actually Feeds the Plants
Garden dirt fails in containers. It packs hard. Water sits. Roots rot. I skip it every time.
My mix stays simple. Half high-quality potting mix. Half finished compost. A handful of slow-release organic fertilizer mixed through. That combination holds moisture without turning into mud. Potatoes like soil on the acid side so I leave lime out.
I fill the container only partway at the start. Four to six inches of mix goes in first. That leaves room for hilling later. The plants need space to build layers of new tubers along the buried stems.
Pre-moisten the potting mix before filling, because dry compost can repel water and leave newly planted seed pieces unevenly hydrated.
Planting Seed Potatoes the Way That Works for Me
Certified seed potatoes beat grocery-store ones. Grocery potatoes often carry sprout inhibitors or disease. I buy disease-free seed stock from a reliable source. Early and mid-season varieties suit containers best. Yukon Gold, red types, and fingerlings produce well without needing huge space.
I chit them first. That means I set the seed potatoes in a cool bright spot for a couple of weeks until short sprouts appear. The head start helps.
Cut large ones into chunks with at least one or two eyes each. Let the cut sides dry for a day so they form a callus. Plant the pieces eyes up. Space them four to six inches apart and a few inches from the container walls. Cover with another two to three inches of mix. Water gently until moisture reaches the bottom.
I place the containers where they get six to eight hours of direct sun. Cool mornings and warm afternoons suit them. Soil temperature above 45 degrees works. Anything colder risks rot.
Choose seed pieces with sturdy, short sprouts; long, pale chits snap easily during planting and provide a weaker start.
Hilling and Ongoing Care
Hilling is the secret sauce. New potatoes form along the stems as I bury them. When the plants reach about six to eight inches tall I add more soil or a mix of soil and straw. I leave the top leaves exposed. Repeat every time the stems push up again. Keep going until the container is nearly full.
Water consistently. Containers dry faster than ground beds. I check the top inch of soil with my finger. If it feels dry I water until liquid runs out the drainage holes. Overwatering drowns the tubers. Underwatering stops growth. Even moisture is the goal.
A light liquid feed every couple of weeks after the first month helps if the plants look pale. I keep it organic and modest. Too much nitrogen grows leaves at the expense of tubers.
Pests stay low in containers compared with open ground. I still watch for Colorado potato beetles and pick them off by hand. Aphids get a strong spray of water.
Add hilling material gently around stems rather than packing it down, preserving the loose, oxygenated structure container tubers need.
Varieties That Deliver in Containers
Not every potato thrives in limited space. Large russets need more room than I can give them. I stick with compact producers.
- Yukon Gold: Reliable yield and great flavor. Works in almost any size container I try.
- Red Norland or similar reds: Early and tender. Perfect for new potatoes.
- Fingerlings: Slim shape packs more into the same volume. They look fancy on the plate.
- Purple types: Fun color and solid performance in bags.
I plant a mix so harvest spreads out. Early ones finish first. Mid-season ones keep producing longer.
Harvesting Without the Backache
This is where containers shine. No digging through hard ground. When the foliage yellows and dies back I stop watering for a week. Then I tip the bag or dump the bin onto a tarp. The potatoes sit right there in the loose mix. I sort the good ones and toss any that look damaged.
New potatoes can come earlier. I reach into the side of a fabric bag or dig carefully around the edges for a few small ones while the plant keeps growing.
One plant usually gives me one to two pounds if everything goes well. A 15-gallon bag with four or five seed pieces can fill a grocery bag. Yields vary with weather and care, but the numbers stay higher than my first failed attempts.
After harvest, cure unwashed potatoes in darkness with airflow for 7 to 10 days, then brush off soil before storage.
Common Mistakes I Made and Fixed
I overcrowded the first year. Too many seed pieces in a small pot fought for space and water. Now I follow the rough rule of five gallons of soil volume per plant.
I used garden soil once. The result was compacted mess and rotten potatoes. Never again.
I ignored drainage. Standing water killed an entire batch. Extra holes fixed that.
I planted too late or too early relative to frost. Seed pieces sat in cold wet mix and rotted. Timing around the last frost date matters.
Honestly? Most failures trace back to size, drainage, or soil choice. Fix those three and the rest falls into place.
Real Patio Results Over Multiple Seasons
My patio gets afternoon shade from the neighboring building. I move the bags on a rolling plant stand to catch morning sun. That small adjustment boosted yields the second year.
I grow two or three containers at a time. One early variety for summer salads. One later variety for storage. The harvest lasts into fall without taking over the whole outdoor space.
Kids love the dump-and-search harvest. It turns into a treasure hunt. That alone makes the effort worth it for me.
IMO the biggest win is control. I manage water, soil, and pests better in containers than I ever did in open beds.
Frequently Asked Questions
How many seed potatoes fit in a typical potato gardening container? A 10-gallon container holds two to four seed pieces depending on size. A 15-gallon one takes four to six. Give each plant enough room or the yield drops.
Do I need special fertilizer for container potatoes? A basic slow-release organic fertilizer mixed into the potting mix at planting works fine. I add a light liquid feed later if the plants look hungry. Overfeeding creates leafy plants with fewer tubers.
Can I reuse the soil next season? I refresh it. Old mix can carry disease. I dump it into the compost pile and start with fresh potting mix and compost the following year.
How long until harvest? Early varieties finish in 70 to 90 days. Mid-season ones take 90 to 120 days. I watch the foliage. When it dies back I dig.
What if my patio only gets four hours of sun? Four hours is marginal. Yields will be lower. I still try it with the sunniest spot available, but six to eight hours is the real target for solid results.
I keep this method because it fits real life. Small space. Limited time. Still produces food I actually want to eat. Start with one solid container this season. Follow the size, soil, and hilling steps. The harvest will surprise you.


