
I never thought I’d grow a solid potato harvest without a single patch of dirt to call my own. Last spring I stood on my tiny balcony staring at a couple of fabric grow bags and a bag of seed potatoes, wondering if this would actually work. It did. Better than I expected. If you want to know how to plant potatoes in a container and pull up real food instead of disappointment, you’re in the right place. I’ve done this enough times now that I can walk you through exactly what works and what wasted my time.
I started small and made the usual beginner errors. A 5-gallon bucket gave me almost nothing. Then I scaled up, fixed the soil, and paid attention to watering. The difference was night and day. Honestly? Growing potatoes this way feels almost too simple once you stop overthinking it.
Why Containers Changed Everything for Me
I used to assume potatoes needed open ground and deep rows. That idea kept me from planting them for years. Then I realized most of the work happens above the seed piece as you add soil. Containers make that process clean and portable.
You get control. Full sun on a balcony or patio becomes usable space. Drainage stays consistent if you set it up right. Harvest turns into dumping the whole container out and hunting for treasure. I still get a little thrill every time the first firm potato rolls into my hand.
The yield surprised me. One 15-gallon bag regularly gives me several pounds of good-sized tubers. Not enough to feed a family of eight, but plenty for roasted dinners and new-potato salads through early summer. That feels like a win when your outdoor space is basically a concrete rectangle.
A filled 15-gallon container can weigh over 100 pounds; verify balcony load limits before positioning several bags together.
Choosing the Right Container Before You Plant
Size is the first decision that matters. I learned this the hard way. Anything under 10 gallons struggles. The sweet spot sits between 10 and 15 gallons. Depth needs to reach at least 14 to 18 inches so you have room to hill soil later.
Fabric grow bags became my favorite. They breathe. Roots stay happier. Water drains without creating a swamp at the bottom. Plastic trash cans work if you drill plenty of holes in the base and a few up the sides. Half whiskey barrels look nice and hold volume, but they get heavy once full.
Opaque material is non-negotiable. Light turns potatoes green and bitter. Dark pots heat up fast in afternoon sun, so I either choose lighter colors or shift them into partial shade during heat waves. FYI, a container taller than three feet becomes a watering nightmare. The top dries while the bottom stays soggy.
I usually plant two or three seed pieces in a 15-gallon bag. That spacing keeps them from fighting over water and nutrients. Crowding looks efficient on planting day. It rarely pays off at harvest.
Raise the bag slightly on pot feet, then use a shallow tray and empty it regularly to protect balcony flooring without blocking drainage.
Getting Seed Potatoes Ready the Right Way
Certified seed potatoes beat grocery-store ones every time. Store potatoes often carry sprout inhibitors or disease. I buy certified stock in early spring and look for varieties that mature fast. Yukon Gold, red-skinned types, and fingerlings have treated me well in containers.
Chitting helps. I set the potatoes in an egg carton in a cool, bright spot for a couple of weeks until short, sturdy sprouts appear. Eyes facing up later on planting day feels natural after that.
Large seed potatoes get cut into chunks. Each piece needs at least one or two eyes. I let the cut surfaces dry and callus for a day or two so they resist rot. Small potatoes go in whole. Simple.
The Soil Mix I Actually Trust
Garden soil belongs in the ground, not in a container. It compacts, holds too much water, and often brings weeds or pathogens. I mix roughly half quality potting mix with half well-rotted compost. That combination stays light, drains, and still holds moisture.
Potatoes like slightly acidic conditions. I skip lime. A handful of slow-release fertilizer mixed in at the start gives them a steady start without burning anything. Some seasons I add a bit of perlite for extra air space. The mix should feel fluffy, not dense.
I never fill the container all the way at planting. That leaves room for the hilling stages that actually produce the bulk of the harvest.
How to Plant Potatoes in a Container Step by Step
This is the part most people overcomplicate. Here’s exactly what I do now.
- Place the container in a spot that gets 6 to 8 hours of direct sun.
- Add 4 to 6 inches of the soil mix to the bottom.
- Set the seed pieces on top, eyes facing up, spaced 5 to 6 inches apart and a few inches from the sides.
- Cover them with another 3 to 4 inches of mix.
- Water thoroughly until moisture runs out the drainage holes.
That’s it for day one. The container looks half empty. That’s correct. Resist the urge to pack it full.
I keep the soil evenly moist but never soggy while waiting for shoots. In cooler weather the first green leaves can take two or three weeks. Patience pays off.
Choose an early or midseason potato variety when balcony space or a short growing season makes timely harvest important.
Hilling and the Care Routine That Builds Yield
Once the stems reach about 6 to 8 inches tall, I add more soil. I bury the lower stems until only the top cluster of leaves sticks out. New tubers form along those buried stems. This step is the real secret to bigger harvests in limited space.
I repeat the process every time the plants grow another several inches. Usually two or three hillings fill the container by mid-season. Straw layered between soil additions helps keep things from packing down too hard.
Watering needs attention. Containers dry faster than garden beds. I stick a finger 3 or 4 inches down. If it feels dry, I water deeply. Shallow sips create weak roots. Consistent moisture during tuber formation matters more than almost anything else.
I feed lightly with a balanced liquid fertilizer every couple of weeks once growth takes off. Too much nitrogen pushes leafy tops at the expense of potatoes. A high-potassium option works better.
Pests show up sometimes. Colorado potato beetles get hand-picked. I check leaf undersides regularly. Good air flow around the bags helps prevent disease.
After tops yellow and collapse, stop watering and leave tubers in the container for 7 to 14 days, letting skins toughen before harvest.
Harvesting Without Guesswork
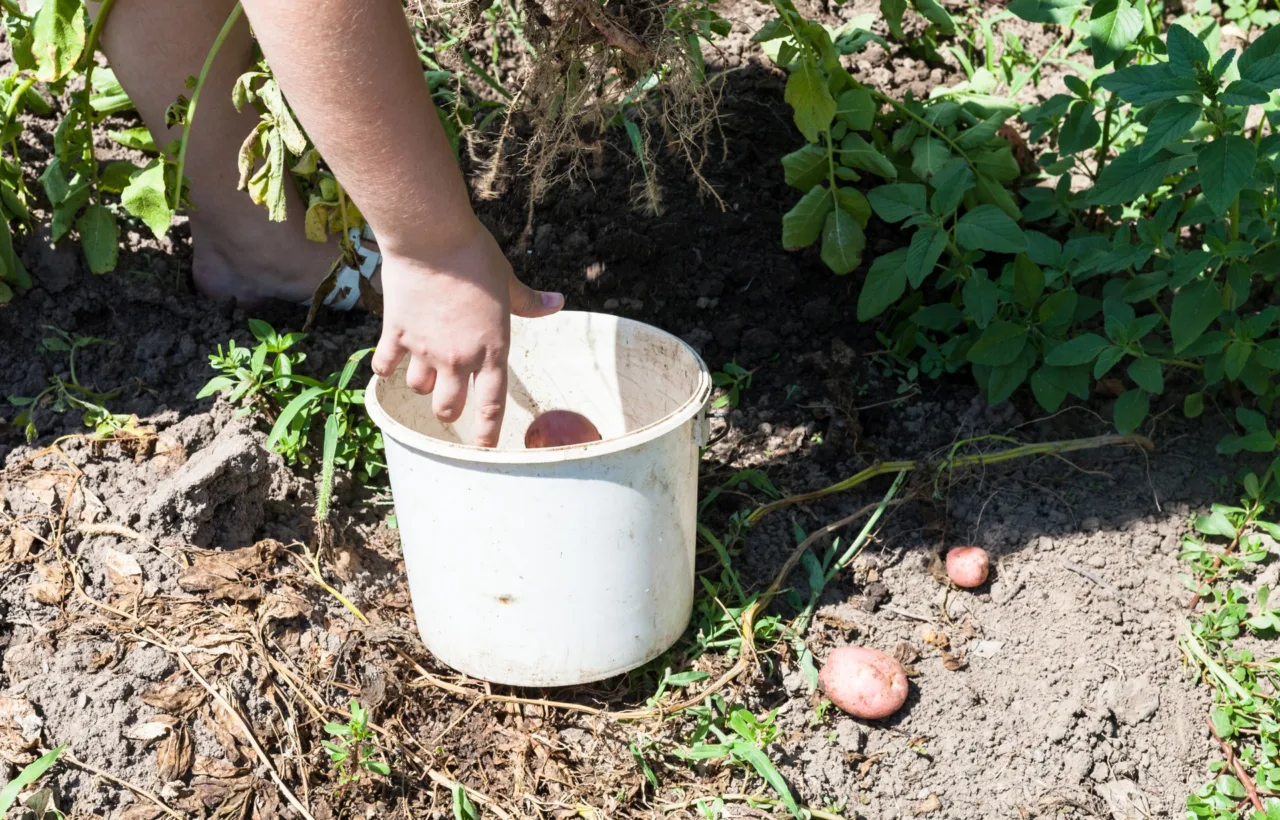
Early varieties are ready when the plants flower and the foliage starts to yellow. I can reach in carefully and pull a few new potatoes without disturbing the whole plant. For a full harvest I wait until the tops die back completely. Then I tip the container and dig through the soil like a kid on a treasure hunt.
I let the potatoes sit in a cool, dark spot for a day or two to toughen the skins before storing them. Green ones get discarded. The rest taste better than anything from the store. IMO, that first roasted batch with a little salt and olive oil justifies the whole process.
Mistakes I Made So You Don’t Have To
I started with containers that were too small. Yields stayed tiny. I used garden soil once and watched everything compact into a brick. Overwatering before the shoots emerged caused rot. Underwatering during the bulk-up phase produced marble-sized tubers.
Planting too many seed pieces in one bag looked generous. The plants competed and neither thrived. Skipping the hilling step left me with potatoes only at the bottom layer. Each of those errors taught me something useful. Now I stick to the simple system and get reliable results.
Dark plastic pots in full afternoon sun cooked the roots one hot July. I switched to fabric bags and started shifting containers into afternoon shade during heat spells. That single change saved later crops.
Do not reuse potato mix for tomatoes, peppers, or eggplants next season, because shared soil can carry pests and diseases between crops.
Frequently Asked Questions
How many seed potatoes can I plant in a 15-gallon container? I plant two or three in a 15-gallon bag. That spacing gives each plant enough room and usually produces a solid handful of good-sized tubers without crowding.
Do I really need to chit the seed potatoes before planting? You can skip it, but I get stronger early growth when I let them sprout for a couple of weeks first. The short sturdy eyes give the plants a head start once they’re in the soil.
Can I use regular potting soil from the garden center for how to plant potatoes in a container? Yes, as long as you mix it with compost for nutrients and keep it light. Straight potting mix works fine. Just avoid anything labeled for heavy moisture retention.
How often should I water container potatoes? I check the soil a few inches down every day or two in warm weather. When it feels dry at that depth I water until excess drains out. Consistency beats a rigid schedule.
What varieties work best in containers? Early and mid-season types have treated me best. Yukon Gold, red potatoes, and fingerlings stay compact enough for pots and fill out nicely with regular hilling.
Growing potatoes in containers turned a bare balcony into something productive. The process stays simple once you respect the basic needs: enough volume, good drainage, steady moisture, and regular hilling. I still get a quiet satisfaction every time I dump a bag and find a pile of dirt-covered spuds waiting underneath.
Grab a couple of decent containers this season. Start with certified seed. Follow the steps without overcomplicating them. You’ll end up with food you grew yourself, and that feeling never gets old.


