
I lost half a season’s worth of wheat once because I trusted a cheap plastic bin. Mice chewed right through it in two nights. That mess taught me more about a grain storage container than any product page ever could.
I grow and buy grains for both the kitchen and the animals. Over the years I’ve tested galvanized cans, food-grade buckets, drums, bulk totes, and even a small shipping container. Some setups lasted years. Others failed in months. I’m sharing what worked for me so you can skip the expensive lessons.
Honestly? The right container is less about fancy features and more about matching the job. A kitchen jar won’t cut it for fifty pounds of feed. A giant bin is overkill for your rice. Let’s walk through the real options.
Why Most Grain Storage Containers Fail
Moisture and pests kill grain faster than anything else. Condensation forms when temperature swings hit. Rodents chew plastic like it’s a snack. Insects move in if oxygen hangs around.
I used to leave bags of oats in the shed. Within weeks the bottoms went soft. Mold took over. I switched to sealed containers and the difference showed up immediately. Grain stayed dry. Bugs stayed out.
See, the container itself only does half the work. You still need dry grain going in. Aim for under 14 percent moisture for most cereals. Cool the grain if you can. Then seal it tight.
Small-Scale Options I Use in the Kitchen and Pantry
For daily rice, flour, and oats I stick with simple airtight setups. These sit right on the counter or shelf.
Glass Jars and Ceramic Canisters
Glass jars with rubber-seal lids work great for short-term use. I fill them from bulk bags and keep them in a dark cabinet. Light can speed up rancidity in whole grains, so opaque ceramic wins for flour and wheat berries.
Pros are clear:
- You see exactly how much remains.
- They clean up fast.
- No plastic taste.
Cons exist too. Glass breaks if you drop it. Clear versions need a dark spot. I once knocked a full jar of quinoa off the counter. What a waste.
Plastic Airtight Bins
BPA-free plastic with locking lids handles the medium stuff. I keep a set of stackable ones for oats and cornmeal. They seal better than most grocery-store canisters I’ve tried.
Key features I look for:
- Gasket seals that actually grip.
- Stackable shapes that don’t waste shelf space.
- Wide mouths for easy scooping.
These last a year or two with regular rotation. For longer storage I move the grain elsewhere.
Homestead Workhorses: Buckets, Cans, and Drums
This is where most of my grain lives. I store hundreds of pounds of animal feed and bulk human food here.
Food-Grade 5-Gallon Buckets with Gamma Lids
These changed everything for me. A standard 5-gallon bucket holds about 35 pounds of wheat. The Gamma lid screws on and creates a true airtight seal. I can open and close it every day without fighting a stuck lid.
I line some with Mylar bags plus oxygen absorbers when I want multi-year storage. The bag blocks oxygen. The bucket stops rodents and stacks well. IMO this combo is the practical gold standard for most people.
Steps I follow:
- Dry the grain fully.
- Drop a Mylar bag into the bucket.
- Add grain and the right-size oxygen absorber.
- Seal the bag with a hot iron or sealer.
- Snap on the Gamma lid.
I’ve pulled wheat out after three years that still baked perfect bread. No weevils. No musty smell.
Galvanized Steel Cans
Nothing beats steel against mice. I keep a couple of 30-gallon galvanized trash cans for feed I open often. Rats cannot chew through them. Period.
They cost little. Hardware stores stock them. The lids fit tight enough for short-term use. Condensation can form if the can sits in a humid barn, so I keep mine under a roof and off the concrete.
One downside: they rust if the galvanization chips. I inspect the bottoms every spring and touch up any bare spots.
55-Gallon Food-Grade Drums
When I need volume I grab these. A single drum holds 300 to 400 pounds of corn or oats. Food manufacturers often give them away free once the original contents are gone. Just make sure they never held chemicals.
The metal-band lids seal well. I store them on pallets so air circulates underneath. These shine for bulk animal feed that turns over in a few months.
Larger Solutions for Bigger Harvests
Once you move past a few hundred pounds the math changes.
Bulk Bags and Totes
These woven plastic cubes sit on pallets and hold a ton or more. I use them for short-term holding after harvest before I move grain into bins. Forklifts make moving them easy. They’re not rodent-proof on their own, so I keep them inside a locked shed.
Shipping Containers
I rented a 20-foot shipping container one year when the harvest came in heavy. Steel walls stop every pest. They’re wind-tight and water-tight. I stacked pallets of bagged grain inside and still had room for tools.
Cost is the limiter. Buying one outright runs several thousand dollars. Renting works for seasonal overflow. Ventilation matters. Without airflow condensation builds on the walls. I added a simple exhaust fan and checked the grain weekly.
Fixed Steel Bins and Modular Silos
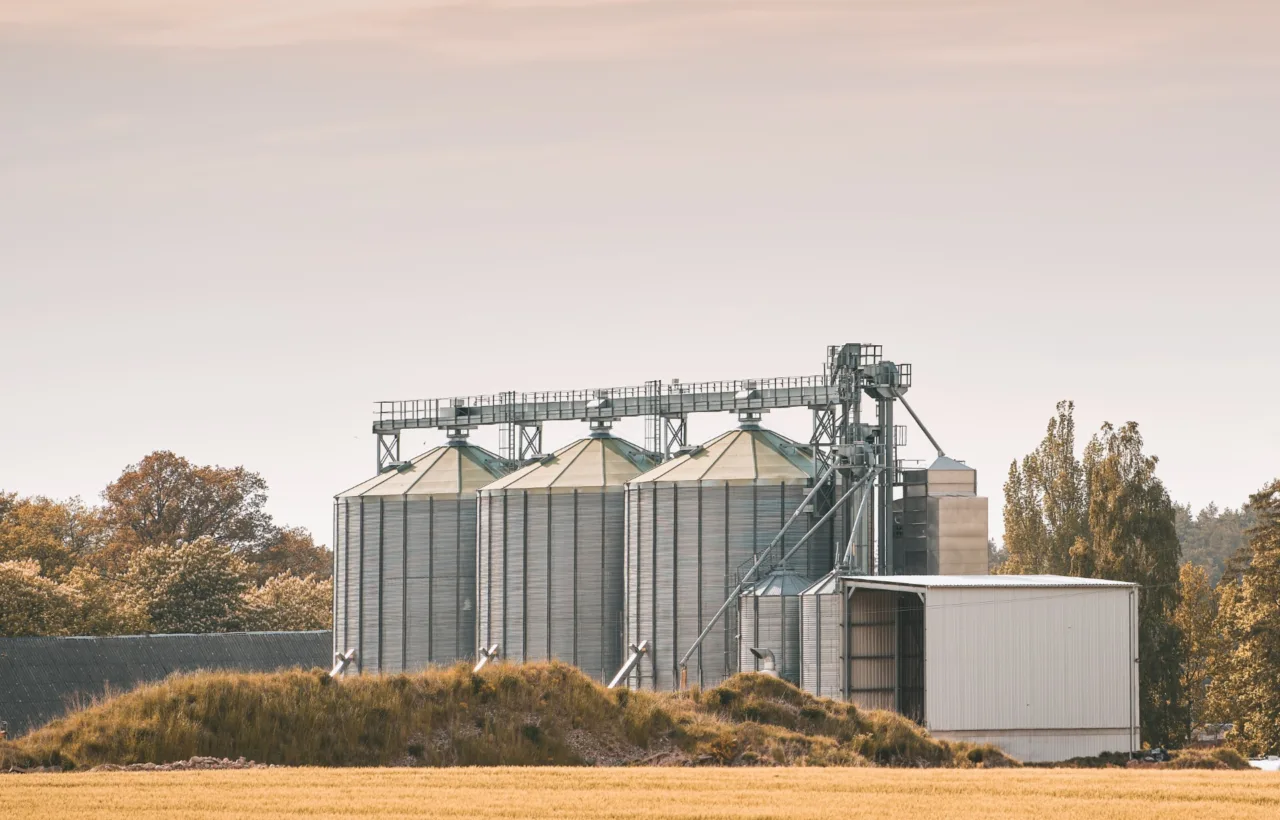
For serious farm volume these dominate. They handle thousands of bushels. Aeration systems keep the grain cool. Gas-tight seals allow fumigation if needed. I don’t own one yet, but neighbors who do swear by the long service life. Expect 20 to 30 years if you maintain them.
How I Match the Grain Storage Container to the Job
I used to buy whatever looked sturdy. That approach failed. Now I ask three questions first.
How long will this grain sit? Daily kitchen use needs easy access. Multi-year storage needs oxygen barriers.
How much weight am I moving? A 5-gallon bucket stays manageable. A full 55-gallon drum needs a dolly or two people.
Where will it live? Barn mice demand steel. Climate-controlled pantry allows plastic or glass.
Here’s a quick breakdown of what I keep on hand:
- Kitchen rotation: glass and ceramic canisters
- 3–12 month supply: 5-gallon buckets with Gamma lids
- Long-term reserves: Mylar-lined buckets with oxygen absorbers
- Animal feed: galvanized cans and food-grade drums
- Overflow harvest: rented shipping container or bulk totes
I rotate stock every season. Oldest grain gets used first. Labels with the fill date save arguments later.
Common Mistakes I Made (So You Don’t Have To)
I once filled a plastic drum with warm grain straight from the dryer. Condensation formed overnight. Mold followed. Always cool grain before sealing.
Another time I skipped the oxygen absorbers in a “sealed” bucket. Weevils appeared six months later. The seal was good. The oxygen inside was not.
I also stacked buckets too high on uneven ground. Bottom ones cracked under the weight. Keep stacks low and level.
Rodent bait stations around the storage area help, but they never replace a solid container. I learned that the hard way after a mouse family moved into a soft plastic tote.
Preparing Grain Before It Hits the Container
Clean grain stores better. I run it through a simple screen to drop dust and broken kernels. Those fines attract insects and block airflow.
Moisture testing matters. A cheap meter costs less than one ruined batch. Target 12 to 14 percent for most grains. Lower if you plan multi-year storage.
Freezing new grain for a few days kills any eggs that rode in from the field or store. I do this with every bulk bag before it goes into long-term containers.
My Current Setup and Why It Works
Right now I run a mixed system. Kitchen grains sit in ceramic and locking plastic. The bulk human food lives in Mylar-bucket combos in a cool closet. Animal feed stays in galvanized cans and two 55-gallon drums in the barn.
I check everything monthly. Look for temperature changes. Sniff for mustiness. Open one container and inspect. This habit has kept losses near zero for the past four years.
The whole setup cost me under $400 over time because I bought used drums and hunted free food-grade buckets. Results beat the fancy commercial bins my neighbor installed for ten times the money.
Frequently Asked Questions
What makes a good grain storage container for long-term use? I look for food-grade material, a true airtight seal, and enough strength to stop rodents. Mylar bags inside 5-gallon buckets with oxygen absorbers check every box for me.
Can I use regular plastic totes for grain? I tried. Rodents chewed through within weeks. Stick to food-grade buckets or steel if pests are around.
How do I know if my grain is dry enough before sealing? A moisture meter is the only reliable way. Feel and smell can fool you. I aim for 13 percent or lower for anything that sits more than a few months.
Are shipping containers worth it for grain storage? They work if you need temporary bulk capacity and can control ventilation. For permanent use a proper steel bin usually makes more sense once the volume justifies the cost.
Do oxygen absorbers really help in a grain storage container? Yes. They pull the remaining oxygen out of sealed Mylar bags. I’ve seen the difference in both insect control and flavor after two or three years.
Final Thoughts
A solid grain storage container does more than hold product. It protects the time, money, and effort you already put into growing or buying that grain. I wasted seasons learning which ones fail. The ones that last share a few traits: they seal tight, they stop pests, and they match the amount of grain you actually handle.
Start small if you’re new. Grab a couple of Gamma-lid buckets and a moisture meter. Expand only when those work. Label everything. Check regularly. Your future self will thank you when the grain still tastes fresh two years later.
That’s the whole game. Keep it dry. Keep it sealed. Keep the mice guessing.


