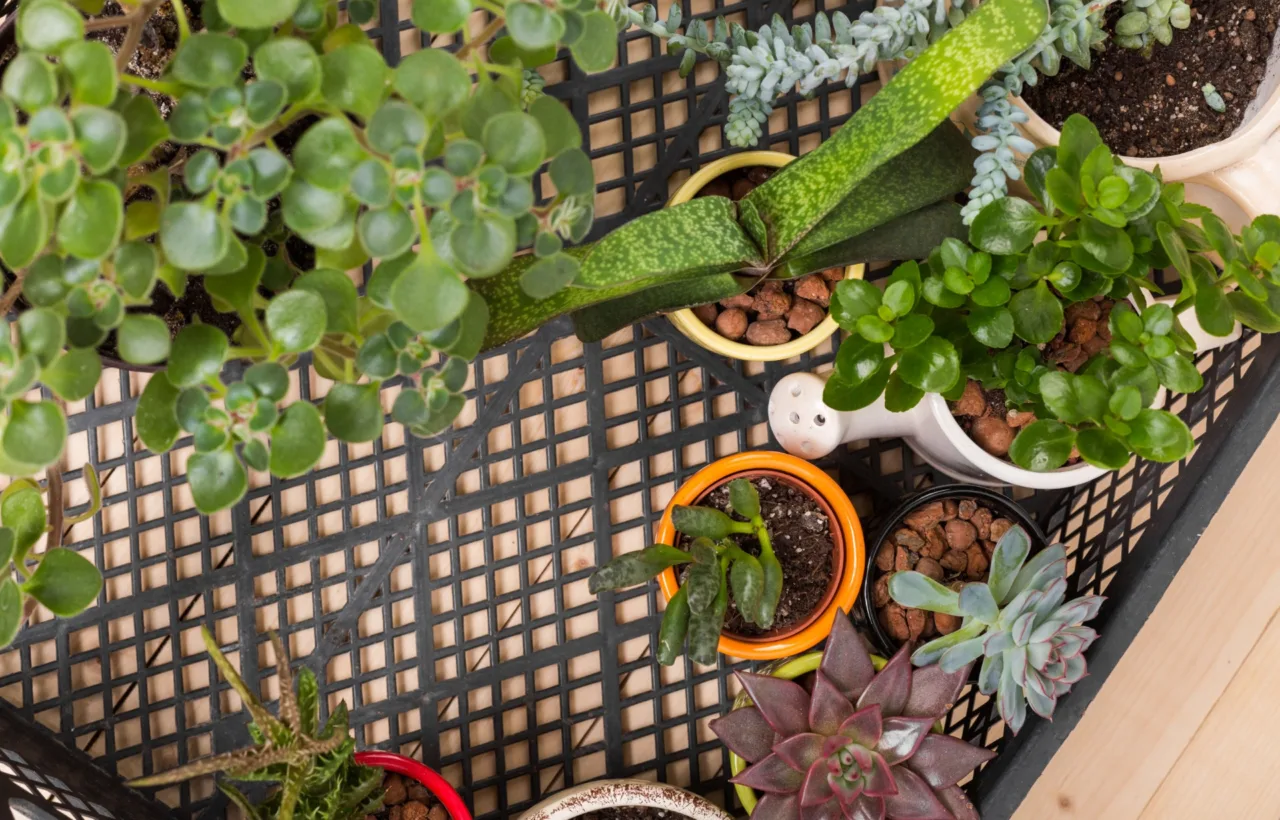

I spent three seasons rearranging pots on my tiny balcony before I figured out a container garden layout that worked. The first year looked like a yard sale. Pots everywhere. Plants fighting for light. Half of them stressed by the end of July. I nearly gave up.
Honestly? The mess taught me more than any perfect plan ever could.
You need a layout that respects your space, your sun, and your patience. Not a magazine spread that falls apart by week two. I finally landed on a system that gives me herbs, tomatoes, and a few flowers without the daily drama. It starts with ruthless honesty about what you actually have to work with.
Why Most Container Garden Layouts Fail Before They Start
I used to buy every cute pot I saw. Then I would dump them on the balcony and hope for the best. Bad idea.
See, the real problem is almost never the plants. It is the placement. Too many containers in the wrong spots create shade wars. Watering becomes a nightmare. You end up stepping over pots just to open the door.
I think chasing “more plants” is the wrong question. The better question is how few pots can still feed you and look decent. Once I switched that mindset, everything got easier.
My current setup uses eight containers max on a balcony that measures about six by ten feet. That number forces decisions. I cannot hide behind volume. Every pot has to earn its keep.
Warning: eight wet containers on a six-by-ten-foot balcony can exceed safe load limits, so verify building capacity before copying this layout.
Start With Light and Access Before You Buy a Single Pot
I walk the space at different times of day. Morning sun hits the left side hard. Afternoon light is weaker and filtered by the building next door. That simple observation changed my entire container garden layout.
Place the thirstiest, sun-loving plants where the light stays longest. Tomatoes and peppers go on the brightest edge. Leafy greens and herbs can handle the partial spots.
Access matters just as much. I leave a clear path to the door and to the watering can. No plant is worth tripping over every morning.
Here is what I check every spring:
- Sun hours: Track them for three days. Write it down.
- Walking space: Keep at least two feet clear for movement.
- Wind exposure: My balcony gets gusts. Heavier pots stay toward the walls.
- Water source: Distance to the faucet decides which plants get the self-watering containers.
Do this first. It saves money and heartache later.
Recheck the balcony’s light in midsummer; neighboring buildings and seasonal sun angles can change which containers receive the longest exposure.
Choose Containers by Depth and Weight, Not Just Looks
I used to fall for pretty glazed pots that were too shallow. Roots baked. Plants sulked. Now I match the pot to the plant’s needs first.
Deep pots (at least 12 to 18 inches) hold tomatoes, peppers, and bush beans. Shallow ones work for lettuce, radishes, and most herbs. I keep a few 5-gallon fabric grow bags for potatoes and carrots because they are light and drain well.
Weight is a quiet killer on balconies. Wet soil is heavy. I mix in some lighter potting mix with perlite and avoid solid ceramic for anything large. Casters under the biggest pots let me move them when the season shifts.
FYI, drainage holes are non-negotiable. I drill extras if the pot only has one. Standing water kills more plants than drought on my setup.
Grouping Patterns That Create Order Without Looking Stiff
Random scattered pots look chaotic. Straight lines feel like a nursery. I settled on three reliable patterns that keep the space usable and still interesting.
The Odd-Number Cluster
Three or five pots of different heights work best. I put the tallest at the back or center, then step down. One large pot with a tomato, flanked by two medium herb pots, then a small trailing one at the front. The triangle shape feels natural. It also makes watering faster because everything sits close together.
The Linear Screen
Along the railing I run a row of matching medium pots. Same height. Same plant type or similar foliage. It creates a soft green wall that blocks the view of the parking lot without blocking light for the rest of the garden. I space them about 18 inches apart so air still moves.
The Tiered Corner
In the darkest corner I stack height with plant stands or inverted empty pots. Tall plants up high. Shorter ones below. This pulls the eye up and uses vertical space I would otherwise waste.
I rotate these patterns every year. Sometimes I combine two. The point is intention. Every pot belongs to a group. Nothing floats alone unless it is a deliberate statement piece.
The Thriller-Filler-Spiller Rule Still Works, But I Use It Differently
Everyone talks about thriller, filler, and spiller. I used to follow it religiously inside single pots. Now I apply the same idea across the whole layout.
The thriller is my biggest tomato or a tall ornamental grass in the brightest spot. It anchors the view. Fillers are the bushy herbs and greens that bulk up the middle layers. Spillers are the trailing strawberries or nasturtiums that soften the edges of the clusters.
I plant most containers with only two or three plants total. Overcrowding was my old enemy. Roots competed. Everything stayed smaller. Now each pot gets room to grow and I get better harvests.
For vegetables the rule flips a bit. Productivity comes first. A single tomato plant in a 15-inch pot outperforms three crowded ones every time. I still tuck a basil or marigold at the base for companionship and looks.
For the single tomato in a 15-inch pot, choose a determinate or patio variety to keep the productive focal point compact.
Matching Plants to the Right Spots in Your Container Garden Layout
I keep a running list of what belongs where. It prevents the “everything everywhere” scramble.
- Full sun zone: Tomatoes, peppers, eggplant, basil, rosemary. Deep pots only.
- Partial sun zone: Lettuce, spinach, chard, parsley, chives. Shallower containers work fine.
- Trailing or edge spots: Strawberries, thyme, oregano, nasturtiums. These hang over and use vertical space.
- Tall back row: Climbing beans on a simple trellis or a single pole bean plant. They draw the eye up without shading everything else.
I plant the tallest things first. Then I fill around them. This order keeps me from blocking light by accident.
Companion planting still matters. I put basil next to tomatoes because they seem to like each other and the basil deters some pests. Marigolds go near the peppers for the same reason. Nothing scientific here. Just patterns that have worked for me over multiple seasons.
In the Northern Hemisphere, place the bean trellis on the north edge so climbing growth casts less shade across shorter containers.
Watering and Maintenance Reality Check
Containers dry out fast. My early layouts ignored this and I spent every evening with a watering can. Now the layout itself reduces the chore.
I group thirsty plants together so one thorough watering session covers them. Self-watering containers or simple reservoir pots sit under the tomatoes and peppers. The rest get hand-watered every other day in hot weather.
Mulch on top of the soil helps. A thin layer of shredded leaves or cocoa hulls slows evaporation. I check the weight of the pots too. Light pot means dry. Heavy pot means still moist.
Fertilizing is simpler when the layout is tight. I use a diluted liquid feed every two weeks on the fruiting plants. Leafy greens get less. Overfeeding makes weak growth that collapses in heat.
Self-watering reservoirs can conceal saturated soil; inspect both the water level and root-zone moisture weekly during cool, cloudy periods.
Real-Life Adjustments I Made After Year One
My first “successful” season still had problems. The linear screen along the railing shaded the cluster behind it by midsummer. I moved the screen pots six inches farther out and raised the back cluster on low stands. Instant improvement.
Wind knocked over two tall pots one spring. I switched those to heavier bases and added a simple stake system for the tomatoes. No more midnight rescues.
I also learned to leave empty space on purpose. One open corner gives me room to add a temporary pot of fall greens later. Or just sit with a cup of coffee and look at the plants without feeling crowded.
These tweaks cost almost nothing. They came from watching how the plants actually behaved instead of forcing a fixed plan.
Scaling the Layout Up or Down
The same principles work if your space is a single windowsill or a full patio. For a tiny balcony I drop to five pots max. One thriller tomato, two herb fillers, two spillers. Done.
For a larger patio I add a second cluster and a short linear run near seating. I still keep total numbers low. Twelve pots is my personal upper limit before the space starts feeling like work instead of pleasure.
The goal stays the same. Every plant gets the light and root space it needs. You can reach every pot without a yoga pose. The whole thing looks intentional rather than accidental.
Frequently Asked Questions
How many containers do I need for a basic container garden layout? I start with five to eight for most small spaces. That number forces good choices and still gives a decent harvest of greens, herbs, and a couple of fruiting plants.
What is the best way to arrange pots for both looks and function in a container garden layout? Group in odd numbers with varied heights. Keep tall plants at the back or center of each cluster. Leave clear paths for walking and watering.
Can I mix vegetables and flowers in the same layout? Yes. I do it every year. Flowers attract pollinators and soften the look. Just match their light and water needs to the vegetables nearby.
How often should I rearrange my container garden layout? I shift things once or twice a season when plants get bigger or the sun angle changes. Big rearrangements happen only in early spring before planting.
Do self-watering containers change the layout rules? They make watering easier but they still need the same light and spacing. I place them where the heaviest drinkers live so the rest of the garden stays simpler.
I still tweak my setup every spring. The core stays the same because it finally works. Eight pots. Clear paths. Plants matched to light. Groups that make sense.
You do not need perfection. You need a layout that lets the plants do their job without constant rescue. Start small. Watch what happens. Adjust next year. That is how I went from frustrated to quietly proud of the little green corner I can actually manage.
Go measure your space this weekend. Write down the sun hours. Then pick your first five pots. The rest will follow once you stop trying to make it look like someone else’s Instagram feed.


