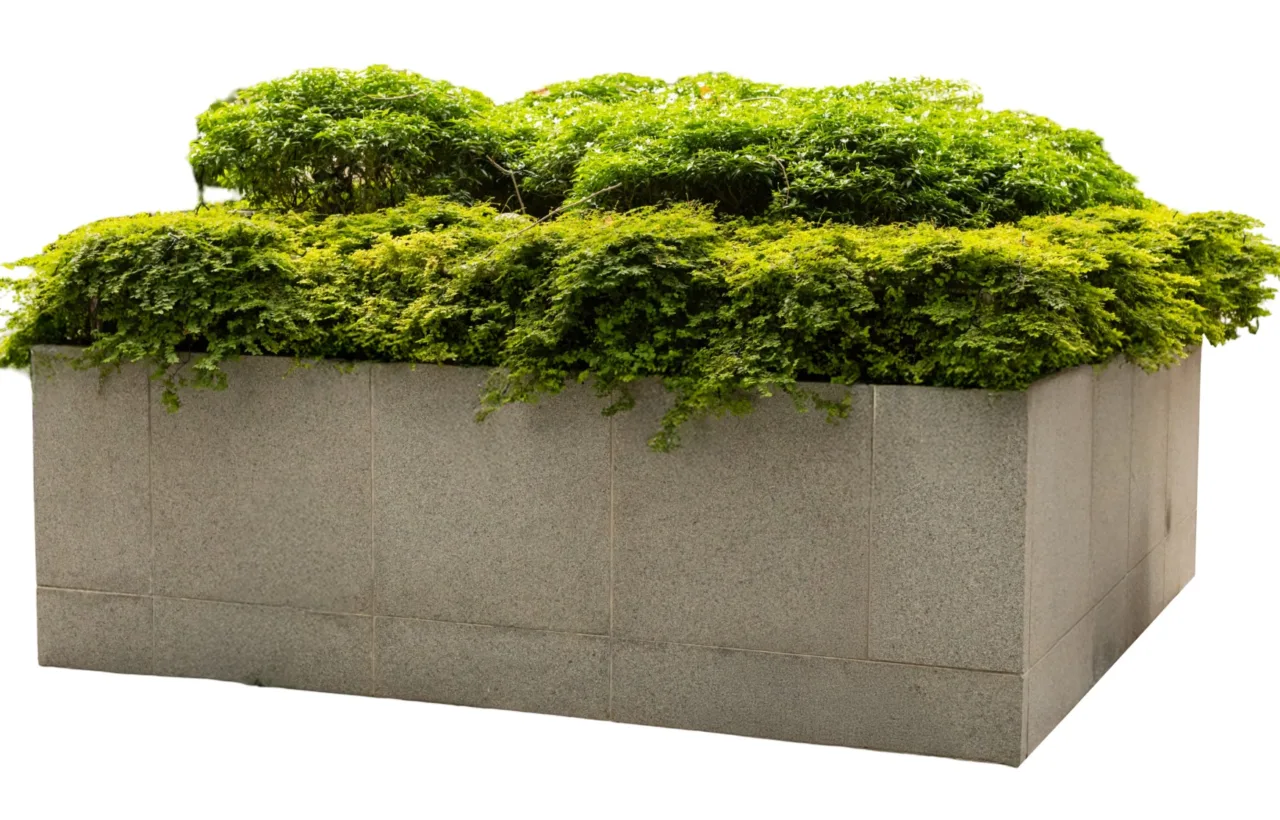

I spent three summers staring at a sad collection of lonely pots on my tiny patio before I figured out a container garden design layout that actually worked. Honestly? The mess of mismatched plastic containers and half-dead herbs nearly made me quit. Then I stopped treating every pot like a separate project and started thinking of the whole space as one connected design. That shift changed everything for me.
I live in a rented place with zero in-ground soil. My entire garden lives in containers. Over the years I tested grouping strategies, height tricks, and plant formulas until I landed on a system that looks intentional instead of accidental. This article shares exactly how I plan and arrange my containers so they feel full, balanced, and productive without needing a big yard.
Why Most Container Setups Fall Flat
I used to grab whatever pots looked cute at the garden center and plop them down wherever there was free space. The result always looked scattered. Plants competed for light. Watering turned into a daily scavenger hunt. Nothing felt cohesive.
See, the problem was not the plants. It was the missing structure. A strong container garden design layout starts with purpose for each spot instead of random placement. Once I assigned roles to different zones of my patio, the whole thing started to make sense.
I learned to treat the space like rooms in a house. Some areas need anchors. Others need framing. A few just need soft edges.
My Core Rules for a Working Container Garden Design Layout
I keep three non-negotiable rules. They save me from the chaos I created in the early years.
Rule one: Give every zone one job. My front entry gets an anchor pot. The corner near the seating area gets a framing cluster. The long edge along the railing gets a linear run. When one pot tries to do two jobs at once, both fail.
Rule two: Vary the heights on purpose. Flat arrangements look unfinished. I mix tall, medium, and low containers so the eye moves up and down. A single tall cylinder next to two lower bowls creates instant depth.
Rule three: Group in odd numbers. Three pots together always look better than two or four. Five works for larger corners. Even numbers feel formal and stiff in my small space.
These rules keep my layout flexible. I can swap plants every season without redesigning the entire setup.
Tape each intended pot footprint on the floor first, then verify doors, chairs, and walking paths remain usable before purchasing containers.
The Thriller-Filler-Spiller Formula I Rely On
Inside each individual pot I still follow the classic formula. It works. I stopped fighting it years ago.
- Thriller: The tall focal plant. I place it in the center for open pots or toward the back for pots against a wall. Ornamental grasses, upright salvias, or a compact tomato cage count as thrillers for me.
- Filler: The mounding plants that bulk out the middle. I reach for coleus, calibrachoa, or bushy herbs like basil. They hide the bare stems of the thriller.
- Spiller: The trailing plants that soften the edges. Sweet potato vine, trailing petunias, or nasturtiums do the job. I let them hang 4 to 6 inches over the rim.
I plant them tightly enough to look full from day one, then thin if needed later. Crowding early looks better than sparse growth for weeks.
How I Map Out the Actual Layout
I start with a rough sketch on paper. No fancy software. Just a quick drawing of my patio shape and the main walking paths.
I mark the sunny spots first. My patio gets strong afternoon light on the left side and softer morning light on the right. Tomatoes and peppers go left. Leafy greens and herbs go right.
Then I decide the pattern for each area.
Patterns That Work in Real Small Spaces
I rotate among five reliable patterns depending on the spot.
Single anchor One large pot. Perfect for the entry or the end of a short path. I keep the rim about 8 to 12 inches away from the wall so it does not feel jammed.
Mirrored pair Two matching pots flanking a door or the start of the seating area. I space them 30 to 40 inches apart so they frame without blocking.
Asymmetrical trio My favorite for corners. Tall pot in the back, medium in the middle, low in front. I arrange them in a loose triangle so the eye travels.
Linear run A row of similar-sized pots along a railing or fence. I break the line every 6 to 8 feet with one slightly taller pot so it does not look like a marching band.
Compact cluster Three to five pots of mixed sizes pushed against a blank wall. The tallest sits closest to the wall. The lower ones step forward. This creates depth on a flat surface.
I dry-fit everything with empty pots first. I leave them in place for two full days and walk past them during normal use. If I bump into one or if a sightline feels blocked, I shift it. This step saves me from moving heavy soil-filled pots later.
Matching Containers to Plants Without Guesswork
Container size decides success more than fancy soil mixes. I learned this the hard way with root-bound tomatoes.
Here is the simple size guide I follow:
- 6 to 8 inch pots: herbs, lettuce, radishes
- 10 to 12 inch pots: bush beans, compact peppers, most annual flowers
- 14 to 16 inch pots: determinate tomatoes, eggplants, larger herbs
- 18 to 24 inch pots or bigger: indeterminate tomatoes, small fruit trees, heavy feeders like zucchini
I always choose pots with drainage holes. No exceptions. I add a layer of broken pottery or coarse material at the bottom if the pot is deep, then fill with quality potting mix. Garden soil packs too tight in containers.
For vegetables I group plants with similar water needs. Herbs that like drier soil go together. Heavy drinkers like tomatoes and cucumbers stay in their own cluster so I can water them more often without drowning the others.
Skip the broken-pottery layer: it can slow drainage. Use a drainage hole, airy potting mix, and a saucer instead.
Real-Life Adjustments I Make Through the Season
My layout is not static. I move pots as the sun angle changes or as plants outgrow their space.
In early spring I keep everything closer together for warmth. By midsummer I spread the larger pots farther apart so air circulates and powdery mildew stays away. When a plant finishes, I pull the whole pot and replace it with a fall crop instead of leaving a gap.
I also use vertical space. A simple trellis in one large pot lets cucumbers or pole beans climb without stealing ground space. Hanging baskets above the railing add another layer without crowding the floor.
One year I tried a full edible layout with eight containers. Two large pots for tomatoes, three medium for peppers and eggplant, and three smaller ones for herbs and salad greens. I arranged them in an L-shape along two sides of the patio. The open corner stayed free for a chair. That setup fed me more than I expected from such a small footprint.
Check railing strength and wind exposure before adding hanging baskets or a cucumber trellis, especially on elevated patios and balconies.
Common Mistakes I Still Catch Myself Making
Even now I slip sometimes.
I used to buy too many small pots because they were cheap. They dried out fast and looked lost. Now I buy fewer larger pots and fill them well.
I also used to ignore wind. Tall narrow pots tip over on gusty days. I weight the bottoms with stones or choose wider bases for anything over 24 inches tall.
Color coordination matters more than I first thought. Too many bright pots fight the plants. I stick to two neutral colors for the containers and let the foliage and flowers provide the variety.
Frequently Asked Questions
How many containers do I need for a good container garden design layout? I started with five and felt overwhelmed. Three well-placed pots already create a finished look. Add more only when the space asks for it.
Can I mix vegetables and flowers in the same layout? Yes. I do it all the time. Flowers attract pollinators that help the vegetables. Just keep the water needs similar within each pot.
What is the easiest pattern for beginners? The asymmetrical trio. One tall, one medium, one low. Place them in a corner and you immediately get depth without complicated math.
How often should I rearrange the layout? I check once a month and make small shifts. Full redesigns happen only at the start of each main growing season.
Does the container garden design layout change for balconies versus patios? The principles stay the same. On a balcony I lean harder on vertical options and lighter pots. Weight limits force me to choose carefully.
Final Thoughts From My Own Patio
I still walk out there some mornings and feel surprised that the space works. The same concrete slab that once held a sad collection of struggling pots now feels intentional. Plants look healthier because they get the light and air they need. Watering takes less time because similar needs sit together. Guests notice the arrangement instead of the individual containers.
Start with one zone and one clear job. Choose a pattern that fits the space. Follow the height and grouping rules. Then plant with the thriller-filler-spiller approach inside each pot. Adjust as the season teaches you.
Your layout will never be perfect on the first try. Mine still shifts every year. That is part of the fun. The goal is not a magazine photo. The goal is a space that feels good to use and keeps producing. Once you lock in a solid container garden design layout, the rest of the growing season gets a whole lot easier.


