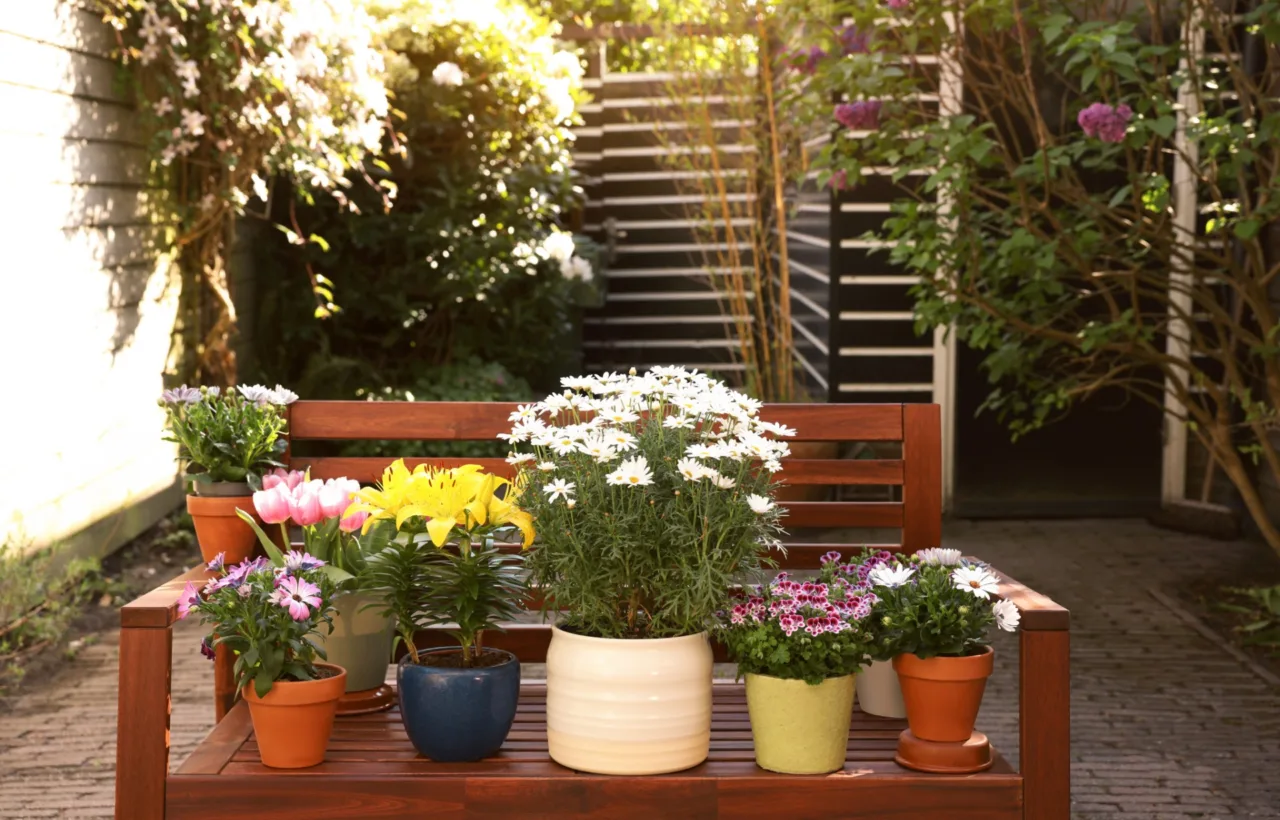

I spent three summers staring at a bare concrete slab and calling it a patio. Nothing grew. Nothing thrived. I kept buying plants that looked perfect at the nursery and watching them crisp up or rot within weeks. Then I finally treated the whole thing like a real system instead of a decoration project. That shift gave me a patio container garden that actually produces herbs, greens, and color all season. I still check the soil with my finger every morning. I still move pots when the light shifts. And I still talk to the plants like they can hear me.
This is the full story of what worked for me on a small deck with limited sun and zero ground to dig into. I share the exact choices that stopped the failures so you can skip the dead plants and wasted bags of soil.
Why I Started a Patio Container Garden in the First Place
I live in a place where the backyard is basically a rectangle of concrete and a couple of chairs. No lawn. No raised beds. Just hard surface and a desire to grow something I could eat or look at while I drink coffee. Traditional gardening was off the table. Containers became the only option that made sense.
Honestly? The first two seasons were rough. I bought pretty pots that looked good next to the table and filled them with whatever soil was on sale. Plants dried out by noon or sat in soggy messes after rain. I almost gave up. See, the problem was not the patio itself. The problem was treating pots like permanent ground instead of portable ecosystems that need different rules.
Once I accepted that difference, everything improved. My patio container garden now gives me salad greens in spring, cherry tomatoes by midsummer, and herbs I actually use in dinner. The space feels alive. That is worth the early frustration.
Concrete can reflect and store heat, making patio containers hotter than local air temperatures, especially beside sun-warmed walls.
Choosing Containers That Do Not Set You Up to Fail
Size and drainage matter more than color or style. I learned this the expensive way. Small pots look cute on a table. They also dry out twice as fast and restrict roots before the plant can do much of anything.
I now follow a simple rule. Go bigger than feels necessary. Leafy greens and most herbs sit in pots that hold at least 2 to 3 gallons. Tomatoes and peppers need 5 gallons minimum, and I prefer 7 to 10 for anything that fruits hard. A 14-inch diameter pot holds roughly three times the soil of a 10-inch one. That extra volume keeps moisture steadier and gives roots room to expand.
Drainage holes are non-negotiable. If a pot lacks them, I drill four or five myself. No exceptions. I elevate every container on small feet or bricks so water can escape completely. Saucers stay empty. Standing water kills roots faster than almost anything else.
Material choices changed too. Terracotta looks classic and breathes well, but it dries out fast in full sun. I use it for Mediterranean herbs that prefer drier conditions. Plastic and resin pots hold moisture longer and stay lighter, which helps when I need to shift things around. Wood works if it is cedar or another rot-resistant type. I avoid thin metal because it cooks the roots on hot days.
I group pots by water needs so the thirsty ones sit together and the drought-tolerant ones stay separate. That simple habit cut my watering stress in half.
Choose light-colored containers for the hottest corner, since dark surfaces absorb solar heat and can overheat roots.
The Soil Mix That Actually Works in Pots
Garden soil has no place in containers. It compacts. It drains poorly. It brings pests and disease with it. I tried it once. Never again.
I buy a quality potting mix labeled for containers or make my own. A reliable blend for me looks like this:
- Two parts good potting mix or coir-based base
- One part perlite or pumice for air and drainage
- A handful of compost or worm castings for nutrients
The mix stays light. Roots can push through it. Water moves without pooling. I replace the entire mix every year or two because salts build up and nutrients run out. Fresh soil gives plants a clean start.
At planting time I mix in a slow-release fertilizer according to the package. Later I switch to liquid feed every couple of weeks during peak growth. Half strength keeps things steady without burning roots. FYI, I flush the pots with plain water once a month to wash out excess salts.
Matching Plants to the Light I Actually Have
My patio gets morning sun and afternoon shade on most of the surface. One corner stays hotter and brighter. I stopped guessing and started measuring. Six or more hours of direct light counts as full sun. Three to five hours is part shade. Less than that means shade-tolerant plants only.
Full-sun pots get determinate cherry tomatoes, peppers, basil, and heat-loving flowers like zinnias or lantana. Part-shade spots hold lettuce, spinach, parsley, and coleus. Deep shade gets ferns or hostas if I want foliage.
I stick to compact or patio varieties whenever possible. Full-size indeterminate tomatoes turn into monsters that need constant staking and more water than I want to haul. Patio types stay manageable and still produce plenty.
Companions matter. I never put a moisture-loving plant next to one that prefers dry feet. Grouping by need keeps everyone happier and reduces the chance of overwatering or underwatering half the collection.
Design Tricks That Make the Patio Feel Full
I use the classic thriller-filler-spiller approach in larger pots. A tall focal plant sits in the center or back. Mounding plants fill the middle. Trailing plants spill over the edges. The combination creates height, volume, and movement without looking random.
One of my favorite combinations right now is a compact ornamental grass as the thriller, colorful coleus or petunias as fillers, and sweet potato vine or calibrachoa as the spiller. It looks intentional from the first day and stays full for months.
Vertical space saves floor area. I hang a couple of baskets and lean a small trellis against the wall for climbing beans or a trailing tomato. The patio still has room for chairs. The plants climb instead of sprawling.
I rotate pots every week or so. Plants grow toward the light and get lopsided if left in the same position. A quick turn keeps them even.
Install trellises before planting, preventing later root disturbance when climbing beans or trailing tomatoes need support.
Watering and Feeding Without the Guesswork
Containers dry out faster than ground soil. That is the single biggest difference. I check the top inch or two with my finger. If it feels dry, I water deeply until liquid runs out the bottom. Shallow daily sprinkles encourage weak surface roots. Deep less-frequent watering builds stronger systems.
Morning is best. Foliage has time to dry and plants take up water before the heat hits. In peak summer some pots need a second check in late afternoon. Larger containers need less frequent attention than small ones. That alone convinced me to size up.
Mulch on top of the soil helps. A thin layer of shredded bark or even pebbles slows evaporation and keeps the surface cooler.
Feeding follows growth. Active plants in warm weather get liquid fertilizer every 10 to 14 days at half strength. I ease off in late summer so new growth does not stay soft going into cooler nights.
For several containers, adjustable drip emitters can deliver consistent moisture while reducing the daily hauling required during peak summer.
Mistakes I Made and How I Fixed Them
I used to cram too many plants into one pot for instant fullness. They competed. Growth stalled. Now I follow spacing guidelines on the tags and accept that the pot looks a little sparse at first. It fills in fast.
I ignored wind. Pots on an open deck can tip or dry out from constant air movement. I moved sensitive ones against the wall and added a couple of heavier pots as anchors.
I watered on a schedule instead of checking the soil. Some days needed nothing. Others needed a thorough soak. The finger test ended the guesswork.
I reused old soil season after season. Plants struggled. Fresh mix every year or two fixed the nutrient and disease issues.
I chose plants that looked pretty without checking mature size. A couple of aggressive growers took over. Now I read the tags and pick compact types on purpose.
Recheck stability after watering, because saturated potting mix becomes substantially heavier and can increase tipping risks on open decks.
Seasonal Adjustments That Keep Things Going
Spring is for cool-season greens and herbs. I start lettuce and spinach early and succession sow every couple of weeks for continuous harvest. Summer shifts to heat lovers. Tomatoes and peppers go in once nights stay warm. Fall brings another round of greens and maybe some ornamental kale for color.
I protect pots from extreme cold by grouping them against the house or moving tender ones indoors. In hot spells I provide temporary shade with an umbrella or move pots to the cooler side of the patio for a few days.
Emptying and refreshing soil between seasons keeps the system healthy. I wash pots if I reuse them to reduce disease carryover.
Frequently Asked Questions
How often should I water a patio container garden? I check the soil every day in warm weather and water only when the top inch or two feels dry. Frequency depends on pot size, plant type, and weather. Larger pots and cooler days mean less often.
What size containers work best for tomatoes and peppers? I use at least 5-gallon pots and prefer 7 to 10 gallons for better moisture retention and root space. Smaller containers dry out too fast and limit production.
Can I use regular garden soil in my patio pots? No. Garden soil compacts and drains poorly in containers. I stick with a lightweight potting mix designed for pots and get far better results.
How do I keep a patio container garden looking full all season? I plant with the thriller-filler-spiller method, rotate pots weekly, and succession sow quick crops like lettuce. Deadheading and light pruning also help plants stay bushy instead of leggy.
Do I need special fertilizer for containers? Yes. Container plants use nutrients faster. I mix slow-release granules at planting and follow with diluted liquid feed every couple of weeks during active growth.
Final Thoughts From My Deck
A patio container garden does not have to be complicated. It just has to respect the limits of pots. Bigger containers, proper mix, matched plants, and consistent finger-check watering turned my failed experiments into a space that feeds me and looks good doing it. I still make small adjustments every season. Plants teach you if you pay attention.
Start with a few solid pots and plants that fit your light. Build from there. The concrete slab does not have to stay empty. Mine certainly did not.


