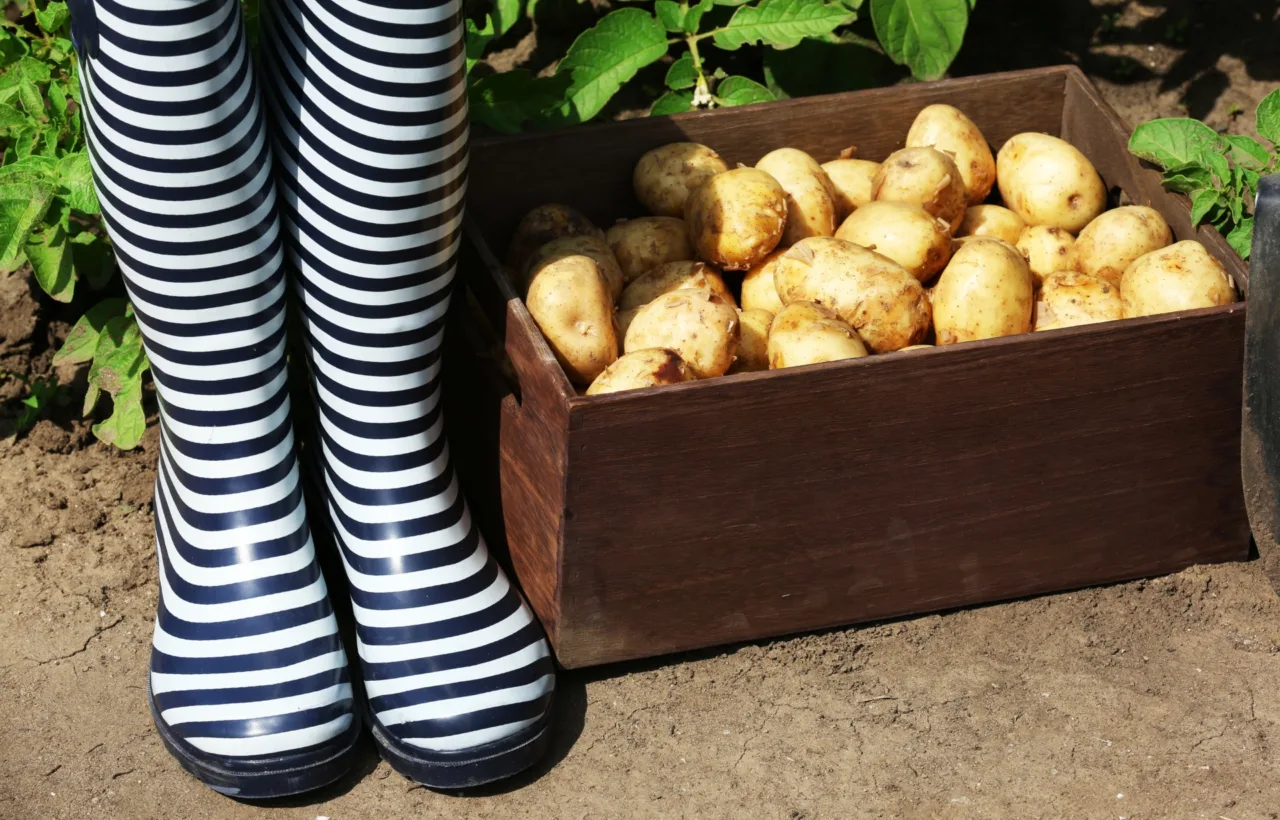

I never had a backyard. Just a small balcony and a stubborn streak. That combination pushed me to master how to grow potatoes in a container years ago, and I have never looked back. Limited space stopped feeling like a barrier the day I pulled my first handful of clean, dirt-free tubers out of a fabric bag. You get the same chance. No digging, no weeds that laugh at you, and a harvest that tastes better than anything from the store.
Honestly? My first try was a mess. I used the wrong soil, crowded too many seed pieces, and watched half the crop rot. The second season taught me the real rules. Now I plant every spring and pull pounds of potatoes from containers that sit right outside my kitchen door. Here is everything I do, step by step, so you can skip the failures I already made.
The Container That Actually Works
Size matters more than looks. I learned that the hard way when a cute 5-gallon bucket gave me three sad potatoes.
Go for a container that holds 10 to 15 gallons and stands at least 14 to 24 inches tall. Fabric grow bags are my favorite. They drain well, fold flat for storage, and let me tip the whole thing over at harvest. Opaque plastic tubs or food-safe buckets work too, as long as you drill plenty of drainage holes in the bottom and a few up the sides. Avoid clear containers. Light turns potatoes green and toxic.
I keep mine on wheeled plant caddies now. Moving a heavy, wet container by hand is a workout I no longer need. Place it where it gets 6 to 8 hours of direct sun. Morning sun is ideal. Afternoon heat in peak summer can cook the roots if the pot sits on hot concrete.
See, the container itself becomes the garden. Choose well and half the battle is already won.
Choose a light-colored opaque container when possible, because dark plastic on hot concrete can overheat potato roots during peak summer.
Choosing and Prepping Seed Potatoes
Skip the grocery store potatoes. Most get treated to stop sprouting. I buy certified seed potatoes from a garden center or online. They arrive disease-free and ready.
Early varieties finish faster and suit containers best. I stick with Yukon Gold, reds, fingerlings, and the occasional purple. They stay smaller and produce more tubers in limited space. Main-crop storage types can work, but they need more room and time.
If the seed potatoes are large, I cut them into 1- to 2-inch pieces. Each piece needs at least one or two eyes. Then I let the cut surfaces dry for a day or two so they callus. That simple step cuts the risk of rot almost completely. Small seed potatoes go in whole.
Chitting is optional but helpful. I set the pieces in an egg carton in a cool, bright room for a couple of weeks until short sprouts appear. The head start shows in faster growth once they hit the soil.
For a 10 to 15 gallon container, plant only three or four seed pieces to reduce crowding and encourage larger tubers.
The Soil Mix I Swear By
Garden soil has no place in a container. It packs down, holds too much water, and often carries disease. I mix half high-quality soilless potting mix with half well-rotted compost. That blend stays light, drains freely, and still holds enough moisture. Potatoes like slightly acidic conditions, so I skip lime.
I also toss in a handful of slow-release organic fertilizer at planting. Later I switch to a diluted liquid feed every couple of weeks. High-nitrogen fertilizers push leafy growth at the expense of tubers. I avoid those.
Fill the container with only 4 to 6 inches of the mix at the start. You will add more as the plants grow. That is the whole point of container potatoes.
How I Plant Potatoes in a Container
This part feels almost too easy.
I set the container in its sunny spot first. Then I place the seed pieces on the soil with the eyes facing up. In a 15-gallon bag I usually plant three or four pieces, spaced 5 to 8 inches apart and a few inches from the sides. Overcrowding is the fastest way to get tiny potatoes.
Cover them with another 2 to 4 inches of mix. Water gently until moisture runs out the bottom. Then walk away. Within a week or two green shoots push through.
That is it for planting day. The real work comes later, and it is still simple.
Hilling as They Grow
Once the stems reach 6 to 8 inches tall, I add more soil or compost. I cover everything except the top few inches of leaves. This is called hilling or earthing up. New potatoes form along the buried stems, so each layer gives you more tubers.
I repeat the process every time the plants grow another 6 inches or so. By midsummer the container is nearly full. Leaving some foliage exposed keeps the plant making food. Covering the stems keeps light off the developing potatoes so they stay white and edible.
I tried skipping hilling once. The harvest was half the size. Never again.
Watering and Feeding Without the Drama
Containers dry out faster than ground beds. I check the top inch of soil every day in warm weather. When it feels dry, I water thoroughly until excess drains out. Consistent moisture matters. Let the pot dry out completely and the plants stall. Keep it soggy and the tubers rot.
In peak heat I sometimes water every other day. A layer of straw on top helps hold moisture and keeps the soil cooler. FYI, I never let the foliage wilt if I can help it.
Fertilizer stays light. Every two weeks I give a diluted fish emulsion or balanced liquid feed. That is enough. Overfeeding creates lush tops and few potatoes underneath.
Common Mistakes I Made So You Do Not Have To
I crowded the seed pieces the first year. Result: tiny, competing plants and a pathetic yield. Space them properly.
I used garden soil once. It turned into concrete and the potatoes sat in water. Stick to potting mix and compost.
I placed a container in partial shade. The plants stretched and produced almost nothing. Full sun is non-negotiable.
I harvested too early out of impatience. The skins were thin and the potatoes did not store well. Wait until the tops start to yellow and die back for mature tubers. Or dig carefully for new potatoes a few weeks after flowering if you want tender baby ones.
Harvest Day Is the Best Part
For new potatoes I reach in carefully a few weeks after the plants flower. For full-size tubers I wait until the foliage yellows and collapses. Then I tip the entire container onto a tarp or into a wheelbarrow. The potatoes spill out clean and easy to collect. No shovel. No sore back.
I brush off the soil and let them cure in a cool, dark spot for a few days if I plan to store them. Most of mine never last that long. Fresh potatoes cooked the same day they come out of the bag taste like a different vegetable.
One 15-gallon bag usually gives me several pounds. Multiple bags turn into a steady supply through summer and fall.
Varieties That Shine in Containers
Early types finish in 70 to 90 days and fit the container lifestyle perfectly. Yukon Gold gives creamy flesh that holds up in any recipe. Red potatoes stay firm and colorful. Fingerlings produce long, slender tubers that look fancy on a plate. Purple varieties add color and a slightly nutty flavor.
I plant a mix so I can harvest over a longer window. Determinates tend to set most of their tubers at once. Indeterminates keep producing along the stems as you hill, which suits the layered method.
IMO the best choice is whatever you actually like to eat. Grow what you will use.
Frequently Asked Questions
How many seed potatoes can I plant in one container? In a 10- to 15-gallon container I plant three or four pieces max. More than that and they fight for water and nutrients. Each plant needs roughly 2.5 to 5 gallons of space to produce well.
Can I grow potatoes in a 5-gallon bucket? Yes, but expect a smaller harvest. Drill drainage holes, plant only one or two seed pieces, and hill carefully. A larger container simply performs better.
Do I need to chit the seed potatoes before planting? It is not required, but it helps. Short sprouts give the plants a faster start once they are in the soil. I chit when I have the time and skip it when I do not.
How often should I water container potatoes? Check the soil daily in warm weather. Water when the top inch feels dry, and water deeply enough that excess runs out the bottom. Consistency beats any fixed schedule.
When is the best time to harvest potatoes grown in a container? For tender new potatoes, dig carefully a few weeks after flowering. For mature storage potatoes, wait until the tops yellow and die back. That is when the skins have set and the flavor peaks.
I still get a small thrill every time I tip a bag and watch the potatoes roll out. Growing food in such a small footprint feels almost like cheating. The method is straightforward once you stop overthinking it. Pick a solid container, use the right mix, plant with space to spare, hill as the plants climb, and keep the water steady.
Start with one bag this season. Taste the difference. Then decide how many more you want next year. Fresh potatoes grown a few steps from your kitchen door change the way you think about small-space gardening. I know they changed mine.


