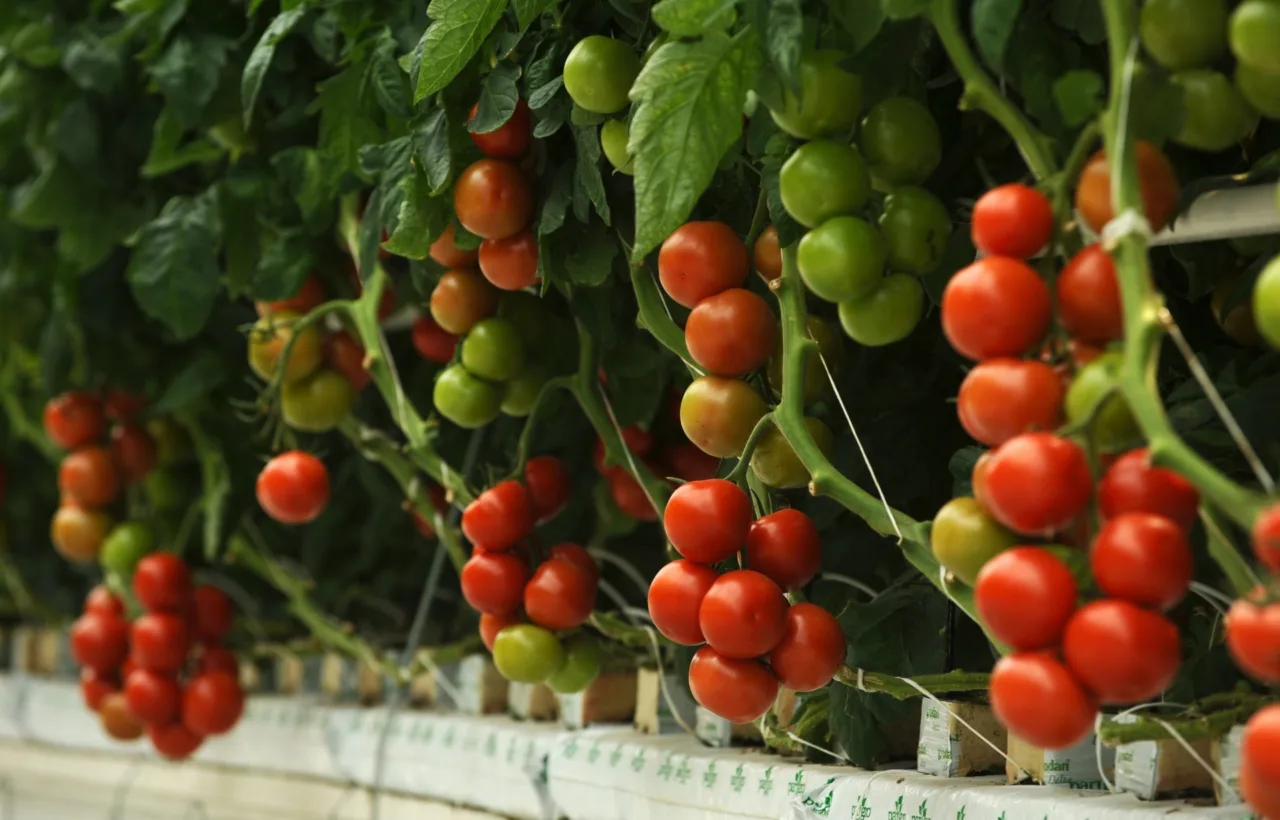

I spent three summers watching sad little tomato plants struggle in undersized pots before I got container tomatoes growing right. The leaves yellowed. The fruit cracked. The harvest stayed tiny. Then I changed a handful of habits and the plants started pumping out more tomatoes than I could eat. This guide walks through exactly what worked for me so you can skip the wasted seasons.
I live in a rental with zero yard. My only growing space sits on a third-floor balcony that gets decent sun. Container tomatoes growing became my only option if I wanted fresh fruit. I tried the cheap route first. Small pots. Garden soil scooped from a friend’s bed. Random seedlings from the big-box store. Results disappointed me every time. Honestly? I almost quit.
See, the shift happened when I treated the pots like a complete system instead of a smaller version of a garden bed. Bigger containers. Better mix. Steady water. The right varieties. That combination turned things around. Now I pull pounds of tomatoes from five pots every summer. You can do the same.
Why I Prefer Container Tomatoes Growing Over Traditional Beds
Space forced my hand at first. Then I noticed real advantages. Containers let me move plants to chase the sun. They warm up faster in spring. They drain better when I choose the right ones. Pests stay easier to spot and manage. I control the soil completely. No mystery diseases from last year’s ground.
I still miss the casual abundance of a big plot. But the quality from my pots matches anything I used to grow in the ground. The fruit tastes the same. The plants stay healthier because I never let them sit in soggy soil. FYI, the portability alone makes container growing worth it for anyone with a patio or balcony.
One plant per pot remains my hard rule. Crowding kills airflow and invites trouble. I learned that the expensive way when two plants shared a 10-gallon bag and both underperformed.
Choosing Tomato Varieties That Thrive in Pots
Not every tomato handles container life well. I wasted money on big indeterminate beefsteaks that grew into monsters and produced almost nothing. Compact types give better results in limited root space.
For a tiny patio, compare mature height and spread, not just “container” labeling, since compact determinate plants vary considerably in footprint.
Determinate Versus Indeterminate in Containers
Determinate plants grow to a fixed size, set most of their fruit in a shorter window, and stay manageable. These work best for most container setups. Indeterminate vines keep growing and fruiting until frost. They need larger pots and stronger support if you try them.
I stick mostly with determinate and dwarf varieties now. They reward me with steady harvests without constant pruning battles. Cherry types especially shine. They produce early and keep going.
My current favorites include:
- Patio Princess for reliable medium fruit on a compact bush
- Bush Early Girl when I want slicers sooner
- Sungold or other cherry hybrids for sweet snacks that never stop
- Tiny Tim or Tumbling Tom for hanging baskets or the smallest pots
I still experiment with one indeterminate each year in a 20-gallon fabric bag. Cherokee Purple has worked when I give it enough room and a sturdy cage. The flavor justifies the extra effort for me. Most beginners should start with the compact options though. They forgive mistakes better.
The Container Size Mistake That Nearly Ruined Everything
I used 3-gallon pots the first year. The plants looked fine for a month. Then growth stalled. Water ran out by noon on hot days. Fruit stayed small and cracked. I thought I just lacked a green thumb.
Bigger pots change the game. Roots need space. More soil holds more moisture and nutrients. The plant stays less stressed. Stress reduces yield.
My current minimums look like this:
- Cherry or dwarf types: 5 gallons
- Standard determinate slicers: 10 gallons
- Larger or indeterminate plants: 15 to 20 gallons
I prefer fabric grow bags for most of my plants. They air-prune roots and prevent circling. They stay lighter than ceramic when full. Plastic pots work fine too if they have drainage holes. I avoid unglazed terra cotta now. It dries out too fast in my climate.
Depth matters as much as width. Aim for at least 12 inches deep. Twenty-four inches feels even better for bigger plants. One plant per container always. I tried doubling up once. Never again.
Check your balcony’s load rating before filling 15 to 20 gallon containers, since saturated soil, plants, and pots become surprisingly heavy.
Soil, Drainage, and Planting the Smart Way
Garden soil fails in pots. It packs down. It holds too much water or none at all. It brings pests and diseases. I use a high-quality potting mix every time. The bag should list perlite or similar for drainage and aeration.
I mix in a slow-release tomato fertilizer at planting. Some potting mixes already include it. Read the label. Extra compost helps too, but keep the mix light.
Drainage holes are non-negotiable. Water must escape. I elevate pots slightly on feet or bricks so water does not sit underneath. Root rot ends the season fast.
Planting depth surprises new growers. Tomatoes form roots along buried stems. I strip the lower leaves and set the plant deep. Only the top few sets of leaves stay above the soil line. This creates a stronger root system that supports heavier fruit later.
I plant after nights stay above 50 degrees. Cold slows everything and invites problems. Timing varies by location, but patience pays off.
Skip gravel layers inside pots: they reduce usable root volume without improving drainage, so keep the mix continuous above the drainage holes.
Watering and Feeding My Container Tomatoes Through the Season
Containers dry out faster than ground beds. Inconsistent moisture causes blossom end rot and cracked fruit more than any other factor. I check soil daily with my finger. When the top inch or two feels dry, I water deeply until it runs out the bottom.
Morning watering works best for me. Leaves dry faster and disease pressure drops. I avoid wetting the foliage when possible. Mulch on top of the soil helps hold moisture longer. I use straw or shredded leaves.
Hot stretches demand daily attention. Sometimes twice a day in peak summer. Larger pots buy more forgiveness. Small pots punish every missed watering.
Fertilizer follows a simple pattern. Balanced feed early for leafy growth. Switch to higher potassium once flowers appear. I use a tomato-specific liquid fertilizer every two weeks during fruiting. Slow-release pellets at planting cover the first stretch.
Calcium helps prevent blossom end rot. I add a bit of crushed eggshell or a calcium supplement if I see early signs. Consistent watering does more than any supplement though.
Group containers during heat waves to reduce wind exposure and evaporation, while keeping enough spacing for airflow around tomato foliage.
Support, Sun, and Daily Care Habits That Keep Plants Happy
Tomatoes need sun. Six to eight hours minimum. More is better. My balcony gets good southern exposure. I move pots when needed. Casters under larger containers make this easy.
Support goes in at planting time. Waiting until the plant grows large makes installation awkward and risks root damage. Simple cages work for determinate plants. Tall stakes or larger cages handle the vines. I tie stems loosely with soft ties as they grow.
I prune only the lower leaves that touch the soil. This improves airflow. Heavy pruning of determinates reduces yield, so I stay light-handed.
Pests show up. Aphids and whiteflies appear most often. A strong spray of water or insecticidal soap handles them for me. I check under leaves regularly. Catching problems early keeps them small.
Heat above 90 degrees can pause fruit set temporarily. I accept the pause and keep watering. Production resumes when temperatures ease.
On still balcony days, gently tap each flowering stem or cage once daily to help release pollen when wind is absent.
Common Pitfalls I Learned the Hard Way
Small containers top the list of failures. Next comes irregular watering. Poor soil follows close behind. Planting too early in cold weather stunts plants for weeks. Skipping support lets stems break under fruit weight.
Over-fertilizing with high nitrogen produces lush leaves and few flowers. I made that mistake once. The plants looked gorgeous. The harvest stayed disappointing.
One plant per pot prevents competition. Good airflow reduces fungal issues. I space my containers so leaves do not constantly touch each other.
Tracking what works each season helps. I note varieties, pot sizes, and any issues in a simple notebook. Patterns emerge fast.
Frequently Asked Questions
How big should a pot be for container tomatoes growing? Most determinate plants need at least 5 to 10 gallons. Larger varieties perform better in 15-gallon or bigger containers. Bigger almost always wins.
Can I grow indeterminate tomatoes in containers? Yes, if you give them 15 to 20 gallons of space, strong support, and consistent care. I do it with one plant each year for the flavor payoff.
Why do my container tomatoes get blossom end rot? Inconsistent watering causes most cases. Keep soil evenly moist and add calcium if needed. The problem often corrects itself once moisture stays steady.
How often should I fertilize tomatoes in pots? Start with slow-release at planting. Switch to liquid tomato fertilizer every one to two weeks once flowering begins. Follow label rates.
Do I need special soil for container tomatoes? Use a quality potting mix designed for containers. Avoid garden soil. Good drainage and aeration matter more than anything else.
I still get excited every spring when the first flowers appear. The first ripe tomato of the season tastes better than anything from the store. Container tomatoes growing rewards the attention you give it. Start with the right size pot and variety. Keep the water steady. Feed the plants when they need it. The harvest follows.
Grab a couple of big containers this season. Plant one good determinate and one cherry type. Follow the basics I outlined. You will taste the difference. And you might find yourself planning next year’s pots before this season even ends. I certainly do.


