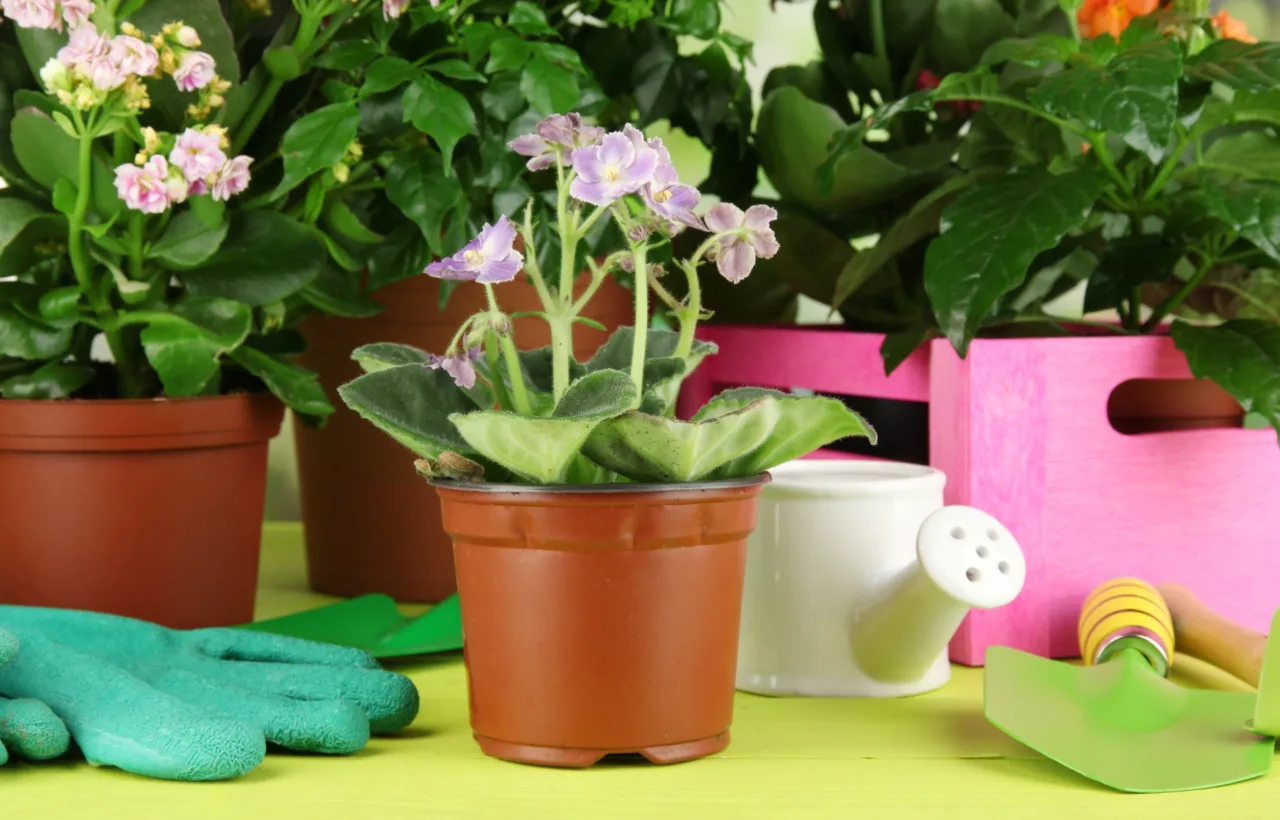

I never planned to fall this hard for a container fairy garden. One bored Saturday I grabbed an old terracotta pot from the garage, some leftover soil, and a handful of tiny plants. By evening I had a miniature world sitting on my patio table, complete with a crooked pebble path and a plastic fairy that looked suspiciously like it came from a cereal box. That small project hooked me. If you want a low-commitment way to add whimsy without digging up the yard, this is it.
Honestly? I almost quit after my first try turned into a soggy mess. The soil stayed wet for days. Half the plants yellowed. I felt ridiculous. Then I fixed the drainage, swapped a few plants, and everything clicked. Now I keep two of these little gardens going year-round. One lives on the kitchen windowsill. The other sits outside until frost threatens.
You do not need a big budget or a green thumb. You just need a container, the right soil mix, a few miniature plants, and the willingness to rearrange things until it feels right. Let me walk you through exactly what worked for me.
Choosing the Right Container for Your Fairy Garden
The container sets the whole vibe. I started with a basic 14-inch terracotta pot because it was free and already had a drainage hole. That choice saved me. Without drainage, the soil stays waterlogged and roots rot fast.
Wide and Shallow Beats Tall and Deep
I learned this the hard way. Tall pots waste soil at the bottom and leave little surface area for paths and houses. Wide, shallow containers give you room to create an actual scene. Look for something at least 12 inches across and 4 to 6 inches deep. Terra cotta works well outdoors because it breathes. Plastic holds moisture longer, which helps if you forget to water. Wooden crates look rustic but need a liner and extra holes.
Here are the containers I have actually used with success:
- Broken terracotta pot: I smashed one on purpose (gently) and used the shards to create terraces. Instant hills and cliffs.
- Old wooden fruit crate: Lined it with plastic, poked holes, and filled it. The rustic look fits a woodland theme perfectly.
- Galvanized washtub: Heavy, but it holds a bigger scene and drains well once I drilled the bottom.
- Vintage suitcase: I tried this for an indoor version. Lined it carefully and it became a portable garden I could move from room to room.
Avoid anything without drainage unless you plan to water with extreme care. I once used a ceramic bowl with no holes. The plants drowned within a week. Never again.
Gathering Materials Without Spending a Fortune
You can build a solid container fairy garden for under $30 if you shop smart. I hit the dollar store, thrift shops, and my own backyard first.
Must-have supplies:
- Quality potting mix (never garden soil—it packs down and stays too wet)
- Small gravel or pebbles for the drainage layer and paths
- 4 to 7 miniature plants
- A few natural bits: twigs, moss, small stones, pinecones
- Optional: tiny house, fairy figurine, or bridge
I skip most of the expensive resin accessories. Twigs become fences. A flat stone turns into a patio. A piece of broken pottery makes a perfect bench. FYI, moss from the shaded side of my fence works better than the dried craft-store stuff. It stays green longer and looks alive.
For soil, I mix my own when I can. Two parts potting mix, one part perlite, and a handful of compost keeps things light and draining. Store-bought cactus mix works great if you lean toward succulents.
A thrifted ceramic bowl becomes a planter only after drilling drainage holes; reserve unmodified pottery pieces for raised decorative features.
Picking Plants That Stay Small and Happy
Scale is everything. A regular hosta will swallow the whole scene in a month. I stick to slow growers with tiny leaves.
My current favorites:
- Baby’s tears: Creates a soft green “lawn” that hugs the ground.
- Elfin thyme: Smells good and stays low. Bees love it.
- Hen and chicks: Perfect little rosettes that look like fairy cushions.
- Miniature ferns: Add that woodland feel without taking over.
- Irish moss: Soft, dense, and great for paths edges.
- Dwarf mondo grass: Looks like tiny blades of grass.
I group plants by light and water needs. Mixing a sun-loving succulent with a moisture-loving fern is a recipe for failure. One of my early gardens had both. The fern dried out while the succulent sat in mud. Lesson learned.
For indoor versions I lean toward polka-dot plant and small peperomias. They tolerate lower light and still look magical.
Read mature height and spread, not nursery-pot size; place baby’s tears and Irish moss at edges, taller ferns toward the back.
Step-by-Step: How I Build a Container Fairy Garden
I follow the same process every time. It keeps things simple and prevents the chaos of my first attempt.
Prep the Container
Clean it well. If there are no drainage holes, drill a few. Cover the holes with a scrap of mesh or a coffee filter so soil does not wash out. Add a 1-inch layer of gravel. This keeps the roots from sitting in water.
Add Soil and Sketch the Layout
Fill with potting mix to about an inch below the rim. Now comes the fun part. I place the biggest accessory first—usually a tiny house or a large rock. Then I mark where the path will go with a finger. Everything else builds around that.
Plant Before You Decorate
Dig small holes with a spoon. Settle the plants so the soil line sits level with the surrounding mix. Press gently. Water lightly right away so the soil settles. Wait until the next day to add the tiny details. Wet soil shifts and knocks things over.
Finish With Paths and Accessories
I create a winding path with small pebbles. A few larger stones become boulders. Twigs form a fence or bridge. Moss fills the bare spots. The fairy figure goes in last, usually near the house as if she just stepped outside.
One tip that changed everything for me: leave some open soil. Overcrowding looks busy and makes watering hard. Less is more. IMO, a sparse garden feels more inviting than a cluttered one.
Common Mistakes I Made (So You Do Not Have To)
My first container fairy garden lasted three weeks. Here is what went wrong and how I fixed it.
Overwatering. I treated it like a regular houseplant. The soil stayed soggy. Now I water only when the top inch feels dry. A spray bottle works better than a watering can for small setups.
Wrong soil. Garden dirt compacted and stayed wet. Potting mix fixed that instantly.
Too many tall plants. Everything grew out of scale. I now prune regularly and choose slower growers from the start.
No theme. My first version looked like a random pile of cute stuff. Now I pick a simple idea—woodland path, beach nook, or cottage garden—and stick to it. Cohesion makes the whole thing feel intentional.
Skipping drainage. I already covered this, but it bears repeating. Without it, you fight mold and rot the whole time.
If mold appears despite a dry surface, increase airflow before watering less, because dense moss and crowded foliage can trap humidity.
Keeping Your Container Fairy Garden Alive Long-Term
Maintenance is light if you set it up right. I check mine every few days. Pinch back any plant that starts to dominate. Remove yellow leaves. Refresh the moss if it fades.
Outdoors, I move the pot to a sheltered spot during heavy rain. Indoors, I rotate it weekly so all sides get light. Every spring I top up the soil and replace any plant that looks tired.
Fertilizer stays minimal. A half-strength liquid feed once a month in growing season is plenty. Too much and the plants grow too fast and lose their miniature look.
Winter is simple. Outdoor versions come inside before the first hard frost. Indoor ones just need consistent light and careful watering.
Frequently Asked Questions
How big should a container fairy garden be for beginners? Start with something 12 to 16 inches wide. Anything smaller feels cramped once you add a path and a few plants. Anything much larger needs more plants and more maintenance than most beginners want.
Can I make a container fairy garden indoors? Yes. Choose plants that handle lower light and keep the pot near a bright window. A glass terrarium works if you want higher humidity, but open containers are easier to manage day to day.
What if I do not have drainage holes? Drill them if you can. If the container is too nice to drill, use a very light hand with water and add a thick gravel layer at the bottom. Still, drainage holes remain the better option.
How often should I water a container fairy garden? Check the soil with your finger. Water when the top inch feels dry. In hot weather that might mean every two or three days. In cooler or indoor spots it can stretch to a week. Consistency matters more than a strict schedule.
Do I need special fairy garden plants? No. Any small, slow-growing plant that matches the light conditions will work. The “fairy garden” label on nursery tags is mostly marketing. Focus on scale and growth habit instead.
Final Thoughts From My Patio Table
Building a container fairy garden taught me more about patience than any full-size bed ever did. The scale forces you to slow down. You notice every leaf and every pebble. My current outdoor version has a tiny stone bridge I made from two flat rocks and a stick. The fairy sits on it most days, looking like she is waiting for someone. I catch myself smiling at it while I drink my morning coffee.
You do not need perfection. My first attempt was messy and half-dead. The second one looked better. The third one finally felt like mine. Start small. Use what you have. Rearrange until the scene makes you happy. That is the whole point.
Grab a pot this weekend. Fill it with soil and a few tiny plants. Add a path. Place one small figure. Then step back and look at the little world you just made. I bet you will want to build another one before the week is over.


