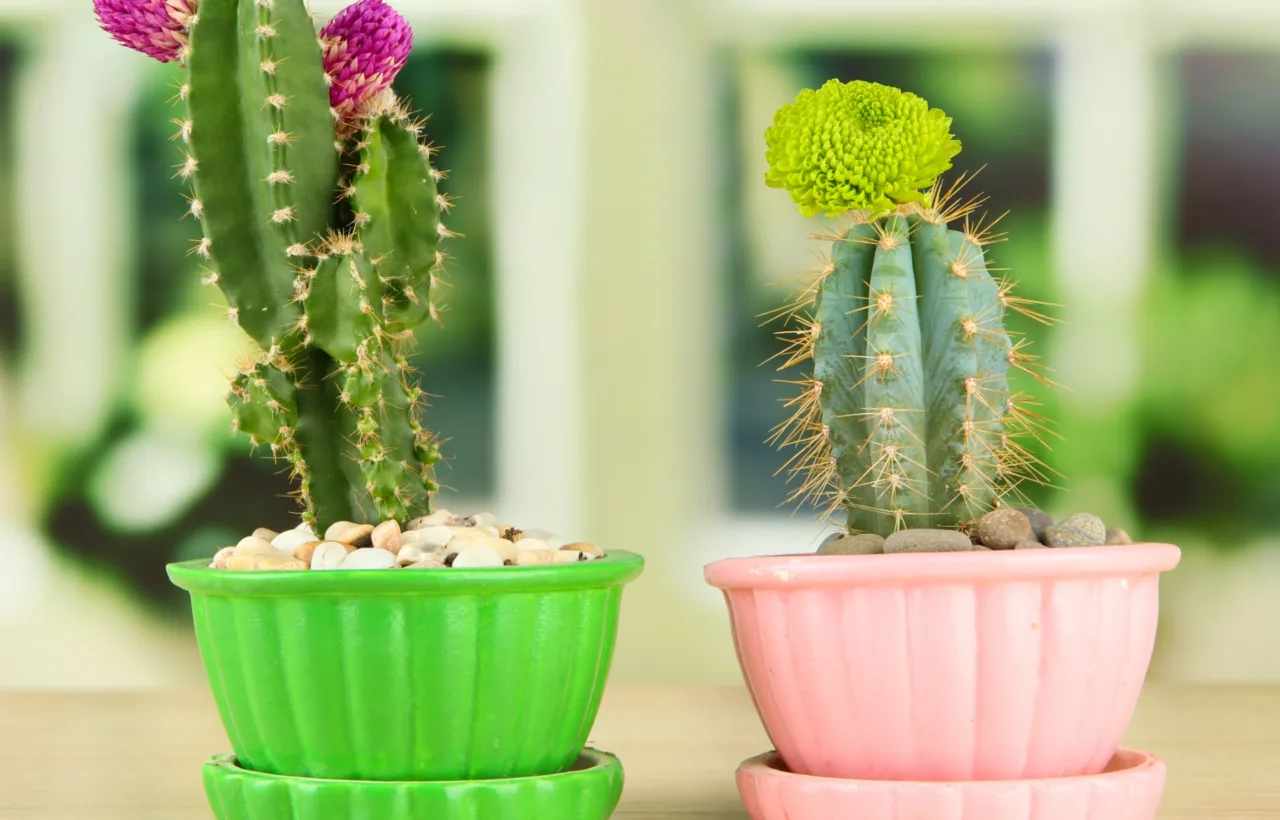

I spent two years killing every succulent that crossed my path. Cheap plastic pots. Fancy glazed ceramics. Even a couple of those trendy geometric ones from the big-box store. Nothing lasted. The leaves turned mushy. The roots rotted. I almost gave up and stuck to fake plants.
Then I started treating the container like the real star of the show. That shift changed everything. Now my windowsills, patio steps, and even the bathroom shelf hold living arrangements that actually thrive. These succulent container ideas came from trial, error, and a whole lot of thrift-store digging. I share them here because they work for regular people who forget to water sometimes and still want something that looks intentional.
Why Drainage Rules Every Single Choice
Succulents hate wet feet. I learned this the expensive way after three echeverias turned to soup in a pretty bowl with no holes. The soil stayed damp for days. Roots had nowhere to go.
Every good container needs drainage. Holes in the bottom. Or a thick layer of gravel if you refuse to drill. I drill almost everything now. Ceramic, tin, even some wood. A cheap masonry bit and a steady hand do the job.
Soil matters just as much. I mix my own: half cactus potting mix, half perlite. Sometimes I throw in a handful of coarse sand. It dries fast. That speed keeps the plants happy between my sporadic watering sessions.
I used to overthink the size. Big pots looked impressive until the soil stayed wet for weeks. Shallow bowls work better for most of my collection. Six to eight inches deep is plenty. Roots stay compact. Air circulates.
Upcycled Everyday Items That Work Surprisingly Well
Thrift stores became my favorite hunting ground. I walk the aisles looking for anything with potential drainage or a shape that feels right next to fleshy leaves.
Place a removable nursery pot inside an undrilled thrift find, preserving drainage while letting you change the display later.
Teacups and Odd Mugs
I keep a row of mismatched teacups on the kitchen sill. Each holds one small haworthia or a tiny sedum. The floral patterns make the green look even brighter. I drill a single hole in the bottom of every cup. A thin layer of gravel sits under the soil. They dry out in two days max. Perfect for my forgetful watering schedule.
One mug still has a chip on the rim. I left it. The imperfection matches the slightly wrinkled leaves of the jade plant inside. Friends always ask where I bought the set. I just smile and say the thrift store.
Wooden Crates and Old Boxes
A weathered wine crate sits on my patio table. I lined it with landscape fabric, filled it with the fast-draining mix, and packed it with hens-and-chicks and trailing sedum. The wood breathes. The fabric keeps the soil from leaking everywhere. After one season the crate looks even better with a few water stains.
I stacked two smaller crates at different angles last summer. The height difference created natural pockets for taller aloes in the back and low rosettes in front. Rain drains straight through. No rot so far.
Tin Buckets and Colanders
Kitchen castoffs shine here. An old colander already has perfect holes. I set it on a tray, filled it, and planted string of pearls around the edges. The pearls cascade through the holes. It looks deliberate. FYI, the metal heats up fast in direct sun, so I move it to partial shade on the hottest days.
A dented tin bucket holds a dark aeonium and a couple of spiky aloes. I drilled four holes in the base. The dark metal makes the purple-black leaves pop. I water less often than with clay because the metal holds heat and dries the soil quicker.
Classic Pots I Keep Coming Back To
Not everything needs to be upcycled. Some materials just perform better.
Terracotta stays my daily driver. It wicks moisture away from the roots. I have a collection of shallow terracotta bowls in different sizes. One holds a single large echeveria. Another mixes three or four varieties with different textures. The clay color softens bright greens and makes pink-tipped leaves look richer.
Concrete bowls feel heavier and more modern. I use them outdoors. The weight keeps them stable on windy days. One wide concrete dish holds a mixed planting of sempervivum that spreads into a living carpet. I top-dress with small pebbles so the soil stays put during storms.
White ceramic pots show off colorful succulents best. I keep a few on the dining table for centerpieces. They look clean. The plants become the only decoration needed. I still drill holes even in the expensive ones. Pretty does not excuse poor drainage.
Terracotta absorbs moisture and can crack during freezing weather, so move shallow bowls indoors before hard freezes.
Outdoor Succulent Container Ideas for Steps and Patios
My front steps used to look bare. Now they hold a mix of containers that survive heat and the occasional neglected week.
Driftwood became an accidental favorite. I found a piece on a beach trip, drilled shallow pockets, and tucked in small sempervivum. They rooted right into the wood. I set the whole thing flat on a low table. It looks like something that grew there on its own.
Strawberry pots work better than I expected. The side pockets hold hens-and-chicks that spill outward. The top holds a taller aloe. Water runs through every level. I bring the whole pot inside when nights drop below freezing.
Hanging containers free up floor space. A simple wire basket lined with coir holds cascading burro’s tail and string of bananas. I hang it from a shepherd’s hook near the door. It softens the hard lines of the house. Watering means taking it down every couple of weeks, but the look is worth the extra step.
Rinse beach-found driftwood thoroughly and let it dry completely before planting, since trapped salt can damage sempervivum roots.
Arrangement Tricks I Learned After Too Many Failures
I used to jam every plant I owned into one pot. The result looked busy and stressed. Now I follow a simple rhythm.
One strong focal plant. One or two fillers with different leaf shapes. One trailer that softens the edge. That formula works in almost any container. An echeveria as the star. A couple of haworthias or sedums as fillers. String of pearls or burro’s tail spilling over.
Color contrast matters more than matching. Blue-green next to deep purple. Chartreuse next to silver. I stop when the arrangement feels balanced rather than full.
Spacing helps more than packing. Succulents grow slowly. Leaving a little room between plants keeps air moving and reduces the chance of rot. IMO, a slightly sparse look beats a crowded one that collapses by month three.
I top-dress almost everything with small gravel or crushed shells. It keeps soil from splashing, slows evaporation just enough, and finishes the look. White gravel against dark leaves. Dark gravel against pale ones.
Arrange the echeveria, fillers, and trailer outside the container first, then photograph the layout before disturbing roots.
Care Habits That Keep These Containers Alive
Water only when the soil is bone dry. I stick a finger in up to the second knuckle. If it feels dry, I water thoroughly until it runs out the bottom. Then I wait. Most of my outdoor containers need water every ten to fourteen days in summer. Indoors it stretches longer.
Light is non-negotiable. Most of my arrangements sit where they get at least four hours of direct sun. The ones in lower light stay smaller and stretch a bit, but they still look good. I rotate pots every few weeks so growth stays even.
I fertilize lightly once in spring with a diluted cactus formula. That is it. Too much food pushes soft growth that attracts pests.
Pests show up sometimes. Mealybugs hide in the leaf joints. I dab them with a cotton swab dipped in rubbing alcohol. Early catches save the whole pot.
Frequently Asked Questions
Do I really need to drill holes in every container? Yes. I tried the no-hole method with a gravel layer more times than I care to admit. The soil still stayed wet too long. Holes give excess water a real exit. Drill them.
What soil mix works best for these succulent container ideas? I use a bagged cactus mix cut fifty-fifty with perlite. Sometimes I add coarse sand. The goal is fast drainage and lots of air around the roots. Regular potting soil holds too much water.
Can I leave outdoor containers out all winter? Depends on your zone and the plants. Most of my sempervivum and some sedums handle light frost. Everything else comes inside or under cover when nights stay below freezing. I learned that after losing a beautiful mixed planting one January.
How often should I repot these arrangements? Every two to three years for most. When roots start circling the bottom or the soil looks compacted, I knock the whole thing out, refresh the mix, and replant. Some of my denser plantings get divided at the same time.
Will these ideas work if I travel a lot? They already do for me. Succulents forgive missed waterings better than almost any other plant. I water deeply before a trip and trust the fast-draining soil to keep things stable until I return.
I still kill the occasional plant. That is part of the deal. But the containers that survive sit on my shelves and steps looking like they belong there. Start with one thrift-store find and one small succulent. Drill the hole. Use the right mix. Watch it settle in.
The rest follows. Your collection will grow the same way mine did: slowly, unevenly, and better than the perfect photos ever suggest.


