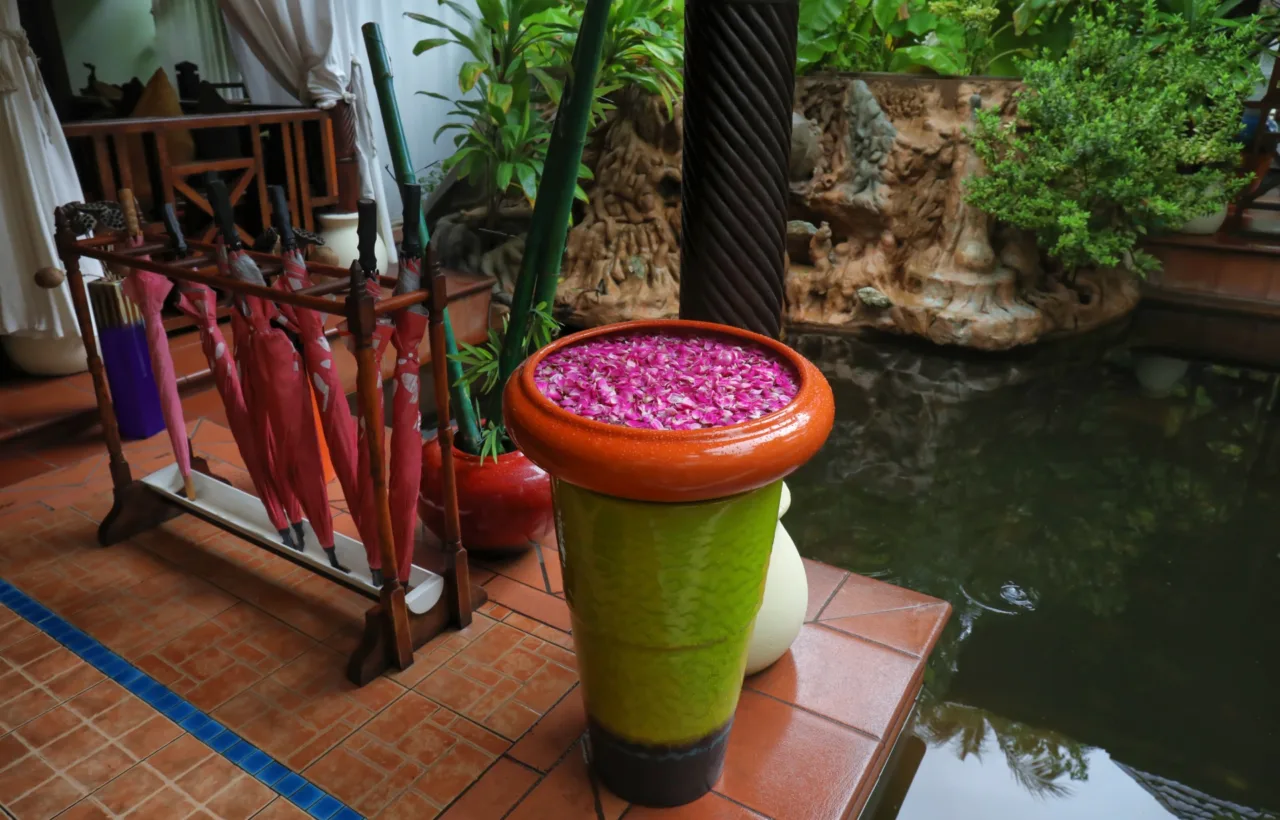

I never thought a simple patio ponds container setup could change how I use my outdoor space. My patio is small. Really small. Digging a full pond was never an option. Still, I wanted moving water, green plants, and that quiet sound that makes you sit longer than you planned. So I built one myself.
Honestly? The first attempt looked like a sad plastic tub with some leftover rocks. But after a few tweaks, it became the spot I head to every morning with coffee. You can do the same. This guide walks through exactly what worked for me, what flopped, and how to get a clean, low-maintenance water garden without breaking the bank or your back.
Why a Patio Pond Container Beats a Traditional Pond for Small Spaces
I spent years scrolling past giant backyard ponds and thinking they were out of reach. Then I realized the container version gives most of the same benefits with almost none of the headache.
No excavation. No heavy liners. No worrying about kids or pets falling in a deep hole. My patio ponds container sits right on the deck. It holds about 25 gallons. That is enough for plants, a couple of small fish, and a little fountain.
See, the real win is flexibility. I can move it if I rearrange furniture. I drain it for winter in under ten minutes. And the sound of water is right next to my chair instead of across the yard.
IMO, if your space is under 200 square feet or you rent, this is the only smart way to get a water feature.
Choosing the Right Patio Pond Container
Not every pot works. I learned that the hard way.
Choose an opaque, food safe, frost resistant container with a wide opening. Dark interiors hide algae, while width gives marginal plants more shelf space.
Size and Depth That Actually Matter
Go for something at least 12 to 18 inches deep. Shallower than that and the water heats up fast in summer. My first try was a wide shallow bowl. Algae took over in a week.
Width helps too. A wider surface lets oxygen exchange better. I settled on a 32-inch round container that holds 20 gallons. It fits the corner of my patio without blocking the path.
Materials I Tested
I tried three types:
- Resin or fiber-resin bowls: Lightweight and tough. They look like stone or terra cotta but weigh a fraction of the real thing. Easy to move.
- Glazed ceramic pots: Beautiful, but heavy once full. Make sure they have no drainage holes or seal them tight.
- Half whiskey barrels or stock tanks: Rustic and deep. Great if you want a more natural look. Just line the wood ones or they will leak.
Skip unglazed terra cotta. Water seeps right through. I wasted a Saturday on one before I figured that out.
Kits from places like Aquascape make it simple. They come with built-in plant shelves and ports for pumps. I bought one after my DIY version leaked twice. Worth every dollar.
How I Set Up My Patio Pond Container in One Afternoon
Here is the exact process that finally worked.
- Place the empty container first. Put it where it will live. Level the spot with pavers if needed. Water weighs over 8 pounds per gallon. You do not want to drag a full one later.
- Seal any holes. Use aquarium-safe silicone if your pot has drainage. Let it cure overnight.
- Add a base layer. I put two inches of washed gravel or small river rocks at the bottom. It anchors plants and looks natural.
- Position the pump or fountain. A small submersible pump with a spitter or bamboo spout creates the sound I love. Keep the cord tidy and use a GFCI outlet.
- Set plant shelves or bricks. Most good containers have ledges. Use bricks or upside-down pots to raise marginal plants so their crowns sit just above or at the water line.
- Fill slowly with dechlorinated water. Hose water needs a day or a water conditioner. I fill to about two inches below the rim to leave room for rain.
- Add plants and wait. Give the system a few days before fish.
That is it. Total time once I had the parts: under two hours.
Plants That Thrive in a Patio Pond Container
Plants do most of the heavy lifting. They shade the water, soak up nutrients, and keep algae in check.
I stick to these categories:
- Floating plants: Water lettuce or water hyacinth. They cover the surface fast and look lush. Thin them every couple of weeks or they take over.
- Marginals: Creeping Jenny, dwarf cattail, or sweet flag. These sit on the shelves with roots in water and leaves above. Golden Creeping Jenny spills over the edge nicely.
- Submerged or deep plants: A miniature water lily if your container is deep enough. The small varieties stay compact and flower well in partial sun.
FYI, avoid aggressive growers unless you enjoy weekly haircuts. My first water hyacinth jungle taught me that lesson.
Three to five plants is plenty for a 20-30 gallon setup. More than that and you fight for space.
Water lettuce and water hyacinth can be restricted or invasive in some regions. Check local rules before releasing trimmings or overwintering them outdoors.
Fish or No Fish in Your Patio Pond Container
I added two small goldfish the second season. They bring movement and personality.
Keep the stocking light. One inch of fish per gallon is the safe rule. Goldfish or rosy reds work. Skip koi. They get too big too fast.
Without fish the system stays simpler. Plants alone keep the water clearer longer. I run both ways depending on the year. The fish version needs a small filter or more frequent water changes. The plant-only version almost runs itself once established.
Maintenance That Takes Minutes, Not Hours
This is the part people overthink.
Every week in summer I skim leaves and check the water level. Evaporation is real on a hot patio. Top off with conditioned water.
Once a month I do a partial water change of about 20 percent. Pull the pump and rinse the intake. That is the bulk of the work.
Algae shows up if the balance tips. More floating plants or a bit of beneficial bacteria usually fixes it. I never use harsh chemicals.
In fall I net out the tropical plants and either compost them or bring the hardy ones inside if nights drop hard. The container itself stays out or gets drained and covered. Super simple.
Mistakes I Made So You Can Skip Them
I put the first container in full afternoon sun. Water hit 90 degrees and the plants suffered. Morning sun with afternoon shade is ideal.
I overcrowded the plants. Everything looked perfect for two weeks, then turned into a tangled mess.
I skipped the pump at first. Still water grows mosquitoes fast. Even a tiny fountain keeps them away and adds the sound that makes the whole thing worth it.
Weight was another surprise. A full 30-gallon setup is heavy. Make sure your deck or balcony can handle it. I checked the load rating before filling.
Frequently Asked Questions
How deep does a patio ponds container need to be? I aim for at least 12 inches, better at 14-18 inches. That depth keeps water cooler and gives roots room.
Can I put a patio pond container on a balcony? Yes, as long as the structure supports the weight and you have a level spot near a power outlet if you use a pump. I have seen plenty of successful balcony setups in the 15-25 gallon range.
Do I need a filter for a small patio pond container? Not always. Plants do a solid job of filtering. Add a small filter if you keep fish or notice the water getting cloudy fast.
What is the cheapest way to start a patio pond container? Grab a large glazed pot or half barrel from a garden center, seal any holes, add gravel, a couple of plants, and a basic pump. You can be under $100 easy.
Will mosquitoes breed in my patio pond container? Not if the water moves. A small fountain or pump keeps the surface broken and mosquitoes away. I have never had a problem once the pump runs.
Final Thoughts from My Own Patio
Building a patio pond container gave me something I did not expect. It slowed me down. I sit outside more. I notice the dragonflies that visit. The soft sound of water covers the street noise better than any speaker.
Start small. Pick a solid container, add a few tough plants, and keep the water moving. You will adjust as you go. That is half the fun.
My current setup is on its third season. It still makes me smile every time I walk out the door. Yours can do the same. Grab a container this weekend and give it a try. You might be surprised how fast it becomes your favorite spot.


