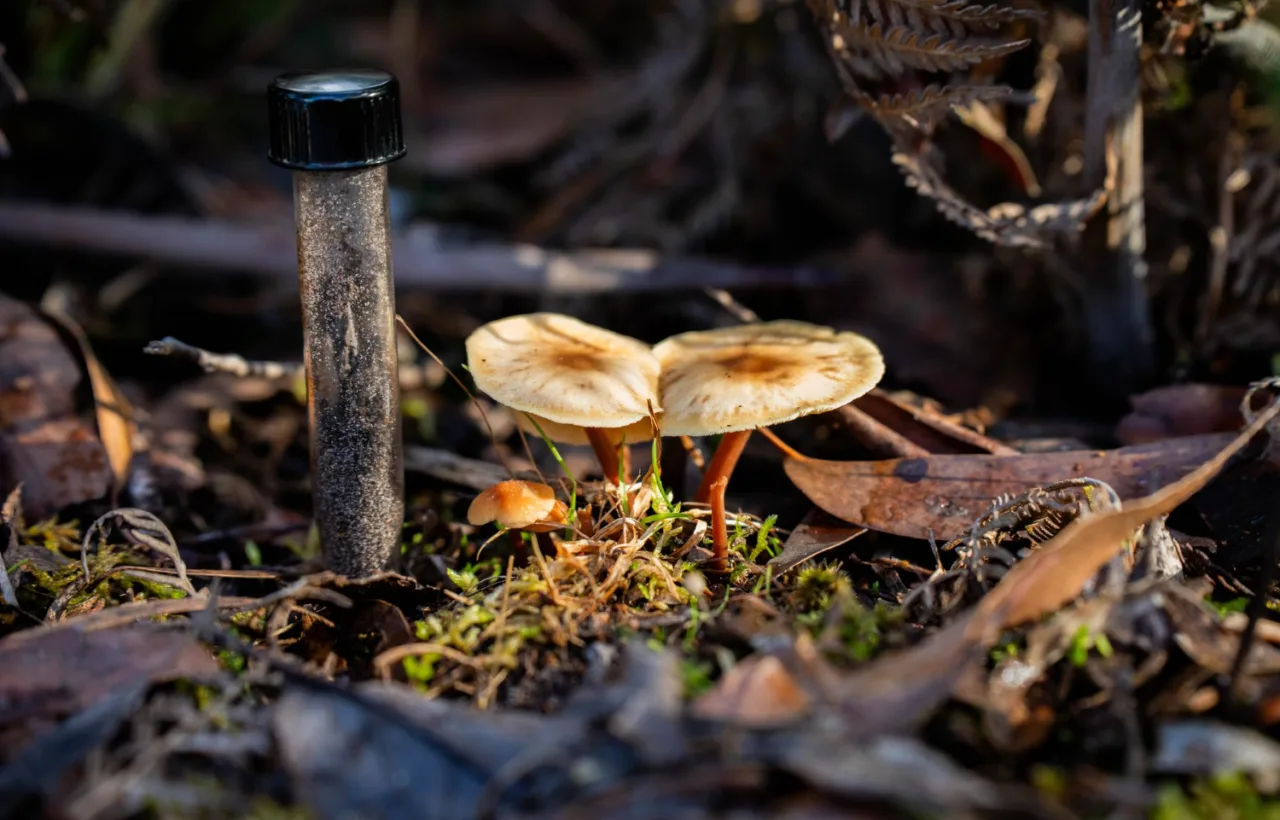

I spent years fighting clay soil that turned into bricks every summer. Water ran off. Roots struggled. Then I tried mushroom compost, and everything shifted. The stuff loosened the ground, fed the plants slowly, and cut my fertilizer bill in half. This article shares exactly what I learned through trial, error, and a few near-disasters so you can skip the hard parts.
What Exactly Is Mushroom Compost?
Mushroom compost is the leftover growing medium from commercial mushroom farms. Growers mix straw, hay, poultry litter, gypsum, and other farm leftovers into a rich bed. Mushrooms feed on it for a few weeks. After harvest, the material gets pasteurized and sold as a soil amendment.
I used to think it was just fancy manure. It is not. The main ingredients are carbon-heavy materials like straw and hay. Manure makes up a smaller part. The process creates a dark, crumbly product that smells earthy and looks a lot like good topsoil.
Most bags you buy at garden centers are spent mushroom substrate. Some suppliers call it mushroom soil. The key point stays the same: it arrives already broken down and ready to work into the ground.
Honestly? The first bag I bought felt almost too good to be true. Dark. Moist. Full of life.
My First Experience with Mushroom Compost
I found a local farm selling it by the truckload for cheap. I ordered a half yard and dumped it on a tired vegetable bed. The soil there had been pure clay for three seasons. Tomatoes sat in puddles after rain and then baked hard.
I mixed a two-inch layer into the top six inches of soil. Planted the same varieties I always grew. Within a month the difference showed. Plants looked greener. Water soaked in instead of pooling. Earthworms showed up in numbers I had never seen.
That bed produced the heaviest tomato harvest I had ever recorded. I was hooked.
Later I learned the hard way that fresh material can carry higher salts. I once used a brand-new pile on seedlings. A few leaves burned. After that I started aging everything for a few weeks or mixing it thoroughly. The problem disappeared.
See, the material works best when you treat it like a powerful amendment, not pure potting soil.
To test salt levels, plant a few bean seeds in a small sample. If leaves yellow, age the pile longer.
The Real Benefits of Using Mushroom Compost in the Garden
I keep coming back to mushroom compost for five clear reasons.
It improves soil structure fast. Clay loosens. Sand holds more moisture. The organic matter creates air pockets that roots love. My heavy beds drained better after one season of use.
It feeds plants slowly. The nitrogen sits mostly in organic form. Plants take it up over time instead of getting a sudden jolt. I cut back on synthetic fertilizer and still saw strong growth.
It brings microbial life. Even though the material gets pasteurized, once it hits garden soil the beneficial organisms rebound. My beds felt more alive. Fungal networks seemed stronger around plant roots.
It helps with pH in the right situations. Average pH sits around 6.6. That range suits most vegetables and flowers. On my slightly acidic patches it nudged things in a helpful direction.
It costs less than many bagged alternatives. Local farms often sell bulk loads at a fraction of the price of premium composts. I fill raised beds with a mix that includes it and stretch my budget further.
I tested it against regular yard compost one year. Side by side, the mushroom compost bed held moisture longer during a dry stretch. The plants stayed upright while the control bed wilted earlier. That sealed it for me.
Mushroom compost can increase water holding capacity by up to 30% in sandy soils.
How I Apply Mushroom Compost (and What Not to Do)
I follow a simple system now. It keeps results consistent and avoids the mistakes I made early on.
For new beds: Spread a two- to three-inch layer. Work it into the top six to eight inches of existing soil. Water well and let it settle a week before planting.
For established beds: Top-dress with one to two inches in spring or fall. Scratch it lightly into the surface. Rain and worms finish the job.
For containers: Mix one part mushroom compost with three parts potting mix. Never fill a pot with pure material. The structure gets too dense and salts can concentrate.
As mulch: A thin layer around established shrubs and trees works well. Keep it a few inches away from stems.
Here is what I never do anymore:
- Plant seeds or seedlings directly into pure fresh mushroom compost.
- Use it on acid-loving plants like blueberries, azaleas, or rhododendrons without checking soil first.
- Dump thick layers on already alkaline soil.
- Ignore the source. I always ask if the material has been aged or freshly removed from the farm.
FYI, bulk material straight from a farm often needs a few weeks of sitting outdoors. Bagged products from big stores usually arrive ready to use.
I once filled an entire raised bed with straight mushroom compost because I had too much. The plants struggled the first month. I had to dig in extra topsoil and water heavily to dilute everything. Lesson learned. Mix it. Always mix it.
Common Pitfalls I Learned the Hard Way
Salt content gets a lot of online chatter. Early research scared me. Later studies from places like Penn State showed average soluble salt levels stay low enough for most gardens when you incorporate the material properly. Rain and irrigation leach excess salts quickly.
Still, I treat fresh piles with respect. I let them sit or mix them at lower rates the first time I use a new source.
Another issue: chalk pieces. Some batches contain small bits of limestone. I pick out the larger chunks before spreading. They can create alkaline pockets that bother certain plants.
Weed seeds rarely appear in pasteurized product. Unprocessed piles left sitting outdoors can pick them up. I stick with suppliers who keep material covered.
I also discovered that mushroom compost alone cannot fix every soil problem. My beds still needed occasional additions of leaf mold or aged manure for long-term balance. It works best as part of a rotation, not the only amendment forever.
IMO, the biggest mistake people make is treating it like miracle dirt that solves everything overnight. It is powerful. It is not magic.
Frequently Asked Questions
Is mushroom compost the same as regular compost? No. Regular compost comes from mixed kitchen and yard waste. Mushroom compost starts as a specific growing medium for mushrooms and gets pasteurized. The nutrient profile and texture differ.
Can I use mushroom compost on every plant? Most vegetables, flowers, and lawns love it. Acid-loving plants prefer other amendments. I skip it for blueberries and use pine bark instead.
How much mushroom compost should I add each year? I aim for one to two inches worked into beds annually. More than that can tip the balance if your soil already sits on the alkaline side.
Does mushroom compost attract pests? I have never seen it draw rodents or insects more than any other organic material. The pasteurization step kills most problem organisms before it reaches the garden.
Where do I buy good quality mushroom compost? Local mushroom farms often sell the freshest material. Garden centers carry bagged versions. I check for an earthy smell and dark color. Avoid anything that smells sharp or ammonia-like.
Final Thoughts from the Garden Path
Mushroom compost fixed problems I thought were permanent in my soil. It improved structure, fed plants steadily, and saved me money. The key stays simple: mix it well, respect its strength, and match it to the right plants.
I still buy a load every spring. Some years I top-dress the whole vegetable garden. Other years I focus on the beds that look tired. Results stay consistent.
If your soil feels heavy, drains poorly, or needs a nutrient boost without constant fertilizing, give this material a try. Start small on one bed. Watch what happens. Then decide for yourself.
That first harvest after I mixed it in still sits in my memory. Juicy tomatoes. Happy plants. Soil that finally felt alive under my hands. Worth every bag.


