
I spent my first year with chickens dumping their mess and buying bagged fertilizer like a rookie. That stopped the day I figured out real chicken compost. My garden beds went from tired dirt to the kind of soil that makes neighbors stop and stare. You know the feeling when tomatoes hang heavy and the kale stays deep green all season? That came from my own coop.
Honestly? I almost quit the whole composting idea twice. The smell, the fear of burning plants, the pile that just sat there doing nothing. Then I changed how I handled the waste. Everything shifted.
Why Chicken Compost Beats Store-Bought Fertilizer Every Time
Chicken manure packs serious nitrogen. One bird gives me about eight pounds a month. That little pile balances a whole cubic yard of leaves or straw. I used to buy expensive organic bags. Now I laugh at the receipt.
See, chicken compost delivers nitrogen, phosphorus, and potassium in one free package. It also adds calcium and organic matter that holds water in sandy soil and opens up clay. My raised beds used to crust over after rain. Not anymore.
I mix the manure with the bedding already in the coop. Shavings, straw, or dry leaves work fine. The carbon in that bedding keeps the nitrogen from going wild. Fresh droppings alone will scorch roots. I learned that the hard way on a row of young beans. They yellowed overnight. Never again.
The key is patience and heat. Raw chicken waste carries pathogens. Hot composting kills them. I aim for 130 to 150 degrees in the center for at least three days. That temperature wipes out the bad stuff while the good microbes keep working.
My Simple Setup for Making Chicken Compost
I keep it basic. No fancy tumblers required.
First I clean the coop every week or two. I scoop the soiled bedding and manure straight into a pile at least three feet wide and three feet tall. Smaller piles never heat properly. I learned that after two cold, smelly heaps that refused to cook.
I add kitchen scraps, shredded leaves, and grass clippings right on top. The chickens do the rest when I let them into the run. They scratch, turn, and aerate without me lifting a fork every day.
Aim for a carbon-to-nitrogen ratio of 25:1 to 30:1 for optimal heating in chicken manure compost.
Building the Pile the Right Way
Here is the exact order I follow:
- Collect a solid cubic yard of mixed manure and bedding.
- Moisten it until it feels like a wrung-out sponge. Too dry and nothing happens. Too wet and it turns anaerobic and stinks.
- Cover loosely with a tarp if rain is coming hard. I want moisture, not a swamp.
- Stick a compost thermometer in the middle. When it hits 130 degrees I smile.
I turn the pile when the temperature drops below 110. Outer material moves to the center. Center material moves out. I do this at least three times. After the last heat cycle I let it sit and cure for six to eight weeks. Finished chicken compost looks dark, crumbly, and smells like forest floor. No ammonia hit. No recognizable bits of poop.
IMO, the curing step is where most people get impatient. Skip it and you risk soft, nitrogen-heavy material that still burns. I wait. My plants thank me later.
Letting the Chickens Do the Heavy Lifting
I used to think composting meant endless turning by hand. Then I moved the whole operation into the chicken run.
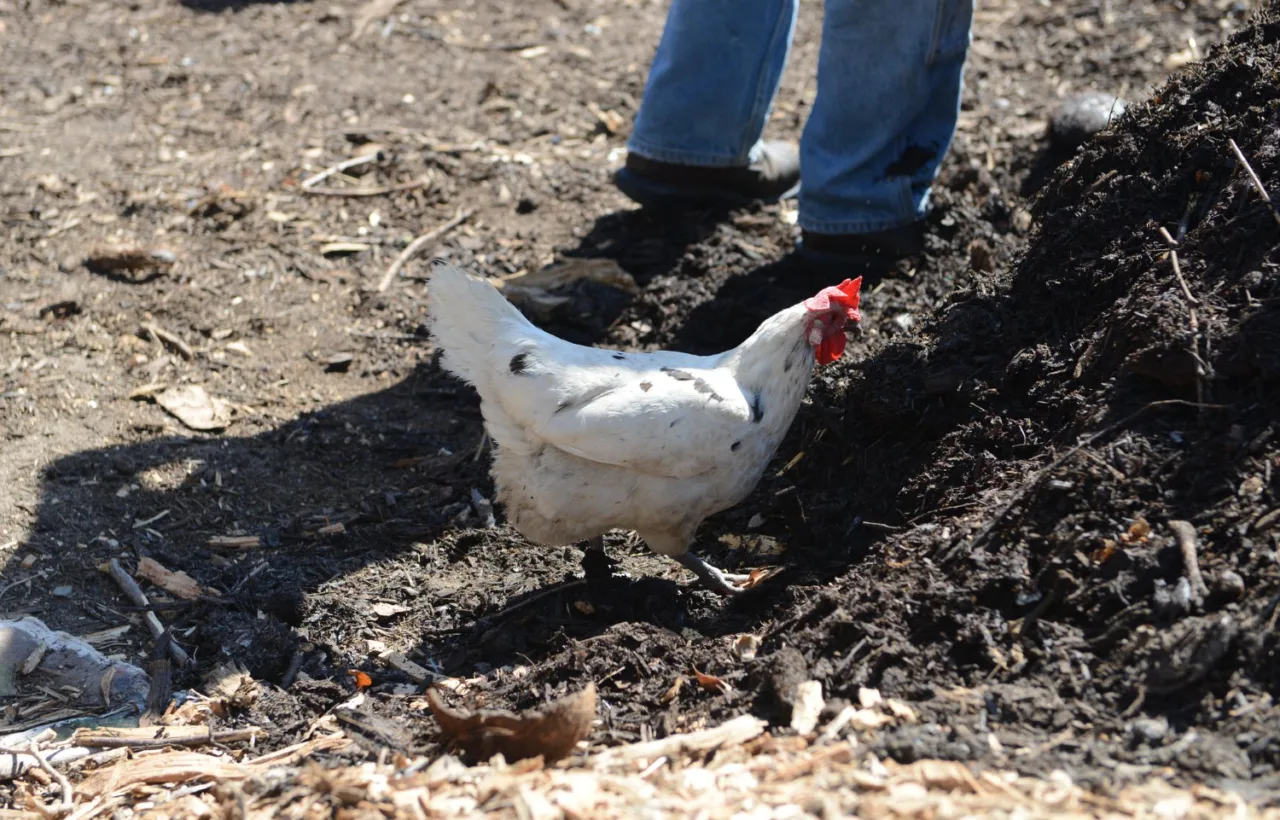
Everything that used to go in a separate bin now lands inside the fence. Orange peels, coffee grounds, spent garden plants, fall leaves I shred with the mower. The flock scratches it flat within hours. Their constant digging pulls oxygen deep into the pile. Their fresh droppings feed the microbes.
Honestly? The run stays cleaner this way. No mud pits even after rain because the leaves and clippings lock the moisture. The birds stay busy. Bored chickens peck each other. Mine dig for worms and leftover scraps all day.
I stop adding new material in late fall. By spring the pile has broken down into usable black gold. I rake it out, pick out any leftover bones the girls missed, and spread it on the beds. One season of this method cut my fertilizer bill to zero.
Some people worry about disease. I keep the run dry and well-drained. I never add meat scraps that sit and rot. The chickens eat those fast anyway. Bones get pulled later when I harvest the finished compost.
Common Mistakes I Made So You Do Not Have To
I piled pure manure once. The temperature shot past 160 degrees and killed the good bacteria. The pile stalled. Lesson learned: always balance with carbon.
I spread half-finished material on lettuce. Bad idea. Pathogens and ammonia are not friends of salad greens. Now I only use fully cured chicken compost on food crops. Flower beds get the slightly younger stuff.
I ignored moisture. A dry pile just sits. A soggy one smells like a swamp. The sponge test fixed both problems.
Never skip the heat phase if you plan to use the compost on vegetables. Pathogens die at the right temperature. Cold composting takes a full year and still carries more risk. I prefer the hot method. It finishes faster and safer.
If your pile smells like ammonia, add more carbon (straw, leaves) to balance the nitrogen.
How I Use Finished Chicken Compost in the Garden
I spread a two-inch layer on beds in early spring and work it lightly into the top few inches. For established plants I side-dress with a thin ring a few inches from the stem. Tomatoes, peppers, and squash respond the strongest. Leafy greens love the nitrogen boost too, but I go lighter there so they do not bolt early.
In fall I top-dress the empty beds and let winter weather settle it. Come spring the soil is ready.
I also mix a shovel of finished chicken compost into each new planting hole for fruit trees and berry bushes. The slow-release nutrients feed them for months.
One year I compared two identical tomato rows. One got my chicken compost. The other got store-bought organic. The compost row produced heavier fruit and stayed greener longer. No contest.
Deep Litter Method as a Backup Plan
Some seasons I get lazy. That is when the deep litter system saves me.
I start with a thick layer of dry carbon material in the coop. Every few weeks I add more. The chickens scratch and mix. The manure works into the bedding. After six months or so the bottom layer has already started breaking down. I dig it out, pile it outside, and let it finish curing for another month or two. It is slower than hot composting but almost zero work.
FYI, this method works best if the coop stays dry. Wet deep litter turns into a mess and can smell. I keep a good ventilation plan and add dry leaves whenever it starts looking damp.
Frequently Asked Questions
How long does chicken compost take to finish? Hot composting gets me usable material in eight to twelve weeks if I turn it properly. Cold methods take six months to a year. I stick with hot when I need results sooner.
Can I put chicken compost straight on my plants? Only if it is fully finished and cured. Fresh or half-done material will burn roots and risk pathogens. I wait until it looks and smells like rich soil.
Is chicken compost safe for vegetable gardens? Yes, once it has gone through the full heat cycles and curing period. I never use raw manure on food crops. Gloves and hand-washing stay non-negotiable when I handle any stage of the process.
How much chicken compost should I use? A two-inch layer worked into the topsoil each spring is plenty for most beds. Too much can push nitrogen levels high and cause leafy growth at the expense of fruit. I start light and watch the plants.
What if my pile never heats up? Usually the pile is too small, too dry, or short on nitrogen. I add more manure, wet it to sponge consistency, and build it bigger next time. A thermometer takes the guesswork out.
I started this whole process because I hated wasting the free fertilizer walking around my yard every day. Now the chickens, the compost pile, and the garden form one clean loop. Coop waste becomes soil. Soil grows better food. The leftover greens go back to the birds.
You do not need special equipment or a degree in soil science. You need a pile big enough to heat, a balance of carbon and nitrogen, and the willingness to wait until the material finishes. Messy first attempts still beat buying bags forever.
Grab a shovel this weekend. Start small if you have to. The first finished batch of chicken compost will convince you the work is worth it. My garden never looked back. Yours will not either.


