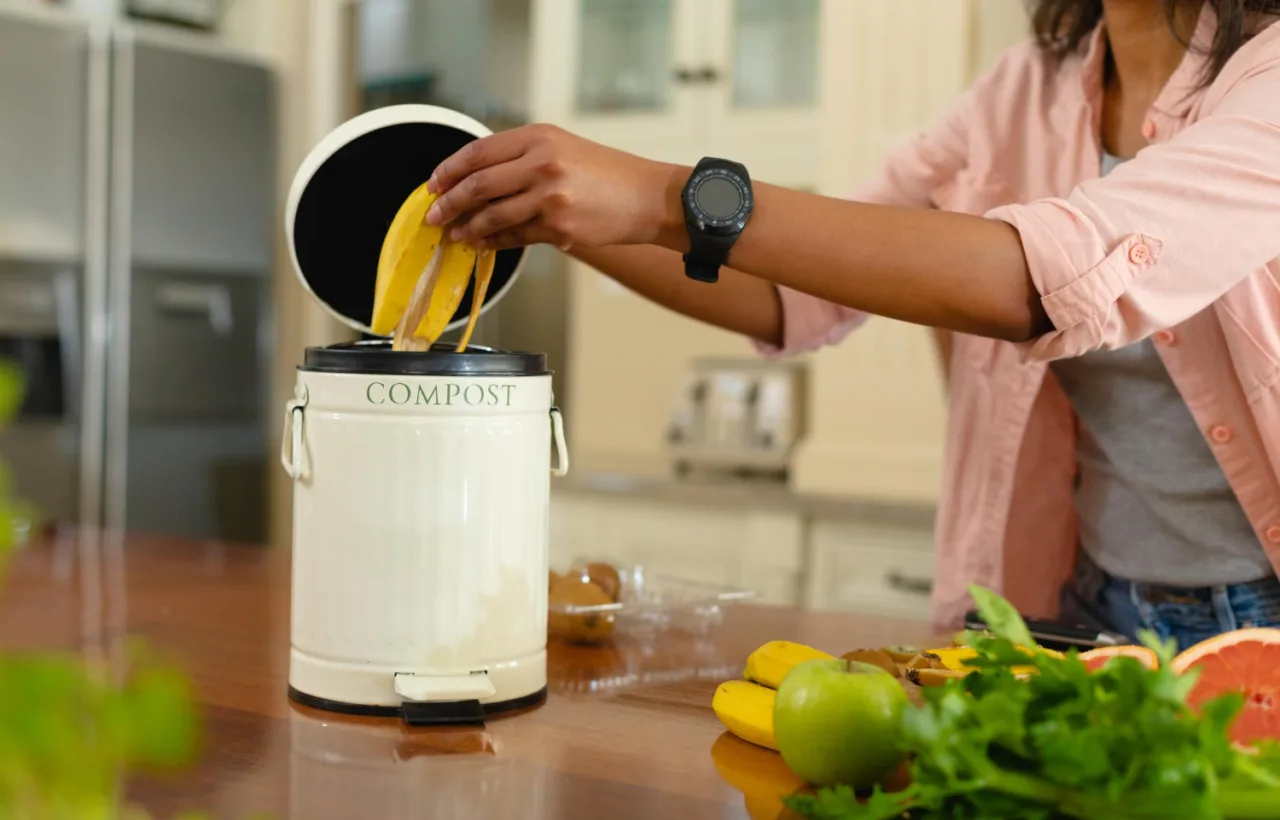

I spent years tossing food scraps into random bowls and plastic containers. My kitchen paid the price. Fruit flies showed up like uninvited guests. Odors lingered. I almost gave up on composting altogether. Then I got serious about finding a proper kitchen compost bin that fit my life.
This is the story of what worked, what flopped, and how I finally landed on setups that make collecting scraps feel easy instead of gross. If you’re tired of the mess and want something that actually helps you stick with composting, you’re in the right spot. I’ll walk you through everything I learned the hard way.
Why I Needed a Real Kitchen Compost Bin in the First Place
See, I cook a lot. Vegetable peels, coffee grounds, eggshells, apple cores. They pile up fast. For a while I used an old mixing bowl. It worked until it didn’t. Scraps sat out. Smells built. I started dreading meal prep.
Honestly? The turning point came one humid summer week. I opened my makeshift container and nearly gagged. That was it. I needed a dedicated kitchen compost bin with better control.
A good one sits on the counter or under the sink. It holds scraps until you’re ready to take them outside or to a drop-off. It doesn’t turn into a science experiment in three days. That’s the bar I set.
I tested plastic ones, stainless steel, ones with filters, ones without. Some looked pretty. Some claimed magic odor control. Most fell short in daily use. Here’s what I figured out.
What Makes a Kitchen Compost Bin Worth Buying
I think a lot of people focus on the wrong things first. Looks matter, sure. But function comes before pretty. Size, material, lid style, and cleaning ease decide if you’ll actually use the thing.
Stainless steel bins resist odors better than plastic but can dent; choose thick-gauge for durability.
Size Matters More Than You Think
I started with tiny bins. Bad move. I emptied them twice a day. Annoying. Then I went too big. Scraps sat longer and got funky faster.
Aim for 1 to 1.75 gallons. That holds a couple days of normal cooking scraps for most households. My current favorite sits right in that range. I empty it every two or three days. Perfect balance.
If you cook big batches or have a large family, go bigger. If your kitchen is tiny, stick smaller and empty more often. Simple as that.
Material: Stainless Steel Wins for Me
Plastic absorbs smells over time. I learned this the hard way with my first cheap bin. Even after washing, it smelled faintly of old banana.
Stainless steel stays neutral. It cleans up easy. It looks decent on the counter. It lasts. I switched and never looked back. Plastic can work if you line it and empty daily, but steel feels better long-term.
Bamboo and other “eco” materials look cool. They didn’t hold up for me. Scratches. Stains. Not worth it IMO.
Lids and Filters: The Odor Battle
This is where most kitchen compost bins live or die. A tight lid is non-negotiable. Hinged lids that stay open while you scrape the cutting board? Game… wait, no. They’re just practical. I love them for cooking sessions.
Charcoal filters help. They don’t eliminate smells forever, but they buy you time. I replace mine every few months. Some bins skip filters and rely on airtight seals. Those work if you empty often.
Fruit flies love open air. A good seal keeps them out. I once had a bin with a loose lid. Disaster. Flies everywhere. Lesson learned.
Ease of Cleaning Is Everything
If cleaning feels like a chore, you stop using it. Removable inner buckets are clutch. Dishwasher-safe parts seal the deal. Smooth interiors without weird corners? Yes please.
I wash mine after every empty. Takes two minutes. That’s the standard I hold now.
My Top Kitchen Compost Bin Picks From Real Use
I won’t pretend one bin rules all. Needs differ. Here’s what I actually use and recommend based on years of trial.
The Everyday Workhorse: Stainless Steel with Filter
My go-to is a solid stainless steel kitchen compost bin around 1.3 gallons. It has a charcoal filter in the lid. Handle for easy carrying. Looks clean enough to leave out.
Why I like it:
- Odor control holds for days
- Easy to wipe down
- Doesn’t tip over when full
- Filter swaps take seconds
I keep it on the counter by the sink. Scraps go in without thought. Empty every other day into my outdoor pile. No drama.
Cheaper plastic versions exist. They work short-term. Steel just feels sturdier.
The Stay-Open Lid Favorite for Busy Cooks
If you prep a lot at once, grab one with a lid that locks open. I used an OXO-style plastic bin for months. The stay-open feature saved me from constant lid flipping with dirty hands.
Pros I noticed:
- Wide mouth for scraping boards
- Removable bucket for dumping
- Lightweight
Cons: No filter means daily empties in warm weather. Plastic can stain. Still solid for the price.
I keep one of these as a backup now.
Electric Options for Apartment Folks
I tried an electric kitchen compost bin once. Fancy. It dried and ground scraps into something usable for plants. Cool concept if you lack outdoor space.
But the price stung. Noise bothered me. It needed balancing with dry material. For most people, a simple bin plus outdoor drop-off or municipal pickup beats the hassle. I went back to basics.
DIY and Freezer Hacks That Still Work
Before fancy bins, I used coffee cans with charcoal filters glued in. Cost almost nothing. Worked okay. Freezer bags for scraps also saved me during peak fly season. Toss the bag in the freezer until full, then dump.
These aren’t permanent. But they bridge gaps. I still freeze excess sometimes.
How I Keep My Kitchen Compost Bin From Turning Gross
Buying the right bin is half the battle. Habits seal it. Here’s my routine that keeps things pleasant.
Empty often. Every two to three days max. Don’t wait until full if it’s warm out.
Layer smart. I toss a bit of newspaper or dry leaves on top of wet scraps. Absorbs moisture. Cuts smells.
Rinse right away. After dumping, I rinse the bin. Wipe the lid. Done.
Filter care. Charcoal filters last longer if you air them out sometimes. Replace when you notice odors creeping back.
What goes in. Veggie scraps, fruit, coffee grounds, tea bags, eggshells. Skip meat, dairy, oils. Those attract pests and stink faster. I learned that after one oily disaster.
Location tips. Counter works if your bin looks good. Under sink hides it. Fridge or freezer for longer holds. I tried all. Counter wins for me because I see it and use it.
One summer I ignored the routine. Fruit flies threw a party. I froze everything for a week and cleaned thoroughly. Never again.
Rinse charcoal filters monthly with water and let them dry completely to prolong their odor-absorbing life.
Common Mistakes I Made So You Don’t Have To
I wasted money and time. You don’t need to.
First mistake: Buying based on looks alone. Pretty bins with weak seals failed fast.
Second: Ignoring capacity. Too small meant constant trips. Too big meant rotting piles.
Third: Forgetting maintenance. Filters clog. Bins need washing. Skip that and regrets follow.
Fourth: Putting everything in. Meat scraps once turned my bin into a biohazard. Stick to plant stuff for home setups.
Fifth: Giving up after one bad experience. Composting takes a little trial. The right kitchen compost bin makes it stick.
See, the real question isn’t “which bin is perfect.” It’s “which one fits my kitchen and habits so I actually keep going.”
Where to Put Your Kitchen Compost Bin Without Ruining the Vibe
Kitchens vary. My first apartment had zero counter space. I hung a small bin inside a cabinet door. Worked until I moved.
Pull-out drawers next to trash cans are genius if you remodel. I envy those. Under the sink with a pull-out shelf works too.
Countertop is fine if the bin matches your style.. Stainless blends. Bright plastic screams “compost here.” Choose accordingly.
Some folks mount them on walls. I tried. The mount failed after a few months. Stick to freestanding for reliability.
Frequently Asked Questions
How often should I empty my kitchen compost bin? I empty mine every two or three days. More often in summer heat. Waiting longer invites smells and flies.
Do I need a charcoal filter in my kitchen compost bin? Not strictly, but they help a lot. I use them and notice fewer odors. Empty frequently and you can skip if you want less maintenance.
Can I put meat in a kitchen compost bin? I don’t. Meat, dairy, and oils attract pests and create bad smells fast. Stick to fruits, veggies, coffee, and eggshells for best results at home.
What’s the best material for a kitchen compost bin? Stainless steel wins for me. It resists odors, cleans easy, and lasts. Plastic is cheaper and lighter but can hold smells over time.
How do I stop fruit flies in my kitchen compost bin? Tight lid, empty often, and freeze scraps if needed. A sprinkle of vinegar or diatomaceous earth helps too. I fixed my fly problem this way after one bad week.
Final Thoughts From My Countertop
I started this journey frustrated and fly-bitten. Now my kitchen compost bin is just part of the routine. Scraps go in. Bin gets emptied. Garden gets fed. Kitchen stays pleasant.
The right kitchen compost bin removes the excuses. It makes the good habit easy. Pick one that matches your space and cooking style. Start simple if you’re new. Upgrade later.
You’ll mess up a few times. I did. Then you’ll find your groove. Your trash will lighten. Your plants will thank you. And your kitchen will smell like… well, not compost.
Go grab one that fits. Empty it often. Keep at it. That’s how this works.


