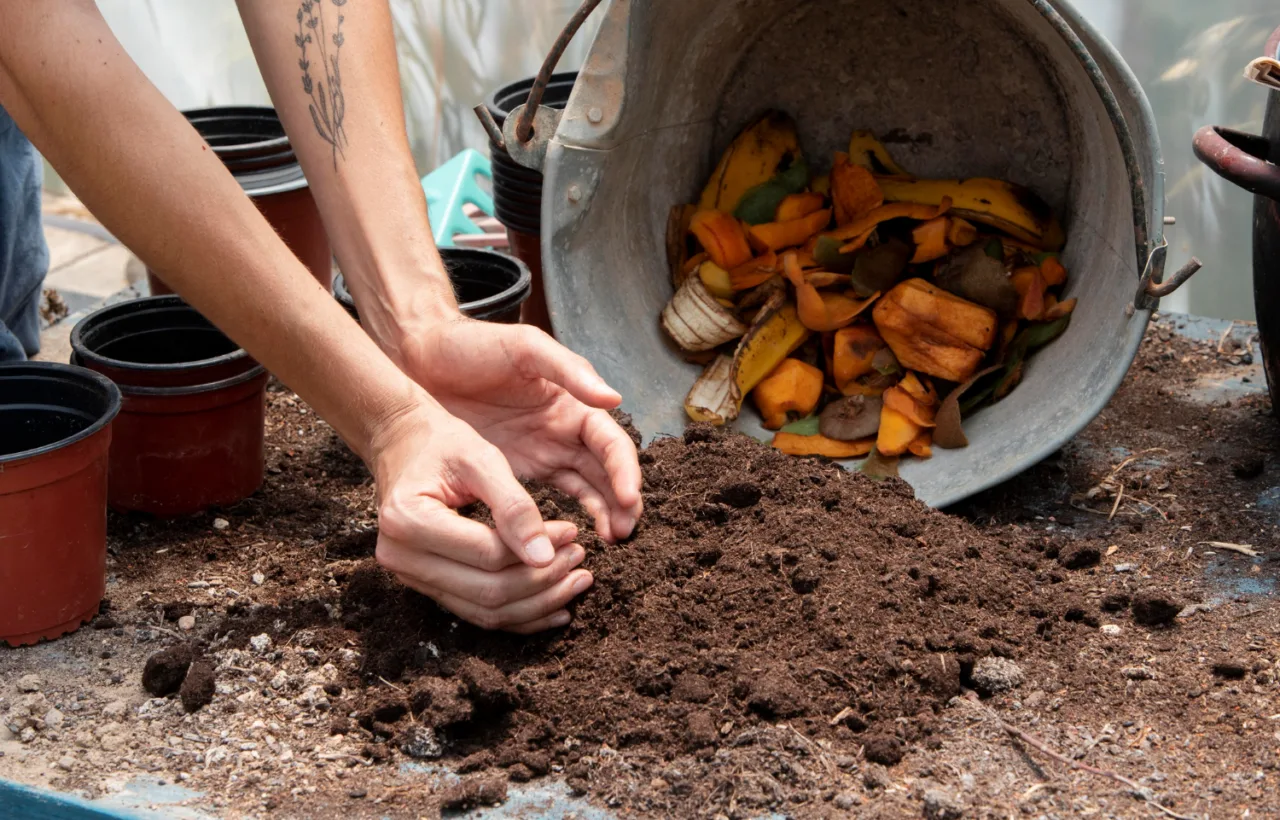

I started my diy compost journey three years ago after staring at another bag of grocery scraps headed for the trash. My backyard soil looked tired. My tomato plants barely produced. I needed a fix that did not cost a fortune or require a degree in soil science.
Honestly? I almost gave up twice. The first pile smelled like a science experiment gone wrong. The second one just sat there like a sad heap of leaves. Then I simplified everything. Now I haul out finished compost every few months and my garden thanks me for it. You can do the same. This guide walks you through exactly how I make diy compost that works without the drama.
Why I Bothered With DIY Compost in the First Place
My kitchen produces a shocking amount of peels, coffee grounds, and wilted greens. Throwing them out felt wasteful. Buying bags of compost every spring drained my wallet. DIY compost solved both problems at once.
I save money. I cut trash volume. My soil holds water better and feeds plants without synthetic stuff. The process feels satisfying too. Watching scraps turn into dark crumbly gold still makes me grin.
See, the real win is control. I know exactly what goes in. No mystery chemicals. No fillers. Just my own scraps and yard waste doing their thing.
The Greens and Browns Balance That Makes DIY Compost Happen
Every successful diy compost pile needs two main players: greens and browns. Greens bring nitrogen. Browns bring carbon. Get the mix right and the microbes throw a party. Get it wrong and you get stink or stall.
I aim for roughly three parts browns to one part greens by volume. That ratio keeps things moving without turning into a slimy mess.
Greens I toss in regularly:
- Fruit and vegetable scraps
- Coffee grounds and paper filters
- Fresh grass clippings
- Crushed eggshells
- Tea bags without staples
Browns that keep the pile airy:
- Dry leaves (I stockpile bags every fall)
- Shredded newspaper or cardboard
- Twigs and small branches
- Straw or untreated wood chips
- Paper towels (plain ones only)
I chop everything smaller when I can. Smaller pieces break down faster. FYI, I keep a bucket under the sink for greens and a big bin of leaves near the pile. That simple habit keeps me consistent.
Coffee grounds are nitrogen-rich but compact easily. Mix them with coarse browns like straw to prevent clumping.
How I Built My First Cheap DIY Compost Bin
I did not buy a fancy tumbler. I built one from free pallets in an afternoon. Four pallets form a square. I wire them together at the corners. One side stays loose so I can open it later for harvesting.
The whole thing sits on bare soil in a shady corner of the yard. Air flows through the slats. Rain reaches it. Critters stay mostly out because I cover fresh scraps with browns right away.
Other easy options I tried later:
- A plastic trash can with holes drilled all over
- Two nested five-gallon buckets for small spaces
- Just a free-standing pile if you have room and do not mind the look
My pallet bin still runs strongest. It holds enough volume to heat up properly. Smaller setups work fine for apartments or tiny yards. Pick what fits your space and start today.
Avoid pallets marked 'MB' (methyl bromide) as they contain harmful chemicals. Look for 'HT' (heat treated) instead.
Step-by-Step: Building My DIY Compost Pile the Way That Actually Works
I layer like lasagna. That method never fails me.
- Start with a four-inch base of coarse browns: twigs or wood chips. This layer drains excess liquid and lets air in from below.
- Add a layer of greens. Keep it thin so it does not mat.
- Cover with two to three times as many browns.
- Sprinkle a little garden soil or finished compost to inoculate with microbes.
- Lightly water until it feels like a wrung-out sponge.
- Repeat until the pile reaches at least three feet high and wide.
I turn the pile every one to two weeks with a pitchfork. I move the outside material to the center. That keeps oxygen flowing and speeds everything up.
Moisture matters most. Too dry and the microbes sleep. Too wet and it goes anaerobic and stinks. I stick my hand in. If it feels damp but not dripping, I leave it. A quick hose spray or extra dry leaves fixes most issues.
A compost pile should reach 130-150°F to kill weed seeds and pathogens. Use a long-stem thermometer to check.
Hot Compost Versus Cold Compost: What I Choose and Why
I run a hot pile most of the time. It reaches 130 to 160 degrees inside. That heat kills weed seeds and pathogens. Finished compost appears in two to four months if I stay on top of turning.
Cold compost takes less work. I just keep adding materials and wait a year. It works. It just takes patience. I use cold piles for extra leaves I cannot process quickly.
Hot compost needs more attention. Cold compost forgives neglect. I switch between them depending on how busy life gets. Both produce great results when you respect the greens-to-browns ratio.
Common Mistakes I Made and How You Can Skip Them
I learned the hard way. My early piles taught me plenty.
Mistake one: Dumping huge loads of grass clippings. They clump into slimy mats. Now I mix them thinly with lots of leaves.
Mistake two: Adding meat, dairy, or oily leftovers. Rodents showed up. Smell got bad. I stick strictly to plant-based scraps.
Mistake three: Ignoring moisture. One dry summer stalled everything. Now I check weekly and water as needed.
Mistake four: Making the pile too small. Anything under three feet by three feet struggles to heat. Volume matters.
Mistake five: Forgetting to cover fresh greens. Flies and smells follow. A thick brown blanket solves that instantly.
Avoid those and you skip months of frustration. IMO the covering rule alone saves more headaches than any other tip.
Never add diseased plant material to compost. Pathogens can survive and infect next season's plants.
What Never Goes in My DIY Compost Pile
Some things cause more trouble than they are worth. I leave these out completely:
- Meat, fish, bones
- Dairy products
- Oils, grease, or fatty foods
- Pet waste or cat litter
- Diseased plants
- Weeds that have gone to seed
- Treated wood or glossy paper
- Charcoal ash from briquettes
These attract pests, create odors, or introduce problems that finished compost should not carry into the garden. Stick to the greens and browns list and life stays simple.
How I Know When My Compost Is Ready
Finished diy compost looks and smells like rich dark soil. You should not recognize the original scraps. The pile shrinks to about one-third its original size. Temperature drops back to ambient.
I screen mine through a homemade sifter made from hardware cloth stapled to a wood frame. Big chunks go back into the active pile. The fine stuff goes straight to the garden beds.
I use it as a top dressing around plants, mixed into potting soil, or dug into new beds. A half-inch layer works wonders. My peppers and greens explode with growth every season.
Troubleshooting the Weird Stuff That Still Happens
Even now I hit snags sometimes. Here is how I fix them fast.
Smelly pile: Too many greens or too wet. Add browns and turn. Smell disappears in days.
Pile not heating: Needs more greens or moisture. Mix in fresh scraps and water lightly.
Fruit flies: Bury kitchen scraps deeper under browns. They vanish.
Dry and slow: Water and turn. Add some greens if needed.
Pests: Secure the bin better and stop adding anything questionable. A tight lid or hardware cloth bottom helps.
Most problems reverse quickly once you adjust the balance. Do not panic. Just tweak and watch.
Using Finished DIY Compost in the Garden
I spread it thick on vegetable beds in spring. I side-dress tomatoes and squash mid-season. I mix a handful into each planting hole. Container plants get a top layer every month.
The soil structure improves. Water soaks in instead of running off. Plants resist disease better. Earthworms show up in droves. My garden has never looked healthier.
I even make compost tea sometimes. Steep a shovelful in a bucket of water for a day or two. Strain and water plants with the liquid. Instant boost.
Frequently Asked Questions
How long does diy compost take to finish? With a hot pile that I turn regularly it takes two to four months. A cold pile needs six to twelve months. Size, weather, and ingredients all play a role.
Can I make diy compost in a small apartment? Yes. Use a dual-bucket worm bin or a small sealed tote with holes. Keep it under the sink or on a balcony. Feed it kitchen scraps and shredded paper.
What if my diy compost attracts animals? Bury food scraps deep. Skip meat and dairy. Use a bin with a secure lid and no large gaps. Hardware cloth on the bottom stops diggers.
Do I need special worms for diy compost? Not for a regular outdoor pile. Wild worms find it on their own. For indoor vermicomposting buy red wigglers specifically. Regular earthworms will not thrive in a bin.
Is diy compost safe for vegetable gardens? Absolutely, as long as you avoid pet waste, meat, and diseased plants. Hot composting kills most pathogens. Finished compost looks and smells clean.
Final Thoughts From My Own Backyard
I started diy compost because I hated wasting food and buying soil amendments. Now it is just part of my routine. A few minutes each week keep the pile happy. The payoff shows up every harvest season.
Start small if you feel overwhelmed. Grab a trash can, drill some holes, and toss in today’s coffee grounds with some leaves. That first finished batch will hook you. Trust me. Once you see that dark earthy gold you made yourself, you will never look at kitchen scraps the same way again.
Go build your pile. Your garden is waiting.


