
I dragged four beat-up pallets home from the loading dock behind the garden center last Saturday. My old compost heap had turned into a messy mountain of kitchen scraps and leaves that the raccoons treated like an all buffet. I needed something better. Something free. Something that would keep the pile contained and hot enough to break down fast. That is how I landed on my pallet compost bin diy project. Honestly? I almost quit halfway through because one pallet refused to stand straight. But I stuck with it. Now I have a solid three-bin setup that turns scraps into black gold without costing me a dime.
See, I used to think compost bins had to come from a store with fancy lids and spinning drums. Wrong. Pallets do the job better for most backyard gardeners. They let air flow. They hold volume. And they cost nothing if you know where to look. I will walk you through exactly how I did mine, the mistakes I made, and the little tweaks that made the difference. You can copy this tomorrow if you want.
Why I Chose a Pallet Compost Bin DIY Over Buying One
Store-bought bins look pretty. They also cost $50 to $200 and often feel flimsy once you fill them. My neighbor has one of those plastic tumbling ones. It works okay for small amounts. But I generate bags of leaves every fall and a daily bucket of coffee grounds and veggie peels. I needed capacity.
Pallets give you that. Free ones sit behind grocery stores, hardware shops, and warehouses. Just ask. Most places let you take them. I scored mine in under ten minutes. The wood already has gaps for airflow. Perfect for compost. Plus, building it myself felt good. I like using my hands.
Here is the real win: a multi-bin pallet setup lets you turn compost the easy way. Fill one. Let it cook. Move it to the next when it cools. Start fresh in the empty one. I run three bins now. My finished compost comes out dark and crumbly every six to eight weeks in warm weather.
Turn bin 1 into bin 2 every two weeks in warm weather. This aerates and speeds decomposition significantly.
Finding the Right Pallets (Do Not Skip This Step)
Not every pallet works. Some get treated with nasty chemicals. I learned this the hard way years ago when I grabbed a random one and later spotted the wrong stamp.
Look for the IPPC stamp on the side. You want HT (heat-treated) or KD (kiln-dried). Never take one marked MB. That stands for methyl bromide. Toxic stuff. Avoid it completely. Stick to clean, dry hardwood if you can find it. Oak or cedar lasts longer. Pine works but breaks faster.
Size matters too. Grab matching ones. Mine measured about 40 by 48 inches. Uniform pallets make the bin square and stable. I needed seven for my three-bin system: three for the back wall, two outer sides, and two dividers. Grab an extra if you want a bottom or spare slats.
I hauled them in my truck bed. They are heavy. Bring gloves and a friend if you can. My teenage nephew helped for the price of pizza. Fair trade.
Tools and Materials I Actually Used
You do not need a full workshop. Here is my exact list:
- Seven matching HT pallets
- 3-inch exterior deck screws (one box)
- Cordless drill with bit
- Four of gloves
- Level
- Optional: four heavy-duty hinges and two latch hooks for a door
- Optional: zip ties or wire as backup
- Optional: leftover 2×4 for bracing
Total cost: about $12 for the screws. Everything else free. I already owned the drill.
How I Built My Three-Bin Pallet Compost Bin DIY Step by Step
I started on a flat spot behind the shed. Shade helps in summer so the pile does not dry out too fast. Level the ground first. A slight slope is fine if water drains away.
Step 1: Set the Back Wall
I stood three pallets on edge for the long back. Screwed them together at the overlaps with four screws each joint. Two people make this easier. One holds. One drills. I did it alone with bricks as temporary braces. Worked okay.
Step 2: Add the Dividers and Sides
Next came the two divider pallets. I butted them perpendicular to the back wall, spaced about three feet apart. Screwed them in solid. Then the two outer side pallets. Same thing. Suddenly I had three open-front bays.
The whole frame went up in about 25 minutes. I was shocked how fast it happened.
Step 3: Optional Door and Bracing
For the front of the finished-compost bay I cut one pallet in half with a saw. Attached the halves with hinges so I could swing them open like stable doors. Hook-and-eye latches keep them shut. Super handy for scooping out finished stuff.
I also screwed a long 2×4 across the entire back for extra stiffness. The bins get heavy when full. That brace stops any wobble.
Step 4: Fill the Gaps If You Want
Some pallets have big openings. Compost can spill. I yanked slats off my spare pallet and screwed them across the biggest gaps. Instant tighter walls. Not required, but neat.
That is it. No fancy joinery. No measuring twice. Just screws and common sense.
My Honest Pros and Cons After Six Months of Use
Pros I love:
- Free and fast to build
- Excellent airflow so the pile heats up quick
- Easy to expand later
- Strong enough for big loads
- Looks rustic but tidy once painted
Cons I noticed:
- Wood eventually rots (mine still looks good at six months)
- Open sides let some moisture escape in dry weather
- Heavy to move once built (build it where it stays)
- Can look scruffy until you add a coat of outdoor stain
IMO the pros win big. I would rather rebuild every few years for free than pay for plastic that cracks.
How I Keep My Pallet Compost Bin Working Hard
Building is only half the fun. Running it right matters more.
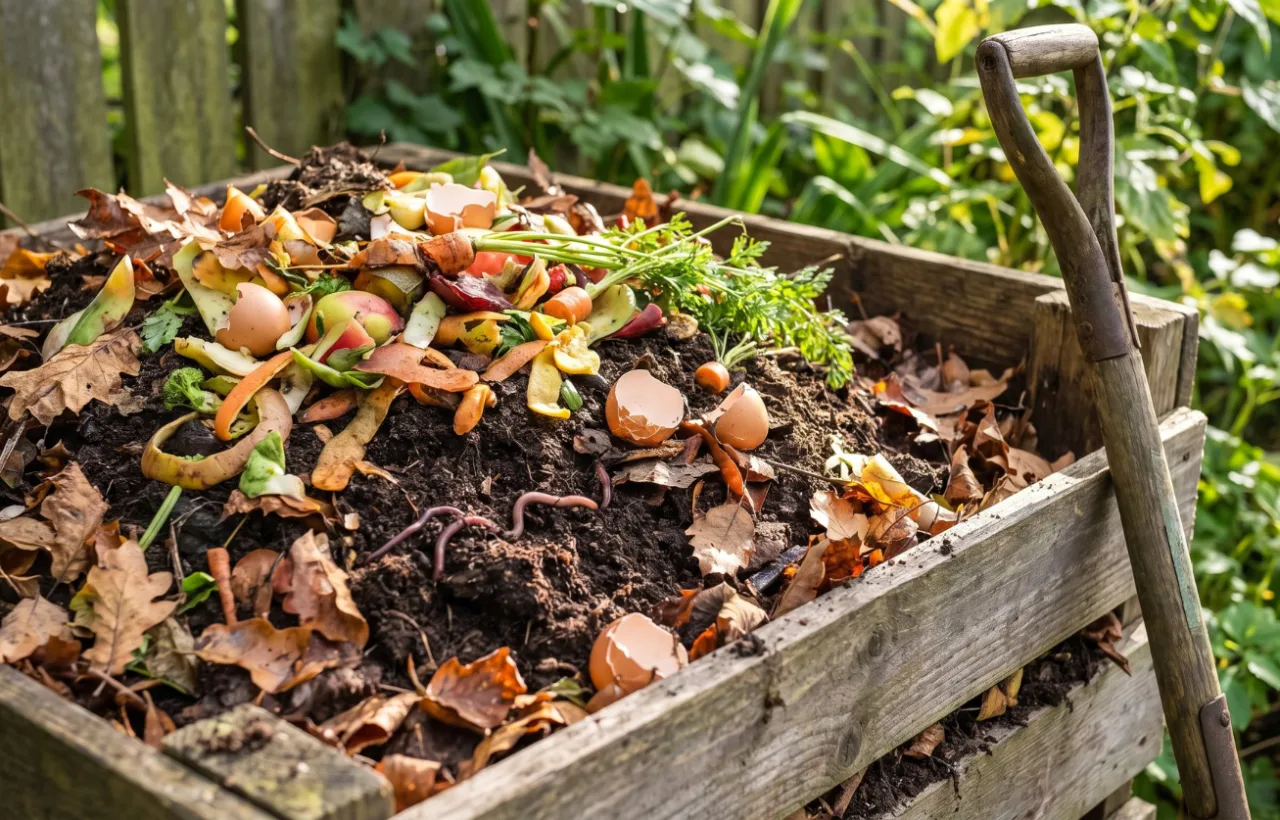
I layer greens (kitchen scraps, grass clippings) with browns (leaves, shredded cardboard, wood chips). Roughly equal volume. Keep it as damp as a wrung-out sponge. Turn every couple weeks with a pitchfork. The three-bin system makes turning simple. Just fork everything into the next bay. Fresh oxygen wakes the microbes right up.
In winter I drape old carpet or cardboard over the top. Holds heat and sheds rain. Cardboard around the outside walls helps too. It insulates and blocks some mess.
I never add meat, dairy, or oily stuff. Attracts critters. Stick to plant material and you stay trouble-free.
Common Mistakes I Made (So You Skip Them)
I built the first version too small. One bin. It filled in a week. Lesson: go three-bin from the start if you have space.
I ignored the ground. Soft soil sank a little. Now I know a shallow gravel bed first.
I used cheap interior screws once. They rusted. Exterior deck screws only.
And I left the front open too long on a windy day. Half the pile blew sideways. Latch that door.
Extra Tweaks That Made My Bin Even Better
I painted the outside with leftover deck stain. Looks intentional now. The wood lasts longer too.
I added a simple plywood roof on hinges over the finished bay. Keeps rain out so the compost stays ready to use.
Some folks wire the bottom against rodents. I skipped it. No problems so far because I bury food scraps deep and keep the pile hot.
If your yard is tiny, build a single four-pallet square instead. Same method. Just smaller.
Frequently Asked Questions
Is a pallet compost bin diy safe for vegetable gardens? Yes. As long as you use HT pallets and keep meat and dairy out, the finished compost is clean and full of nutrients. I use mine on tomatoes and greens with zero issues.
How long does a pallet compost bin last? Mine is going strong after six months. Expect two to four years depending on wood type and weather. When it starts to fail, just unscrew and rebuild with fresh free pallets.
Do I need a lid on my pallet compost bin diy? Not required, but I recommend one. A tarp, carpet scrap, or hinged plywood keeps excess rain out and heat in. Makes a real difference in wet climates.
Can I build a pallet compost bin diy alone? Absolutely. I did most of mine solo. Prop pallets with bricks or stakes while you screw. Takes a bit longer but totally doable.
What size should my pallet compost bin be? Aim for at least 3 feet by 3 feet by 3 feet per bay. That volume holds heat well. My three-bin setup is about 9 feet long total and handles everything my family produces.
Final Thoughts From My Backyard
I started this pallet compost bin diy because my heap was embarrassing and the store options felt overpriced. Now I have black, earthy compost ready whenever my beds need a boost. The whole thing cost less than a pizza and took one lazy afternoon.
You can do the exact same thing. Grab those pallets. Fire up the drill. Build something useful with your own hands. The raccoons will hate it. Your garden will thank you. And every time you dump a bucket of scraps into that sturdy wooden frame, you will feel that quiet little win. I still do. Go make yours.