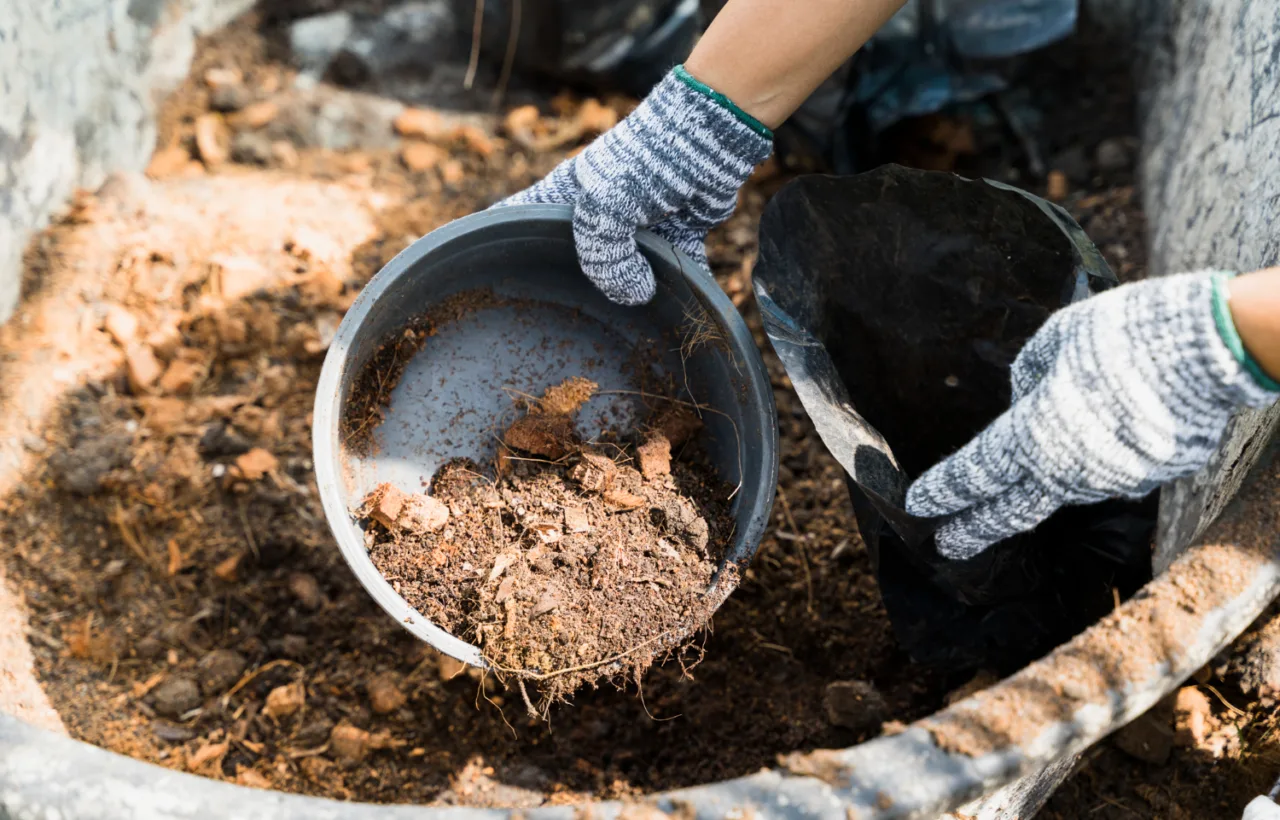

I built my first compost pit last spring after years of wrestling with plastic bins that clogged, smelled, and took up half my tiny backyard. Honestly? Those fancy tumblers left me frustrated and ready to quit composting altogether. Digging a basic compost pit changed everything for me. It cost almost nothing, needed zero special tools beyond a shovel, and now feeds my vegetable beds better than any store-bought bag ever did.
I started this because I hated hauling drippy bags of scraps to the curb every week. My kitchen produced way too much peel and coffee ground waste. A compost pit fixed that fast. In this article I share exactly how I did it, what worked, what flopped, and why this in-ground method beats bins for most backyard gardeners like me.
Why I Chose a Compost Pit Over Every Other Option
I tried the popular plastic bins first. They looked neat in the ads. In real life they trapped moisture, turned anaerobic, and stank like rotten eggs after two weeks. Open piles scattered leaves across the lawn every time the wind picked up. Worm bins indoors? Too many fruit flies for my apartment-style kitchen setup at the time.
A compost pit solved the mess. I simply dug a hole in the ground, dumped scraps, covered them, and let soil life do the heavy lifting. No turning every other day. No expensive hardware. Just dirt, scraps, and time.
See, the beauty sits right there in the simplicity. Soil microbes and earthworms already live underground. They move in the moment you start adding food. My pit stays cooler in summer and warmer in winter than any above-ground setup I ever tried. Moisture stays more consistent too because the surrounding earth acts like a natural sponge.
I live in a suburban lot with clay soil. That clay held water well once I loosened it. Your soil type might differ. Still, the principle holds: bury the waste and nature finishes the job.
How I Picked the Perfect Spot for My Compost Pit
Location mattered more than I expected. I walked my yard three times before I settled on a spot.
I needed four things:
- Easy kitchen access. Mine sits twenty steps from the back door. I empty the scrap pail without turning it into a chore.
- Partial shade. Full sun baked the first test hole dry in two days. Partial shade keeps moisture steady.
- Decent drainage. Low spots flood. High spots dry out. I chose a gentle slope that sheds heavy rain but never puddles.
- Away from tree roots. Big roots steal nutrients and make digging a nightmare. I stayed clear of the oak and the maple.
I also checked local rules. Some HOAs ban open piles. A buried compost pit usually flies under the radar because it looks like bare dirt after you cover it.
FYI, I marked the corners with four sticks and left them for a week. That let me watch how the sun hit the spot and how water drained after a storm. Smart move. I avoided a soggy disaster.
East or northeast facing locations provide morning sun without afternoon heat, ideal for moisture retention.
The Exact Steps I Followed to Dig My Compost Pit
I waited for a cool weekend after a rain. Soft ground makes digging way less miserable.
Here is the process I used, step by step.
- I measured a rectangle roughly three feet by four feet. Bathtub size works great for a family of four. Bigger if you generate tons of yard waste.
- I cut the sod with a sharp spade and rolled it aside. That sod later became the first carbon layer.
- I dug down twelve to eighteen inches. Deeper in cold climates helps insulation. Shallower works fine where winters stay mild.
- I piled the dug soil nearby. I used half of it later for covering scraps.
- I roughened the bottom and sides with the shovel tip. Smooth walls slow worm movement. Rough ones invite them in.
That took me about ninety minutes with a regular garden shovel. No power tools needed. My back complained the next day, but the result felt worth every ache.
I added a starter layer right away. Five gallons of soaked alfalfa pellets mixed with a bag of cheap potting mix. Then a handful of red wiggler worms I bought online. Those little guys multiplied like crazy once the food started flowing.
What I Toss Into My Compost Pit (and What Stays Out)
Not everything belongs in the hole. I learned that the hard way when a rogue chicken bone attracted a curious raccoon.
Greens I always add:
- Fruit and vegetable peels
- Coffee grounds and tea bags
- Fresh grass clippings
- Plant trimmings without seeds
Browns that keep the balance:
- Dry leaves
- Shredded cardboard
- Sawdust from untreated wood
- The original sod I dug up
Things I never add:
- Meat, bones, dairy, or oils (they smell and draw pests)
- Pet waste
- Diseased plants
- Weeds that already set seed
- Anything plastic or glossy
I keep a small lidded pail under the sink. Every three or four days I walk it out, dig a small pocket in the pit, dump the scraps, and cover with a shovel of the reserved soil or dry leaves. That cover layer is key. It stops smells and keeps flies away.
IMO the covering step separates success from failure. Bare scraps invite trouble. Buried scraps disappear fast.
Avoid adding citrus peels in large amounts; they repel worms and slow decomposition. Mix moderately.
How I Maintain My Compost Pit Without Turning Into a Full-Time Job
People think compost needs constant turning. My pit proves otherwise.
I check moisture once a week by sticking my hand in. It should feel like a wrung-out sponge. Too dry? I water lightly with the hose. Too wet? I mix in more dry leaves or alfalfa.
I rarely turn the whole thing. Every month or so I poke a few holes with a garden fork just to let air in. That is it. The worms and microbes handle the rest.
After three to six months the bottom layers turn dark and crumbly. I dig from one end, scoop the finished stuff into a wheelbarrow, and spread it on my beds. The top stays active with new scraps. I work my way around like a slow clock.
Last fall I harvested two full wheelbarrows. My tomato plants doubled their yield the next season. Coincidence? I doubt it.
Install a perforated PVC pipe vertically in the pit to deliver air and moisture directly to the center.
Compost Pit Versus Bin: My Honest Comparison After Trying Both
I ran both systems side by side for six months. Here is what I noticed.
Compost pit wins on:
- Cost. Zero dollars after the shovel.
- Speed of setup. Dig and go.
- Pest resistance once covered properly.
- Moisture stability from surrounding soil.
- Capacity. Mine holds way more than any plastic bin I owned.
Bins win on:
- Looks. Some people prefer the tidy enclosed look.
- Portability. Easy to move if you rent.
- Faster heat buildup in small spaces.
For me the pit wins hands down. I hate spending money on plastic that cracks after two seasons. The pit just sits there and works. If I ever move, I can fill it in and plant grass. No leftover hardware to haul away.
The one downside? Digging that first hole. After that it is pure cruise control.
Real Problems I Hit and How I Fixed Them
Nothing goes perfectly. Here are the snags I faced.
Smelly pit. Happened once after a week of rain. I added dry leaves and poked air holes. Smell vanished in two days.
Fruit flies under the sink. I started emptying the pail every other day and rinsing it. Problem solved.
Tree roots invading. They love the rich soil. I chop them with the shovel and toss the pieces back in. They compost too.
Slow winter breakdown. I dug the pit a bit deeper and piled extra leaves on top as insulation. Activity slowed but never stopped.
I almost quit the second month when nothing seemed to happen. See, I expected instant black gold. Compost does not work that way. Patience beats panic every time.
Foul odor usually means too many greens; balance with two parts browns to one part greens by volume.
How I Use the Finished Compost from My Pit
Finished material looks like dark chocolate cake crumbs. I sift out any big chunks and toss them back for another round.
I mix it into planting holes for tomatoes and peppers. I top-dress flower beds in spring. I brew a weak tea for seedlings. My clay soil went from rock-hard to crumbly in one season.
Neighbors started asking what fertilizer I use. I just smile and point at the bare patch of dirt that hides my compost pit.
Frequently Asked Questions
How deep should a compost pit be? I dug mine eighteen inches. Twelve works in mild climates. Deeper helps in freeze zones because it keeps the core warmer.
Does a compost pit attract rats or raccoons? Only if you add meat or leave scraps uncovered. I bury everything under three inches of soil or leaves and have zero pest problems after the first month.
How long until I get usable compost from my compost pit? My first batch took about four months in warm weather. Cooler seasons stretch it to six or eight. Smaller scraps break down faster.
Can I put weeds in the compost pit? Yes if they have not gone to seed. Seeded weeds risk sprouting later. I stick to green leaves and stems only.
Is a compost pit better than a bin for small yards? For me yes. It disappears into the ground and needs almost no space once covered. Bins always look like clutter.
Final Thoughts from My Own Backyard Experiment
I started my compost pit because bins failed me. Now I cannot imagine gardening without it. The process stays simple: dig once, add scraps often, cover always, harvest when ready.
You do not need fancy gear or a degree in soil science. You need a shovel, a scrap pail, and the willingness to let nature work. My garden thrives. My trash bag stays lighter. My wallet stays happier.
Grab that shovel this weekend. Dig your own compost pit. Your plants will thank you next season, and you might even enjoy the quiet satisfaction of turning yesterday’s peels into tomorrow’s harvest. I know I do.


