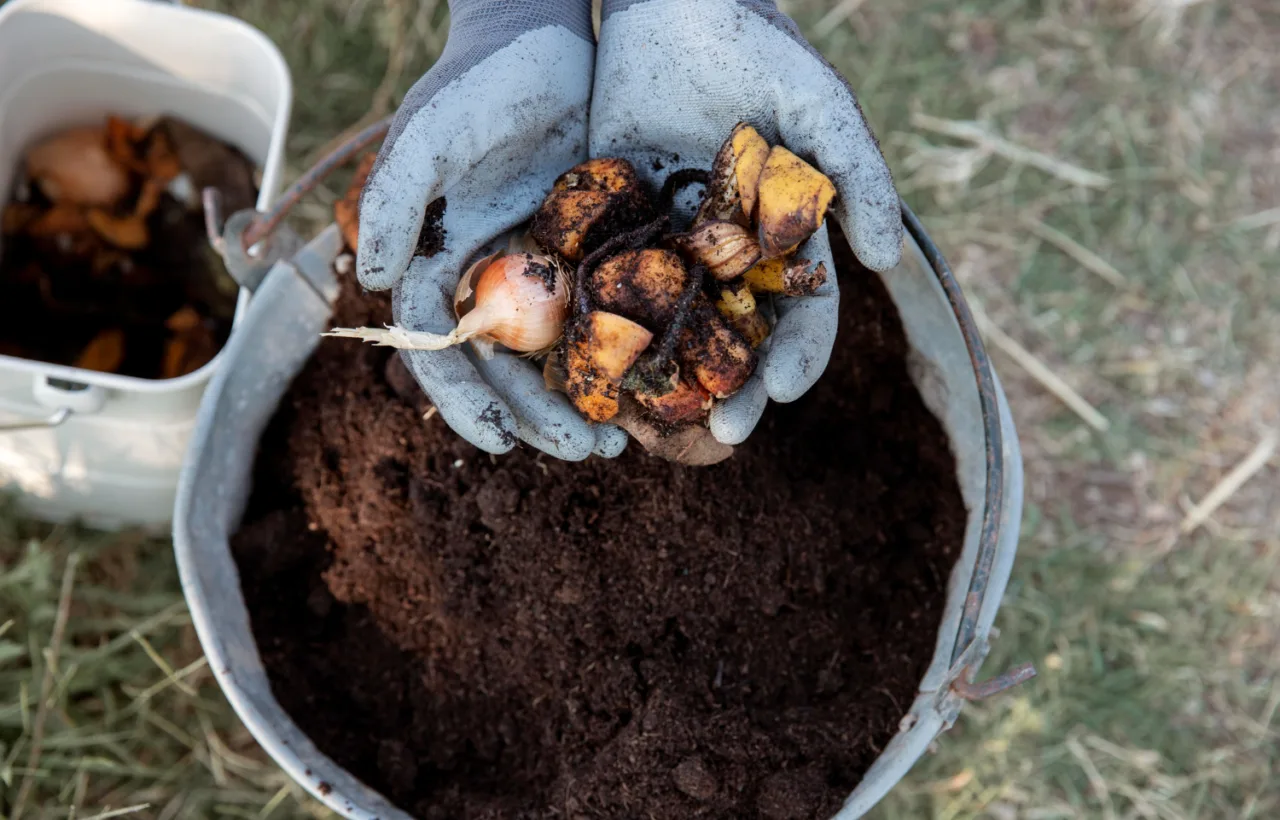

I spent years wrestling with a sad little compost pile that never quite finished. Then I built my own diy compost tumbler out of a 55-gallon barrel and everything changed. My kitchen scraps and yard waste now turn into rich black gold in weeks instead of months. No more pitchfork. No more backaches. Just a quick spin every day or two.
Honestly? I should have done this years ago.
See, I garden like most of us. I want free fertilizer. I hate hauling bags of dirt. And I refuse to keep sending food waste to the landfill. A store-bought tumbler looked perfect until I saw the price tags. Two hundred bucks. Three hundred. For a plastic drum on a stand. Nope. So I made my own. This is the full story of how I did it, what worked, what almost ruined me, and exactly how you can copy it.
Why I Ditched the Pile and Went for a DIY Compost Tumbler
My old pile sat in the corner of the yard. I turned it when I remembered. Rain soaked it. Heat dried it out. Raccoons visited. Flies loved it. The finished stuff was lumpy and full of sticks that never broke down.
A tumbler fixed every one of those headaches for me. It keeps the mix contained. It stays off the ground. Turning takes ten seconds instead of twenty minutes of sweating. And the whole thing looks neat enough that my HOA never complained.
I researched every free plan I could find. Most used the same basic idea: a food-grade plastic barrel, a simple wood frame, and something to help it spin. Some people hang the barrel from a pipe. Others set it on casters. I tried a hybrid that felt sturdy and cheap.
The total cost landed under fifty dollars because I scored a free barrel and used scrap lumber. Your number might land a little higher or lower. Either way it beats the store versions.
Gathering Materials for My DIY Compost Tumbler
I kept the shopping list short on purpose. Fancy hardware just makes things rust faster around wet compost.
Here is exactly what I used:
- One food-grade 55-gallon plastic barrel (free from a local soda syrup supplier, or about $20 used)
- Two 8-foot 2×6 pressure-treated boards for the frame
- One 10-foot piece of 1.5-inch galvanized pipe for the axle
- A handful of exterior screws and a couple of nails
- One short section of 2-inch PVC pipe plus a cap and adapter for airflow
- Boiled linseed oil to protect the wood
- A latch and a couple of hinges if your barrel does not have a removable lid
That is it. No special tools beyond a drill, a saw, and a tape measure. I already owned everything else.
I found the barrel by calling a few local beverage distributors. They throw these things away or sell them cheap. Just make sure it held food, not chemicals. Rinse it well. Smell it. If it still reeks of something weird, keep looking.
Avoid barrels that held pickles or olives; the smell never fully rinses out and can attract pests.
Building the Frame Step by Step
I started with the stand. This part holds the whole weight and lets the barrel spin free.
I cut the two 2×6 boards into these pieces:
- Two uprights at 35 inches
- Two feet at 34 inches
- Two spacers at 29 inches
I drilled 1.5-inch holes near the top of each upright so the axle pipe could slide through. Then I screwed the feet to the bottoms of the uprights to make two L shapes. The spacers connected the two L shapes into a solid A-frame looking base. I brushed on linseed oil while everything was still in pieces. That stuff soaks in and keeps the wood from rotting for years.
Once the frame stood up, I slid the galvanized pipe through both upright holes. The barrel would hang from that pipe later.
I tested the spin right then. The pipe turned smooth. Perfect.
Prepping the Barrel Itself
This is where most people get creative. I kept it simple.
First I drilled two holes exactly opposite each other through the sides of the barrel, right on the middle seam. Those holes let the axle pipe pass straight through. Balance matters. If the holes sit off-center the barrel wobbles and becomes a pain to turn when full.
Next I drilled a third hole in the very bottom center. That one holds the PVC airflow tube. I assembled the tube with the cap on the inside end, poked a bunch of 1/4-inch holes along its length, then threaded it through the bottom hole and locked it with the adapter. Now air reaches the middle of the pile and I can pour water straight in without opening the lid.
Then came the air holes. I drilled about forty 1/4-inch holes all over the sides and ends. More holes in humid climates. Fewer if you live somewhere bone dry like I do. Compost needs oxygen. Without it the pile turns stinky and anaerobic.
If your barrel has a removable lid with a locking ring, celebrate. You just skip the door step. Mine did not, so I cut a rectangular hatch with a jigsaw. I reinforced the edges with scrap aluminum strips and rivets so the plastic would not crack. Then I bolted on a latch and a pair of hinges. The door hangs open when I empty the finished compost into a wheelbarrow. Super handy.
Finally I screwed two PVC half-pipes inside the barrel as paddles. They break up clumps every time I spin. Some folks skip this. I never skip it anymore. Clumps slow everything down.
Putting It All Together and the First Spin
I laid the barrel on the ground, tilted the frame over it, and slid the axle pipe through the frame holes and the barrel holes in one smooth motion. A couple of nails dropped through holes in the uprights and the pipe keep everything centered and stop the barrel from sliding sideways.
I stood it up. I gave it a spin.
It turned like butter.
I whooped out loud in the backyard. The neighbor probably thought I lost it. Worth it.
Loading My DIY Compost Tumbler the Right Way
Empty the barrel. Start adding.
I aim for roughly three parts browns to one part greens by volume. Browns are dry leaves, shredded cardboard, straw, wood chips. Greens are kitchen scraps, grass clippings, coffee grounds, fresh plant trimmings.
I layer them. A few scoops of browns. A few scoops of greens. A sprinkle of finished compost or garden soil to inoculate the microbes. Then a little water until the mix feels like a wrung-out sponge. Not dripping. Not dusty.
I never fill past two-thirds. Overloading makes the barrel too heavy to turn and starves the center of air. I learned that the hard way the first month.
Close the lid or latch the door. Give it five full rotations. Done.
Shred browns smaller than 2 inches for faster decomposition and to prevent clumping.
My Daily and Weekly Routine
Every morning while the coffee brews I walk out and give the tumbler four or five good spins. That is all the exercise it needs. The paddles mix everything. Fresh air rushes in. Heat builds.
Once a week I check moisture. Open the door. Grab a handful. Squeeze. One or two drops of water should appear. Too dry? Pour a little through the PVC tube. Too wet? Add more dry leaves and spin.
In summer my batches finish in five to six weeks. In winter it stretches to two or three months. Still faster than any pile I ever managed.
When the material looks dark, crumbly, and smells like forest floor, I dump it. I roll the barrel so the door faces down into a waiting wheelbarrow. Gravity does the rest. I screen out any big chunks that need another round and spread the rest on my garden beds.
Common Mistakes I Made So You Do Not Have To
I overfilled it the first time. The barrel became a solid rock. Turning required two people and a lot of grunting. Lesson learned. Two-thirds max.
I ignored the green-to-brown ratio. Too many kitchen scraps turned the whole thing into a slimy stinky mess full of fruit flies. Adding a giant bag of shredded leaves fixed it overnight.
I forgot to spin for a whole week once. The middle went anaerobic. Smell hit me from twenty feet away. One aggressive spinning session and a handful of browns cleared it up.
I used regular steel hinges on the door. They rusted solid in three months. Stainless or plastic next time. Or better yet, a barrel with a real lid.
Moisture swings killed speed more than anything. Desert air sucks water out fast. The PVC tube lets me add water without drama.
Tips That Actually Speed Things Up
Chop everything small before it goes in. Big sticks and whole banana peels take forever. I run leaves through the mower. Kitchen scraps get a rough chop with kitchen shears.
Keep a small bucket of dry leaves next to the kitchen counter. Every time I dump scraps I toss in a handful of leaves. Instant balance.
In cold weather I park the tumbler in the sunniest spot I have. Black barrels heat up faster. I even wrap mine in an old moving blanket on freezing nights. Helps keep the microbes happy.
Never add meat, dairy, oils, or pet waste. Those attract every raccoon and rat in the county and make the smell ungodly. Stick to plant stuff and you stay pest-free.
Comparing My DIY Version to Store-Bought Tumblers
I looked at the fancy dual-chamber models. They cost three hundred dollars and up. Mine cost under fifty and holds the same volume. The dual-chamber idea is nice for continuous composting, but I just keep two single barrels going on staggered schedules. Same result. Less money.
Some commercial ones claim they finish in two weeks. Mine does not hit that number often, but five to six weeks of almost zero work still beats the pants off any open pile.
Durability? My barrel has sat outside for three full years. The plastic shows zero cracks. The wood frame still feels solid. The galvanized pipe has a little surface rust but spins fine. I expect another five years easy.
IMO the only real advantage store models have is the pretty colors and the warranty. I will take the free money and the satisfaction of building it myself every time.
How I Use the Finished Compost
I dig it straight into new planting holes. I side-dress tomatoes and peppers mid-season. I mix it half-and-half with potting soil for containers. I even make compost tea by steeping a shovelful in a five-gallon bucket of water for a day and watering with the liquid.
My tomato plants doubled in size the first year I switched. The soil holds water better. Weeds seem fewer. That black gold is the real deal.
Frequently Asked Questions
How long does it take to build a diy compost tumbler? I finished mine in one Saturday afternoon. Frame took two hours. Barrel prep took another two. Assembly was twenty minutes. If you already own the tools you can easily do it in half a day.
Does a diy compost tumbler really work better than a regular pile? For me yes. Faster breakdown. Less smell. Zero animals. Way easier turning. The only downside is slightly smaller capacity per batch, but I just run two of them.
What size barrel works best for a diy compost tumbler? Fifty-five gallon is the sweet spot. Big enough to make useful amounts. Small enough that a full load still spins easily. Smaller trash-can versions work for tiny yards but finish slower because they never heat up as well.
Can I build a diy compost tumbler without power tools? You can. A handsaw and a hand drill will get the job done. It just takes longer. The only power tool that really speeds things up is a jigsaw for the door cutout.
How do I keep my diy compost tumbler from smelling bad? Spin it often. Keep the brown-to-green ratio right. Maintain that damp-sponge moisture. Those three habits kill almost every odor problem I have ever seen.
Final Thoughts from My Backyard
I almost quit composting three times before I built this thing. The pile defeated me. The smell defeated me. The work defeated me.
Then I spent one afternoon with a free barrel and some scrap wood. Now I have a steady supply of the best soil amendment money cannot buy. My garden thrives. My trash can stays lighter. And every time I give that barrel a spin I feel a little smug.
You can feel that too. Grab a barrel. Cut some boards. Follow the steps I laid out. In a few weeks you will dump your first batch of homemade black gold and wonder why you waited so long.
Go build your diy compost tumbler this weekend. Your tomatoes will thank you. Your back will thank you you. And you will never look at kitchen scraps the same way again.


