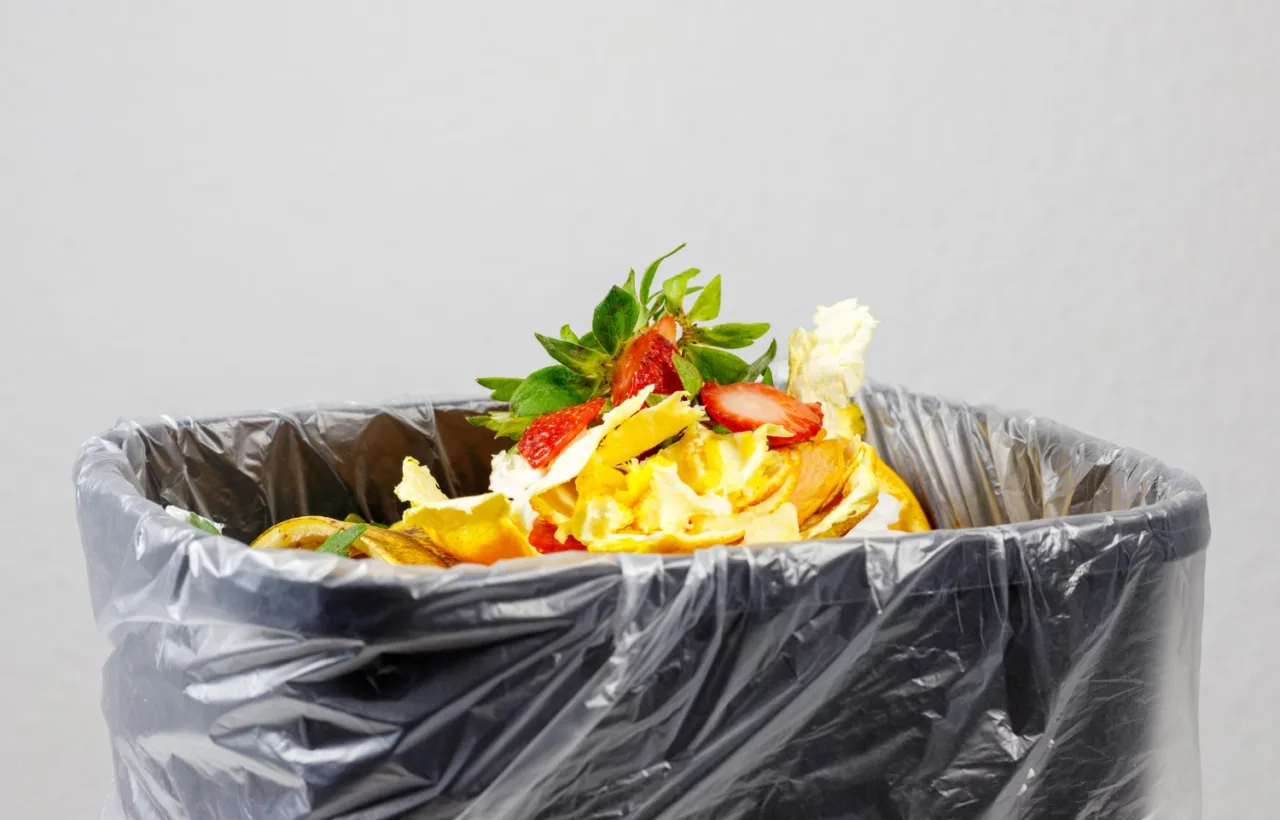

I spent years tossing kitchen scraps and yard waste into the trash like everyone else. Then I got tired of the guilt. And the landfill fees. So I figured out how to make a compost bin myself, right in my backyard, for next to nothing. That single project changed how I garden forever. Honest black gold, free fertilizer, way less garbage. If you’re staring at a pile of banana peels and wondering where to start, you’re in the right spot. I’m walking you through every step I took, the mistakes I made, and the exact setups that worked for me.
See, I didn’t start with fancy tools or a big budget. I started with what I had. And you can too.
Why I Bothered Learning How to Make a Compost Bin in the First Place
I used to think composting was for people with huge farms or endless free time. Wrong. Completely wrong. My first attempt came after I watched my vegetable garden struggle through a dry summer. The soil looked tired. Plants looked sad. I needed something better than bagged fertilizer that cost a fortune and felt fake.
So I researched. I tried a few methods. I failed a couple times. Then I nailed it. Now I pull out rich, crumbly compost twice a year and my tomatoes thank me. The real win? Cutting my trash output almost in half. My kitchen scraps, coffee grounds, and fall leaves all go somewhere useful instead of rotting in a landfill and pumping out methane.
Honestly? The biggest surprise was how simple it is once you pick a method that fits your space. No magic. Just air, water, browns, greens, and a bit of patience.
Picking the Right Spot Before You Build Anything
Location matters more than you think. I learned this the hard way.
I put my first bin too close to the house. Bad idea. Even a well-managed pile can get a little funky if it gets too wet. Now I keep mine about 20 feet from the back door, in a spot that gets morning sun and afternoon shade. Perfect.
Here’s what I look for every time:
- Level ground so water doesn’t pool
- Bare soil underneath so worms and microbes can move in freely
- Easy access from the kitchen path
- Some shade so it doesn’t dry out too fast in summer
- Away from neighbors’ windows just to keep the peace
Don’t put it on concrete if you can help it. The soil connection speeds everything up. If you only have a patio, a plastic bin still works. I used one for two years in a small rental.
Avoid placing your bin under trees that drop heavy leaves in fall, or you'll have an endless supply of browns.
Three Ways I Actually Made a Compost Bin (And Which One I Still Use)
I’ve built three different styles over the years. Each has its place. I’ll break them down so you can pick what fits your life.
The $10 Plastic Storage Bin Method (My First Win)
This is the one that got me hooked. Super cheap. Super fast. Perfect if you’re renting or testing the waters.
What I used:
- One 30-gallon plastic storage bin with a tight lid
- A drill and 3/16-inch bit
- Dry leaves or shredded cardboard
- A bag of plain dirt (or just scoop from the yard)
Steps I followed:
- Drill 8–10 holes in the bottom for drainage and airflow.
- Drill another 8–10 holes in the lid.
- Toss in a 3–4 inch layer of dry leaves or shredded newspaper.
- Add a few scoops of dirt.
- Start dumping kitchen scraps on top.
- Cover the scraps with more browns or dirt.
- Mist with water until it feels like a damp sponge.
- Snap the lid on and set it in a shady corner.
I stirred it once a week with an old shovel. In about three months I had usable compost. Not the hottest pile, but it worked. And it cost me less than a pizza.
IMO, this is the best starter option. No tools beyond a drill. No heavy lifting. Critters stay out if the lid seals tight.
The Free Pallet Bin (What I Use Now)
Once I had a yard, I wanted something bigger. Pallets are free if you know where to look. Hardware stores and garden centers give them away constantly. Just ask.
I grabbed four solid pallets. Stood one up as the back. Staked the two sides into the ground with wooden posts and a sledgehammer. Wired the corners together with leftover fencing wire. The front pallet becomes a gate. I just lift it off when I need to turn the pile.
Key tips from my build:
- Stand everything on bare soil.
- Make sure the pallets are heat-treated (look for HT stamp), not chemically treated.
- Wire or zip-tie the corners tight so it doesn’t wobble when full.
- Optional: line the inside with hardware cloth if rodents are a problem in your area.
This bin holds a ton. I can throw in whole armfuls of leaves and grass clippings. It heats up better than the plastic one because of the size. Mine sits at about 4x4x4 feet. That volume is the sweet spot for hot composting.
The only downside: it looks a little rough. I painted the outside once with leftover exterior paint to make it blend better. Works fine.
The Wire Fence Circle (My Lazy Backup)
Sometimes I just need a temporary spot for fall leaves. I unroll a 10-foot section of 4-foot wire fencing, form a circle, and twist the ends together. Done.
No tools. No cost if you already have fencing. Airflow is excellent. I line the bottom with cardboard so little bits don’t fall through. When it’s full and finished, I just untwist and drag the wire away. Super easy to move.
I use this one for pure leaf mold. Takes longer but makes the fluffiest soil amendment ever.
What Goes In (And What Stays Out)
This is where most people mess up. Balance is everything.
I keep two mental buckets:
Greens (nitrogen-rich, wet stuff):
- Fruit and veggie scraps
- Coffee grounds and filters
- Tea bags (remove the staple)
- Fresh grass clippings
- Plant trimmings
Browns (carbon-rich, dry stuff):
- Dry leaves
- Shredded cardboard or newspaper (no glossy ink)
- Twigs and small branches
- Sawdust from untreated wood
- Paper towels and napkins
My golden ratio: two to three parts browns for every one part greens. Too many greens and it gets slimy and smelly. Too many browns and it just sits there forever.
I never add:
- Meat, fish, or bones
- Dairy
- Oily foods
- Pet waste
- Diseased plants
- Weeds that have gone to seed
- Anything treated with chemicals
I keep a small lidded container under the sink. Every couple days I dump it into the bin and cover it with a handful of leaves. That simple habit keeps fruit flies and smells out of the house.
Watch out for citrus peels and onions; they can slow decomposition if added in large amounts.
How I Keep My Pile Happy and Working Fast
Turning is the secret. I used to skip it. Big mistake. The pile just sat cold and slow.
Now I turn every 1–2 weeks with a pitchfork. Bring the outside material into the center. Fluff it up. Add water if it feels dry. In summer my big pallet bin gets hot enough that I can see steam on cool mornings. That’s the microbes throwing a party.
Moisture check: grab a handful and squeeze. A few drops should come out. Not a stream. Not dust. If it’s too wet I add more dry leaves. If it’s too dry I water it with the hose on a gentle spray.
Size of materials matters too. I chop big scraps with kitchen shears before they go in. Smaller pieces break down faster. No surprise there.
A hot compost pile reaches 130-150°F, which kills weed seeds and plant pathogens.
Troubleshooting the Stuff That Went Wrong for Me
My first plastic bin smelled like a swamp. Turns out I had too many greens and zero air. I drilled more holes, added a bunch of shredded cardboard, and turned it daily for a week. Smell vanished.
Ants showed up once when the pile got too dry. I watered it well and left the lid off for a day. They packed up and left.
Fruit flies in the kitchen container? I started freezing scraps for a day before dumping them. Or just empty more often. Easy fix.
Rodents tried to dig under my pallet bin the first winter. I laid a layer of hardware cloth on the ground before assembling. Problem solved.
If your pile isn’t heating up, it’s almost always one of three things: too small, too dry, or not enough greens. Fix those and it wakes up.
When the Compost Is Actually Ready
I wait until it looks like dark, crumbly soil. No recognizable food scraps left. Smells like a forest floor after rain. Cool to the touch. That usually takes 2–6 months depending on the method and how often I turn it.
I screen mine through an old piece of hardware cloth stretched over a wheelbarrow if I want the fine stuff for seed starting. The chunky bits go back into the active pile as a starter.
I always leave about a third of the finished compost in the bin. It inoculates the next batch with the good microbes. Speeds everything up.
Real Talk on Cost and Time
Plastic bin: under $15 if you buy everything new. One afternoon. Pallet bin: free if you score pallets. Half a day of work. Wire circle: free. Ten minutes.
I spend maybe 10 minutes a week maintaining once it’s running. That’s it. The payoff is bags of free fertilizer every season and a lighter trash can. Worth every second.
Frequently Asked Questions
How long does it take to make a compost bin that actually works? I built my first plastic one in under an hour. The pallet version took a Saturday morning. Both produced usable compost within a few months.
Can I really make a compost bin if I live in an apartment? Yes. I did it on a balcony with a plastic storage bin for two years. Just keep the lid tight and empty it regularly. Or look into a small worm bin if outdoor space is zero.
What’s the easiest way for a total beginner to learn how to make a compost bin? Start with the plastic storage bin method I described. Cheap, fast, low risk. Once you see it work you’ll get hooked and want something bigger.
Do I need worms to make compost? Nope. They show up on their own if you build on soil. I never bought worms and my piles are full of them.
Will my compost bin attract animals or smell bad? Only if you add the wrong stuff or let it get too wet. Stick to the greens and browns list, cover fresh scraps, and keep it moist but not soggy. Mine sits quietly with zero drama.
I still remember the first time I spread my own compost around the tomato plants. The difference was ridiculous. Darker leaves. More fruit. That smug feeling when you know you made it yourself? Hard to beat.
You don’t need perfect conditions or expensive gear. You just need to start. Grab a bin or some pallets this weekend. Follow the steps that fit your space. In a few months you’ll be scooping black gold and wondering why you waited so long. I sure did. Now go make some dirt.


