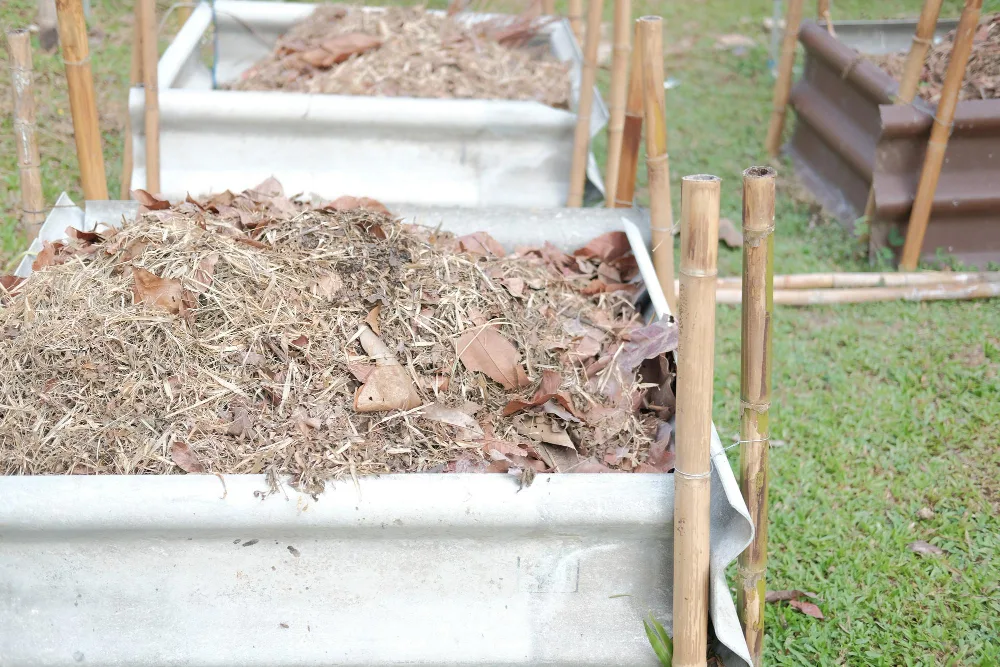

I spent years tossing kitchen scraps and yard waste into the trash. Then I built a pallet compost setup that changed everything for my garden. The whole thing cost me almost nothing and took under an hour once I had the pallets. Honestly? I wish I had started sooner.
See, I live in a small suburban lot with limited space and an even smaller budget. Fancy tumblers and plastic bins felt like overkill. Free shipping pallets solved that. I turned them into a sturdy three-bin system that handles everything from coffee grounds to fall leaves. The result sits right behind my shed now, quietly turning waste into black gold for my raised beds.
I am not some master gardener. I am just a regular person who got tired of buying bags of compost every spring. This article walks through exactly what worked for me, the mistakes I made, and the simple steps that finally stuck.
Why Pallet Compost Became My Go-To Method
I tried the open pile method first. It looked messy and attracted every neighborhood dog. A plastic bin came next. It filled up too fast and never got hot enough. Then I spotted a stack of discarded pallets behind the local hardware store.
Pallet compost bins give you serious volume without spending a dime on the structure itself. Four or five pallets create a bin big enough for a full season of household and yard waste. The open slats let air move freely, which keeps the pile from turning anaerobic and stinky.
I love how the design forces me to turn the material. When the front side unhooks or unties, I just move everything to the next bay. That single habit sped up the whole process for me.
Some people worry about the look. Mine started rough. A quick coat of outdoor paint on the outside fixed that. Now it blends in better than most store-bought options I have seen.
Finding Safe Pallets Without the Headache
Not every pallet works for garden projects. I learned this the hard way after hauling home a couple that felt greasy and smelled chemical.
Look for the stamp on the side. HT means heat-treated. Those are the ones I use. MB means methyl bromide treatment. I skip those every time. Unmarked pallets stay on the ground too. Better safe.
I found most of mine behind grocery stores, garden centers, and small warehouses. A polite ask usually works. “Do you have any HT pallets you need gone?” gets results more often than you expect. Some places even load them for you.
Size matters. I stick to standard 48 by 40 inch pallets that match each other. Mixed sizes make the walls wobbly. Hardwood ones last longer than soft pine, but I take what I can get as long as the stamp checks out.
FYI, I always wear gloves. Splinters are real, and some pallets carry leftover dirt or nails.
How I Built the Three-Bin System Step by Step
My first attempt used string. It held for a season but sagged under a full load of wet leaves. Screws fixed that forever.
Here is the exact process I follow now:
- Level a spot on bare soil. Concrete or gravel slows drainage and cools the pile too much.
- Stand three pallets on edge to form the back and two sides of the first bay. A second person helps here, or I lean them against a fence temporarily.
- Drive 3-inch all-weather deck screws through the overlapping corners. Three screws per joint keep it solid.
- Add two more pallets as dividers to create three equal sections. Screw those to the back wall the same way.
- Leave the fronts open at first. I add a fourth pallet later as a removable gate once the pile grows.
The whole frame sits about three feet high and three feet deep per bay. Perfect size for turning with a regular garden fork.
I sometimes wire the bottom corners to wooden stakes driven into the ground. That stops any shift during heavy rain or when I lean into the pile.
Total cost last time: one box of screws and a free afternoon. The pallets themselves? Zero dollars.
What Goes Into My Pallet Compost and How I Manage It
I keep the recipe simple. Roughly equal parts greens and browns by volume, not weight.
Greens mean nitrogen: fresh grass clippings, vegetable scraps, coffee grounds, spent plants. Browns mean carbon: dry leaves, shredded cardboard, straw, wood chips. I layer them like lasagna when I add new material.
Moisture is the part I used to mess up. The pile should feel like a wrung-out sponge. Too dry and nothing happens. Too wet and it smells like a swamp. I stick a hose in during dry spells and cover the top with a piece of old carpet or cardboard when rain pounds for days.
Turning happens every two to three weeks in warm weather. I move the active pile into the next empty bay. That mixes everything and introduces fresh air. The third bay holds finished material until I need it.
Temperature tells the story. A good hot pile hits 130 to 150 degrees in the center. I check with a cheap compost thermometer. When it drops and stays cool, the batch is ready or needs more greens.
Avoid adding large branches or thick woody stems. They take too long to break down and create cold spots in the pile.
Real Benefits I Noticed After One Full Season
My tomatoes grew thicker stems and produced longer into fall. The soil in the beds held water better during dry stretches. I stopped buying bagged compost entirely.
The bin itself handles more volume than any single plastic unit I owned. Fall leaf drop no longer overwhelms the curb. Kitchen scraps disappear instead of smelling up the trash can.
Wildlife stays mostly away once the pile heats up. I did have one curious raccoon early on. A simple wire top solved it.
Durability surprised me. The first set of pallets lasted four full years before the bottom edges got soft. I replaced just the worst ones and kept going.
Mistakes That Cost Me Time (So You Can Skip Them)
I once used a chemically treated pallet by accident. The pile never heated properly and I tossed the whole batch. Lesson learned: check every stamp twice.
Building on a slope created a lean that got worse every time I turned. Level ground is non-negotiable.
Leaving the top completely open in winter cooled the pile to nothing. Now I always keep a cover ready.
Adding thick layers of grass clippings without browns created a slimy mess. Thin layers and more dry material fixed that fast.
IMO, the biggest error is waiting for the perfect moment. Just start with what you have. Messy first piles still become usable compost.
Small Upgrades That Made a Big Difference
Once the basic frame stood strong, I added a few extras.
Cardboard sheets against the inside walls slow moisture loss and keep finer material from falling through the slats. They break down slowly and become part of the compost.
A hinged front gate on the finished bay makes emptying easier. I use two heavy-duty hinges and a simple latch.
In colder months I stuff straw between the outer slats for insulation. The center stays warmer longer and the process continues instead of freezing solid.
None of these cost much. Most came from materials I already had around the yard.
Frequently Asked Questions
How long does pallet compost take to finish? In warm weather with regular turning, I get usable compost in


