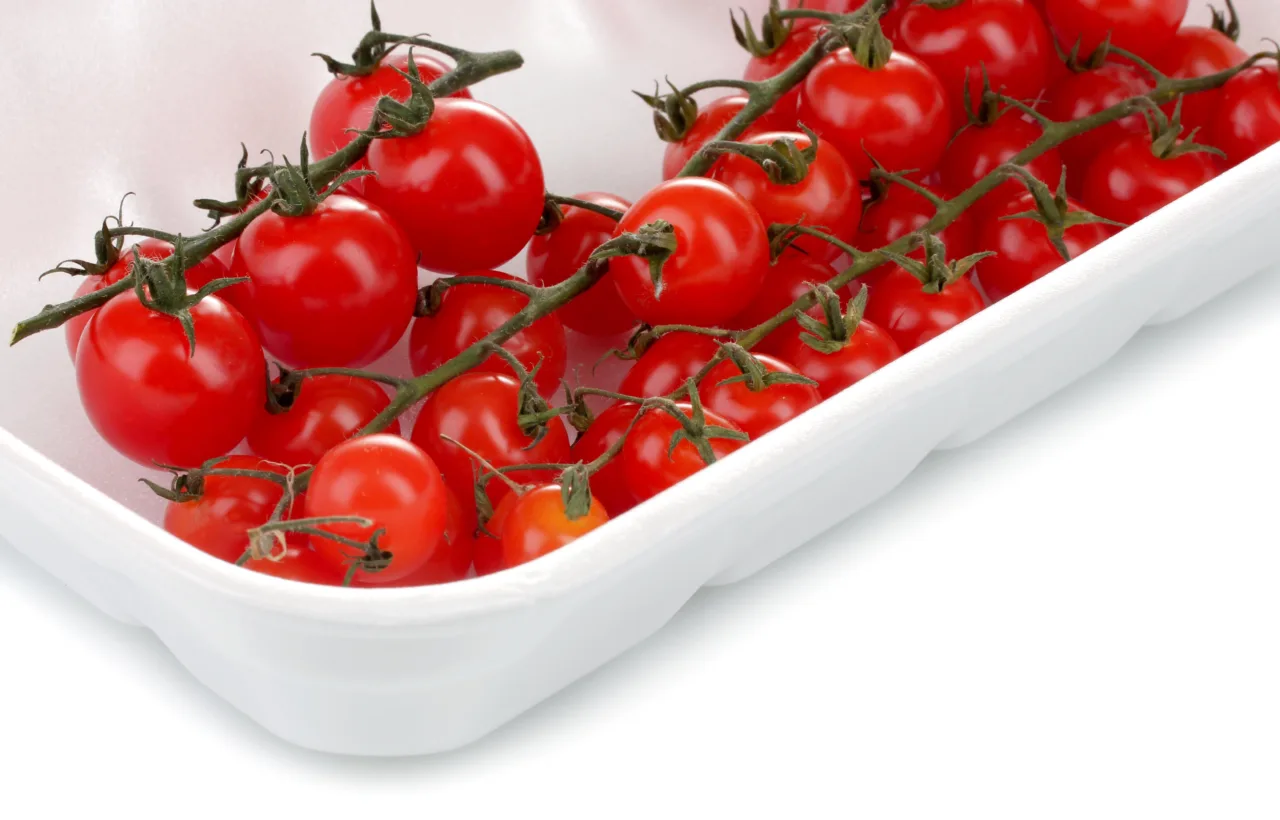

I started growing container tomatoes out of pure desperation. My backyard was a shady mess of roots and poor soil, so I dragged a few pots onto the sunny side of my apartment balcony and hoped for the best. That first season changed everything. Now I pull more fruit from five pots than I ever got from a full in-ground bed. If you have a balcony, porch, or even a sunny doorstep, you can do the same.
See, most people assume tomatoes need space. They don’t. They need the right setup, consistent care, and a little stubbornness on your part. I learned that the hard way.
Why Container Tomatoes Work Better Than You Think
I used to believe ground soil was magic. Honestly? It wasn’t. My in-ground plants suffered from the same wet springs and compacted dirt every year. Pots fixed that. I control the soil, the water, and the location. When a heat wave hits, I roll the pots into afternoon shade. When a cold snap comes, I cover them or move them against the wall.
The big win is root health. In a pot the roots stay warmer and the drainage stays sharp. That means fewer root problems and stronger plants overall. I still get blossom end rot sometimes, but far less than before. And the fruit tastes better because the plants never sit in soggy ground.
Choosing Tomato Varieties That Thrive in Pots
Not every tomato belongs in a container. I wasted two seasons on tall indeterminate monsters that outgrew every cage I owned. Lesson learned.
Determinate (bush) types stay compact and set most of their fruit in a short window. Perfect for pots. Dwarf and patio varieties stay even smaller and still produce plenty. Cherry types almost always win for reliability and yield in limited space.
Here are the ones that actually deliver for me:
- Patio Princess: Stays under three feet and loads up with salad-sized fruit all season.
- Bush Early Girl: Early and reliable. I get ripe tomatoes before most of my neighbors even see flowers.
- Tumbling Tom: Cascades over the edge of hanging baskets or tall pots. Sweet and endless.
- Sungold: Technically indeterminate, but I grow it in a 15-gallon bag with strong support. The flavor is worth the extra work.
- Tiny Tim: True miniature. Works in smaller pots if you stay on top of watering.
I stick mostly to determinates now. They need less staking and finish before late-season diseases show up. If you crave big slicers, go for a compact bush type rather than a classic indeterminate. Your pots (and your back) will thank you.
Stagger two determinate plants by two to three weeks to spread their concentrated harvest instead of creating one tomato glut.
The Container Size Mistake Almost Everyone Makes
I see this constantly. Someone plants a tomato in a pretty 3-gallon pot and wonders why it never takes off. Roots need room. A plant that feels cramped stops growing and starts stressing.
My rule is simple. Five gallons is the absolute minimum for compact determinates and cherry types. Ten gallons is better. For anything larger or indeterminate, I go 15 to 20 gallons. Fabric grow bags are my current favorite. They air-prune the roots, stay lighter when wet, and fold flat for storage.
Plastic buckets work if you drill plenty of drainage holes. Terra cotta looks nice but dries out fast and cracks in freeze-thaw weather. I avoid dark colors on hot decks because they cook the roots. Light-colored fabric or resin pots stay cooler.
One plant per container. Always. Crowding invites disease and cuts your harvest in half. I learned that after trying to squeeze two plants into one big tub. Never again.
Raise containers slightly on pot feet or blocks, because flat surfaces can seal drainage holes and leave roots waterlogged.
Soil Mix That Actually Supports Container Tomatoes
Garden soil in a pot is a disaster. It packs down, holds too much water, and often brings diseases with it. I use a quality potting mix made for containers. The bag should feel light and include perlite or similar for drainage.
I mix in a handful of compost and a slow-release tomato fertilizer at planting time. That gives the roots a good start. Later I top-dress with more compost when the plants start flowering. Simple. No fancy recipes needed.
The mix has to drain well yet hold moisture between waterings. If water sits on top for more than a few seconds after you pour, the mix is too dense. Add more perlite next time.
Planting Container Tomatoes the Way That Works
I plant deep. Tomatoes grow roots along the buried stem, so I strip the lower leaves and set the plant so only the top few sets of leaves show above the soil. This builds a stronger root system right from the start.
Timing matters. I wait until night temperatures stay above 50°F. Cold soil stunts them. If I start seeds indoors, I harden them off for a week before the big move. Nursery starts work fine too as long as they look healthy and stocky, not leggy.
I water thoroughly right after planting and keep the soil evenly moist while the plant settles in. A light mulch of straw or shredded leaves on top helps hold moisture and keeps soil from splashing onto the leaves.
For leggy nursery starts, lay the stem sideways in a shallow trench, leaving the top upright.
Daily Care That Keeps the Plants Happy
Water is the make-or-break factor. Container tomatoes dry out faster than in-ground ones. In hot weather I check them every morning. The top inch of soil should feel dry before I water again. When I do water, I soak the pot until water runs freely from the bottom. Shallow sips lead to shallow roots and weak plants.
I fertilize regularly once flowering starts. A balanced liquid feed every two weeks works, then I switch to one higher in potassium as fruit sets. Overfeeding early gives lush leaves and few tomatoes. I made that mistake once. The plants looked gorgeous and produced almost nothing.
Support goes in at planting time. I use cages or sturdy stakes. Waiting until the plant is big makes it harder and risks damaging roots. Determinate types still benefit from a cage so the fruit doesn’t sit on the soil.
Airflow matters. I space the pots so leaves don’t constantly touch each other. Good air reduces fungal problems. If I see yellow lower leaves, I remove them. Clean plants stay healthier longer.
Common Problems I Fought and How I Fixed Them
Blossom end rot used to drive me crazy. It looked like the fruit was rotting from the bottom. The real cause was uneven watering, not a lack of calcium in most cases. Once I kept the moisture steady, the problem mostly disappeared. I still add a bit of crushed eggshell or a calcium spray early on as insurance.
Cracking happens when the plant goes from dry to suddenly soaked. Consistent water prevents most of it. Sunscald shows up as white patches on fruit that was shaded by leaves and then exposed. I leave enough foliage to protect the developing fruit.
Pests are fewer in pots than in the ground, but aphids and whiteflies still appear. A strong spray of water knocks most of them off. For stubborn cases I use insecticidal soap. I check the undersides of leaves once a week. Catching problems early keeps them small.
Hot weather can stop fruit set. When daytime temps stay above 90°F for days, pollen gets sticky and flowers drop. There is not much to do except wait it out and keep the plants healthy. They usually bounce back when nights cool a little.
Place yellow sticky cards just above the foliage to monitor whitefly adults before an infestation becomes obvious.
Harvesting and What to Expect
I pick tomatoes when they show full color and give slightly to gentle pressure. Leaving them on the plant too long can reduce further production on determinates. Cherry types I harvest every other day once they start. The flavor is best at peak ripeness, so I try not to let them sit.
Yields vary, but a well-grown determinate in a 10-gallon pot regularly gives me several pounds of fruit. My best Patio Princess plant produced enough for salads almost every day for six weeks. That felt like a small miracle the first time it happened.
At the end of the season I empty the bags, compost the spent plants (unless disease showed up), and store the containers clean and dry. Fabric bags last me three or four seasons if I treat them gently.
Keep ripe tomatoes at room temperature, stem-side down; refrigeration dulls their flavor and makes the texture mealy.
Frequently Asked Questions
How big should a container be for container tomatoes? I never go smaller than five gallons for compact types and prefer ten or more. Larger pots hold moisture better and support bigger harvests.
Can I grow indeterminate tomatoes in containers? Yes, but only if you give them at least 15 gallons and strong support. I do it with Sungold and a few others, yet determinates are far less work for the same or better results in limited space.
Do container tomatoes need special fertilizer? A tomato-specific or vegetable fertilizer works well. I start with slow-release at planting and switch to liquid once fruit sets. Regular feeding is more important than the exact brand.
How often should I water container tomatoes? Check daily in hot weather. Water when the top inch feels dry and soak thoroughly. Frequency changes with temperature, pot size, and plant size. Consistency beats a fixed schedule.
Will container tomatoes produce as much as in-ground ones? In my experience they often produce more per plant because I control the conditions better. The limiting factor is usually pot size and watering, not the method itself.
I still get surprised every summer when the first ripe tomato hits my hand. The smell, the warmth, the taste of something I grew myself on a concrete balcony. That never gets old. Start with one or two pots this season. Choose a compact variety, give it a big enough home, and stay consistent with water. The plants will do the rest. You might end up like me, rearranging furniture just to make room for more pots next year.


