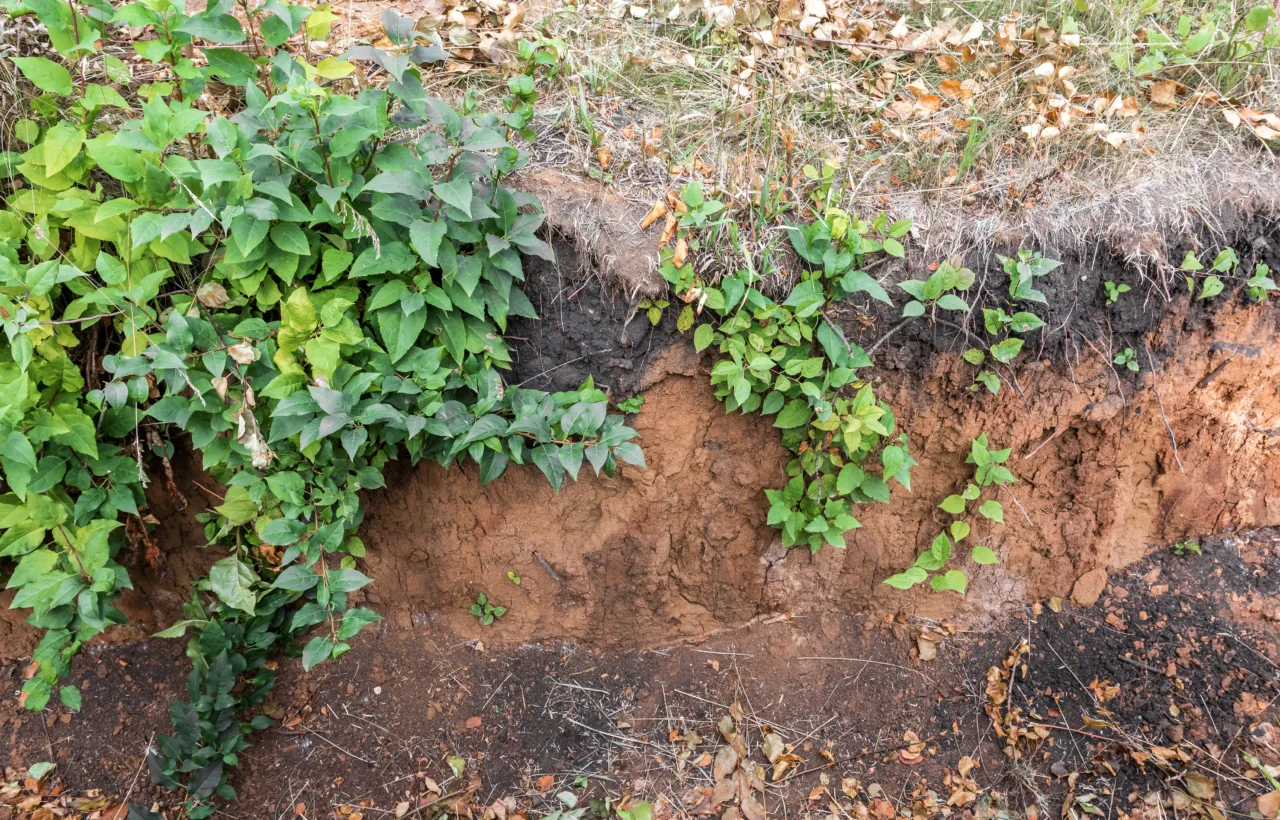

I used to dread composting. Bins sat in the corner of my yard and turned into stinky science experiments. Turning the pile felt like unpaid hard labor. Then I stumbled into trench composting and everything shifted.
I dig a hole. I drop in my kitchen scraps. I cover them up. The earth handles the rest. No bin. No turning. No daily checks. My soil gets richer every season and my plants notice. If you want an easier way to handle food waste and feed your garden at the same time, this method belongs in your toolkit.
Honestly? I wish someone had shown me this years earlier.
What Trench Composting Actually Looks Like in Real Life
Trench composting means you bury organic material straight in the ground. You dig a trench or a series of holes in a fallow bed or future planting row. You add kitchen scraps and soft garden waste. You cover everything with soil and walk away.
Soil microbes and worms break the material down right where it sits. The nutrients stay put. Your future plants dig into that improved zone without you hauling finished compost anywhere.
I first tried it on a neglected strip behind my tomato beds. The soil there was hard and pale. I dug a long trench about a foot deep, filled it with a week’s worth of peels and coffee grounds, then buried it under a thick layer of dirt. Six months later that strip grew the healthiest beans I had ever produced. The difference was obvious.
See, the process works because the soil already knows how to digest organic matter. You just give it a concentrated meal in the right spot.
A soil cap helps block flies and odors, making buried kitchen scraps less noticeable than the same material left exposed in a compost pile.
Why I Switched from Bin Composting to Trench Composting
Bin composting demands attention. You balance greens and browns. You turn the pile. You monitor moisture. You wait for heat. Then you screen the finished product and haul it to the beds.
I did all of that for three seasons. It worked. It also wore me out.
Trench composting skips most of those steps. You still need diggable ground and a bit of patience. But the daily effort drops to almost nothing after the initial dig. The compost forms exactly where the roots will search for food. Worms multiply in the buried material and stay in your garden instead of living only in a separate bin.
I noticed fewer pests around the kitchen door once the scraps stopped sitting in an open pile. The smell disappeared. My neighbors stopped asking what that strange odor was.
Key advantages I experience every season:
- Zero equipment cost beyond a shovel
- Nutrients land at root depth
- No visible compost pile to manage
- Works in small yards where a bin would look out of place
- Builds worm populations where plants actually grow
The trade-off is speed. Hot bin compost finishes faster. Trench composting takes longer, especially in cold weather. I accept that. My soil still improves year after year and I spend far less time on the process.
Rotate trench locations between future rows each season, spreading nutrient-rich zones instead of concentrating repeated kitchen-scrap deposits in one bed.
How I Do Trench Composting Step by Step
I keep the method simple. Overthinking ruins the whole point.
Choosing the Spot
I pick an empty bed or a future heavy-feeder row. Squash, beans, corn, and tomatoes love the slow nutrient release. I stay at least a foot away from active plant roots and avoid low spots that stay soggy.
In winter I use the cleared vegetable beds. In summer I dig between established rows or in pathways I plan to plant later.
Digging the Trench
I aim for 8 to 12 inches deep and about a foot wide. Deeper than 18 inches slows everything down because the soil stays colder and tighter. Shallower than 6 inches invites animals.
A regular garden spade works fine. I dig the length I need for the amount of scraps I have that week. Sometimes I dig one long trench. Sometimes I dig a series of individual holes.
Filling It
I chop larger scraps into smaller pieces. Banana peels, melon rinds, and thick stems break down faster that way. I layer them loosely. A handful of soil or dry leaves mixed in helps the microbes get started.
I never pack the material tight. Air still matters even underground.
What I add without worry:
- Fruit and vegetable peels
- Coffee grounds and filters
- Tea bags (paper ones)
- Crushed eggshells
- Soft garden trimmings
- Grass clippings in thin layers
- Shredded plain cardboard or dry leaves for carbon
What I leave out:
- Meat, bones, and dairy
- Oily or greasy leftovers
- Diseased plants
- Weed seeds that might survive
- Pet waste
I fill the trench only halfway to two-thirds full. That leaves room for a solid soil cap.
Covering and Walking Away
I shovel the dug soil back on top. I aim for at least 6 to 8 inches of soil over the scraps. I tamp it lightly with my boot. Then I mark the spot with a stick or a rock so I remember where it is.
That’s it. No further maintenance.
In warm weather soft scraps break down in 6 to 12 weeks. Harder material takes longer. Cold seasons stretch the timeline to several months. I plant over the trench the following season or the one after that.
Different Ways I Use the Method
I rotate three main approaches depending on the season and the space I have.
Simple Dig-and-Drop
This is my everyday version. I dig a hole whenever the scrap bucket fills. I bury the load and move on. Perfect for small amounts and busy weeks.
The English Rotation Method
I divide a bed into three strips. One strip gets the trench. One grows crops. One serves as a path. Each year I shift everything over. After three years the whole bed has received buried organic matter. The soil stays fertile without extra fertilizer.
Runner Bean or Heavy Feeder Trenches
In autumn I dig a deeper trench along the future bean row. I fill it gradually all winter with kitchen waste and soft garden debris. By spring the material has settled and the beans get a steady nutrient supply right under their roots. Yields jump. The same idea works for squash and corn.
I switch between these methods as needed. No single approach rules my garden.
Common Mistakes I Made (And How You Can Skip Them)
My first trench was too shallow. Raccoons found it within a week. Lesson learned. Now I dig deeper and cover thoroughly. A piece of chicken wire under the soil cap stops determined diggers if they become a problem.
I once overloaded a trench with wet grass clippings. It turned slimy and smelly for a while. Now I mix greens with dry leaves or soil and keep layers thin.
I planted too soon over a fresh trench once. The settling soil left the roots exposed and the plants struggled. I wait at least three months in warm weather and a full season in colder climates before planting directly on top.
FYI, marking the trenches matters more than you think. I forgot a couple early on and accidentally dug into half-finished material. A simple stick or painted rock solves that.
Avoid burying scraps directly beside established crowns, because localized decomposition can temporarily stress nearby roots even when the trench is covered.
The Real Benefits I See in My Soil
After several seasons of trench composting my garden soil feels different. It holds moisture longer. It drains better in heavy rain. Earthworms show up in numbers I never saw before.
The buried organic matter creates pockets of improved structure deeper than surface compost usually reaches. Roots follow those pockets. Plants handle dry spells with less stress.
I still use some finished compost from a small bin for top dressing. But the bulk of my soil building happens underground now. The combination works better than either method alone.
IMO the biggest win is the mental relief. Composting no longer feels like another chore on the list. It happens almost automatically while I do the rest of the gardening.
Frequently Asked Questions
How long does trench composting take before I can plant?
Soft kitchen scraps break down in 6 to 12 weeks during warm weather. Tougher material and cold seasons can take 4 to 8 months or longer. I usually wait until the following growing season for best results.
Does trench composting attract pests?
Only if you bury the scraps too shallow or include meat and dairy. A solid 6 to 8 inch soil cover keeps most animals out. I have had almost zero issues since I started covering properly.
Can I use trench composting in a no-dig garden?
Yes, with care. I dig only when I am already disturbing an area for other reasons, or I dig narrow trenches between beds. The soil benefits still show up without constant tilling.
Is trench composting better than a regular compost bin?
It depends on your goals. Bins produce more finished compost you can move around. Trench composting improves soil in place with far less work. I use both, but trench composting handles most of my kitchen waste now.
What depth works best for trench composting?
I dig 8 to 12 inches deep most of the time. That depth keeps the material covered while still allowing decent decomposition speed. Deeper trenches work for larger volumes but slow the process.
Final Thoughts from Someone Who Almost Quit Composting
I almost gave up on composting completely. The bins frustrated me. The results never felt worth the effort. Trench composting changed that calculation.
Now I look at every potato peel and coffee ground as future soil instead of trash. The process takes almost no time after the dig. My garden soil improves steadily. The plants reward the quiet work happening underground.
Grab a shovel the next time your scrap bucket fills. Dig a trench


