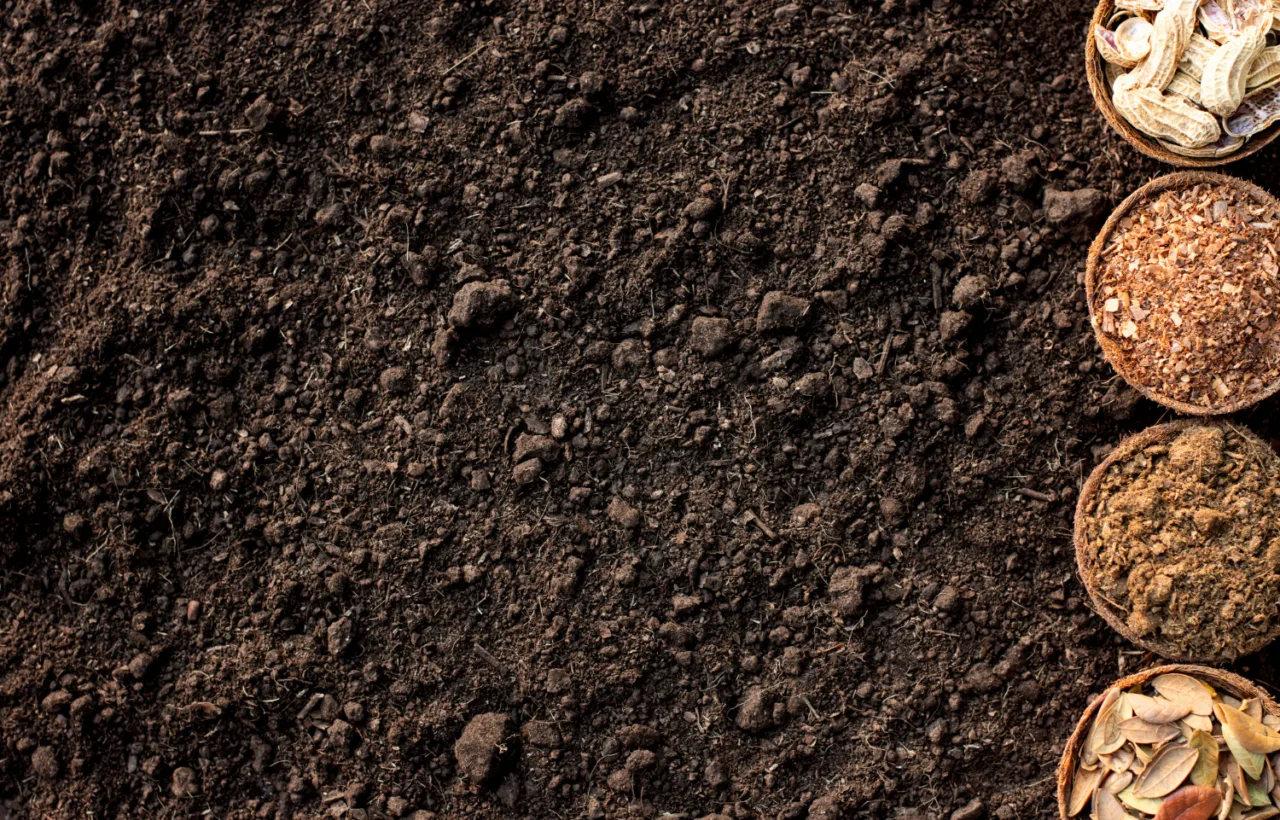

I spent years making sad, soggy piles that attracted flies and never quite finished. Then I cracked the code on compost layers. Now my backyard turns kitchen scraps and yard waste into black gold that makes my tomatoes explode with flavor. This method keeps things simple, balanced, and way less messy than I used to manage.
Honestly? Layering changed everything for me. I stopped dumping random junk and started building like a lasagna. The microbes thank me. My plants thank me. And I get finished compost faster without constant turning or weird odors.
See, most beginners (including past me) treat compost like a trash can. That fails. Proper compost layers create the right mix of air, moisture, carbon, and nitrogen right from the start. I walk you through exactly how I do it now, step by step, with the mistakes I made so you skip them.
Why Compost Layers Matter More Than You Think
I used to mix everything together and hope. It worked… sort of. Slow. Smelly. Uneven. Then I learned layering gives the decomposers what they need in the right spots.
Browns bring carbon. They create air pockets and soak up excess wetness. Greens bring nitrogen and moisture. Stack them right and the pile heats up nicely. Get the thickness wrong and you get slime or a dry brick.
I aim for roughly two to three parts browns to one part greens by volume. That hits the sweet spot around a 30:1 carbon-to-nitrogen ratio. The critters love it. My pile cooks without drama.
Layering also keeps pests out. Food scraps stay buried. Smells stay locked in. FYI, I still turn once or twice a year for speed, but the layers do most of the heavy lifting even if I get lazy.
I think the wrong way is obsessing over perfect ratios every single day. Balance is the real question. Layers force that balance visually. You see it. You feel it.
The Exact Compost Layers I Use in My Bin
I build every new pile the same way. It works in a wire bin, pallet setup, or even a free heap. Here’s my go-to structure from the ground up.
Bottom Layer: The Aeration Base
I always start with bulky stuff. Twigs. Small branches. Coarse wood chips. Stalks from last season’s sunflowers. About 6 to 8 inches thick. Sometimes I use a wooden pallet underneath for extra drainage.
This layer lifts everything off the ground. Air flows in from below like a chimney. Water drains out so the pile never sits in a puddle. Without it my early piles went anaerobic fast. Nasty sulfur smell. Never again.
I criss-cross the sticks loosely. No packing. Gaps matter.
Next: Thick Brown Foundation
Right on top of the sticks I add a solid 4 to 6 inch layer of dry browns. Shredded leaves. Straw. Torn cardboard. Newspaper strips. Whatever dry carbon I have stockpiled.
I shape it like a shallow bowl. Higher on the edges. This catches the greens later and keeps them centered away from the bin walls. Pests hate that.
Browns here soak up juices and keep the whole thing fluffy. I water lightly if the leaves feel bone dry. Aim for the feel of a wrung-out sponge. Not dripping. Not dusty.
Green Layer: The Nitrogen Hit
Now the good stuff. Kitchen scraps. Fresh grass clippings. Coffee grounds. Veggie peels. Manure from my neighbor’s rabbits if I score some. I keep this layer thin: 1 to 2 inches max.
I spread it in the center bowl. Never right against the sides. Chop bigger pieces first so they break down quicker. Corn cobs get smashed. Broccoli stalks get diced.
Too thick and it mats into a slimy pancake. Oxygen dies. Smell starts. I learned that the hard way after one enthusiastic grass-clipping dump. Gross.
Cover with More Browns
Immediately after greens I bury them under another 2 to 4 inches of browns. No food showing. Period. This is non-negotiable for me. It blocks flies, masks odors, and balances the nitrogen.
I repeat the pattern as materials arrive. Green thin. Brown thicker. Always end with browns on top.
My current pile looks like a proper lasagna after a few weeks. Darker and smaller toward the bottom. Fresh and structured on top. Perfect.
Materials I Actually Use for Each Layer (And What I Skip)
I keep two stockpiles ready. One for browns near the bin. One kitchen caddy for greens. Makes layering painless.
My favorite browns:
- Fall leaves (shredded if possible)
- Straw or hay (untreated)
- Cardboard and paper (no glossy or tape)
- Wood chips and sawdust (untreated)
- Dried plant stalks
- Pine needles in moderation
My favorite greens:
- Fruit and veggie scraps
- Coffee grounds and filters
- Fresh grass clippings (thin layers only)
- Eggshells (crushed)
- Tea bags (no staples)
- Herbivore manure
I never add meat, dairy, oils, or pet waste. They attract raccoons and create grease pockets that refuse to break down. Diseased plants and weed seeds full of viable seeds stay out too. I bag those separately.
IMO, variety beats perfection. A mix of textures keeps air moving better than all one material.
Avoid glossy magazines and colored paper even if labeled biodegradable; their inks can contain heavy metals.
How I Maintain the Layers Over Time
Building is only half. I check moisture every week or two. Stick my hand in. It should feel damp like that sponge I mentioned. Dry? I water while turning lightly. Soggy? I fork in more dry browns and fluff.
I turn the whole pile once or twice a season. I peel off the outer brown layer first. Flip the middle into a new spot or bin. The unfinished bits go back in the center of fresh layers. Finished dark stuff goes to the garden.
Temperature tells me it’s working. My pile hits 130-150°F in the core when balanced. I use a cheap compost thermometer. Exciting the first time it climbed. Whoopee!
If it never heats, I add more greens and turn. If it smells like ammonia, more browns. Rotten egg? Too wet and packed. Fix with air and carbon.
I harvest from the bottom. The oldest material finishes first. I sift out big chunks and toss them back into a new pile. The fine stuff goes straight on my beds. Dark. Crumbly. Smells like forest floor. Heaven.
Mark your pile with a stick at the core depth to easily check temperature without disturbing layers.
Common Mistakes I Made With Compost Layers (So You Don’t)
I packed layers too tight once. No air. Instant swamp. Now I keep everything loose.
I used only greens for a week. Ammonia cloud. Neighbors noticed. Now I always have browns ready.
I ignored the bottom base. Puddles formed. Roots from nearby trees invaded. Gross. Sticks first every time.
I added thick grass clippings without mixing. Mat city. Now thin layers only, or I toss them with leaves first.
I left food exposed. Fruit flies party. Cover every time. No exceptions.
The biggest shift for me: stop treating layers as optional decoration. They are the structure. Get them right and the microbes handle the rest.
Real Results From My Layered Piles
Last spring I filled two bins this way. By fall I had enough finished compost for my entire raised bed setup plus some to share. My peppers produced double what they did the year before. Soil held water longer. Weeds dropped. Earthworms moved in like they owned the place.
I use the compost as mulch around tomatoes. Top-dress beds in fall. Mix into potting soil for seedlings. It never burns plants. It just feeds them steadily.
One friend tried my method after watching me. She texted photos of her first harvest three months later. Dark crumbly stuff. She was hooked. Same story I hear from everyone who switches from dump-and-pray to proper compost layers.
Frequently Asked Questions
How thick should compost layers actually be? I keep greens at 1-2 inches and browns at 2-4 inches or more. Browns always thicker. That keeps the carbon-nitrogen balance right without measuring every scoop.
Do I have to turn my compost layers or can I just leave them? I leave them most of the time for cold composting. Turning once or twice a year speeds things up and mixes the outer dry cast of characters. Either way works. Layers still help even in no-turn systems.
What if my compost layers smell bad? Add more browns right away and fluff for air. Bad smells mean too many greens or not enough oxygen. I fix it in one session and the odor vanishes.
Can I use compost layers in a tumbler or only open bins? I use the same layering idea in my tumbler. Load browns, greens, browns. Spin occasionally. Works great for smaller batches and keeps pests completely out.
How long until I get finished compost from proper layers? My well-managed piles give usable stuff in 3-6 months. Untended ones take closer to a year. Patience pays. The bottom always finishes first.
I still get a little thrill every time I dig into a finished pile. That rich smell. The dark color. Knowing I built it layer by careful layer from stuff that used to go in the trash.
Start small if you need to. One bin. One set of layers. Watch it work. Then scale up. Your soil will never be the same. And neither will your scrap bill. Go build those compost layers. Your garden is waiting.


