
I feel like compost piles are one of those things that sound super practical in theory, but the second you actually try to create one in your garden, you realize there are so many different ways to approach it, and not every setup is going to look good, fit your space, or make sense for the amount of compost you’re producing.
That’s exactly why I put together these 13 compost pile ideas, because whether you have a tiny backyard, a larger garden, or simply want something that feels a little more organized and intentional, there are some genuinely clever options worth seeing. This isn’t a step-by-step building guide, but a collection of different designs and setups that can help you understand what works, what tends to become inconvenient over time, and which details make a compost area much easier to maintain.
By the end, you’ll have a much clearer idea of what could work in your own space, including the practical lessons, common mistakes, and small design choices that are so easy to overlook at first.
How to implement it immediately
-
Pick a level, shaded spot with good drainage near your garden.
-
Start with a 3-foot-wide pile using alternating layers of browns and greens.
-
Add dry leaves, cardboard, food scraps, grass clippings, and coffee grounds.
-
Keep the pile as damp as a wrung-out sponge and turn it every one to two weeks.
-
Use a bin, pallets, wire mesh, or a simple open heap based on your space and budget.
Why I Started Building Compost Piles in the First Place
My garden soil used to look tired and dusty every spring. Plants struggled. I bought bags of store compost that never quite matched the real thing. One afternoon I watched a neighbor turn a simple pile of leaves and coffee grounds into dark, crumbly soil. That moment pushed me to try it myself.
Composting cuts my household waste and feeds my beds better than anything from a bag. FYI, the best systems for me balance ease with speed. Some need almost no work. Others reward a bit of weekly attention with finished compost in weeks instead of months.
I keep the process simple. Greens (fresh scraps, grass) supply nitrogen. Browns (leaves, cardboard, dry stalks) supply carbon. Moisture stays like a wrung-out sponge. Air gets in somehow. That formula sits behind every idea below.
13 Compost Pile Ideas That Actually Work in Real Yards
Here are the setups I still use or rotate through depending on the season and how much waste I have. I ranked them by how often I reach for them, starting with the easiest.
Label each pile with start date and material mix to identify which method finishes fastest in your climate.
1. The Bare Open Pile
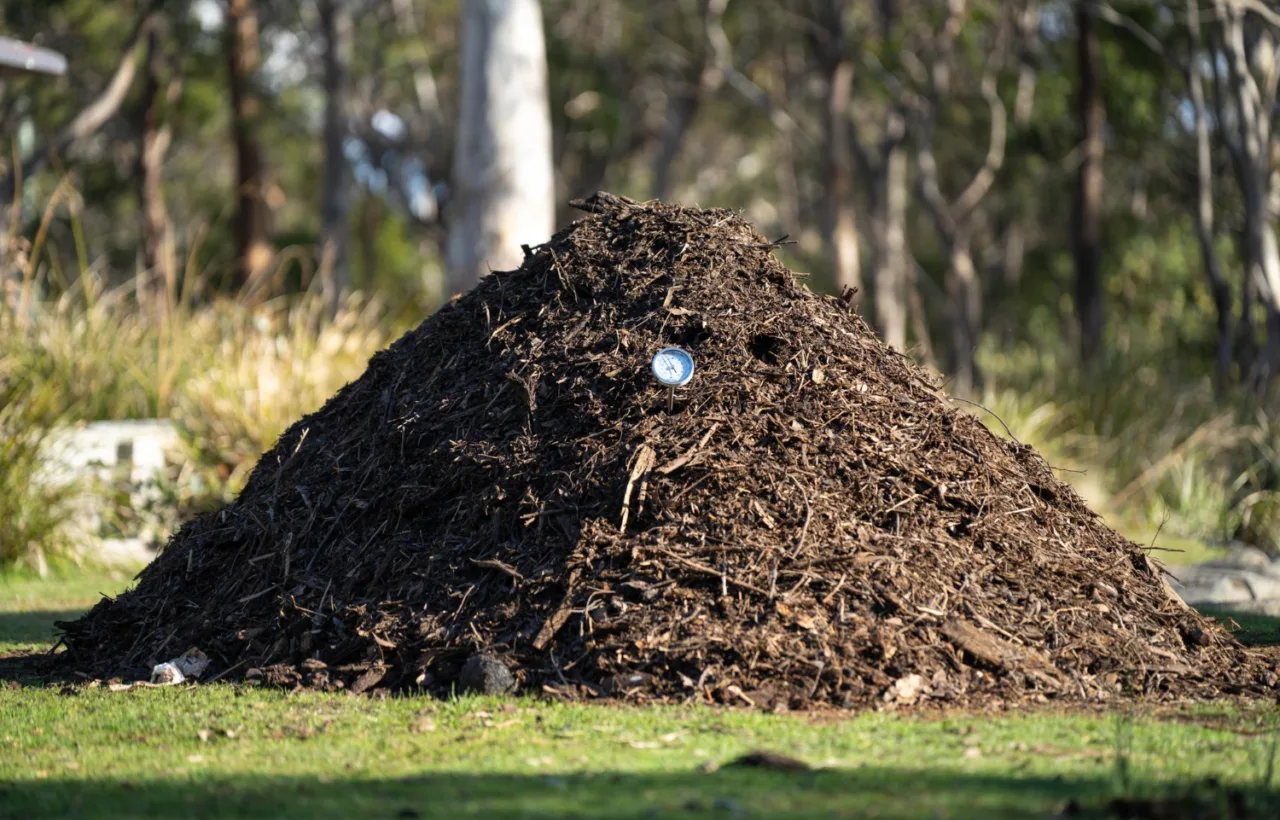
I started here because it costs nothing. Just dump materials in a quiet corner of the yard and let nature work. I layer browns and greens about three to one, water lightly, and walk away. In six months I had usable compost.
The downside is appearance and the occasional critter visit. Still, for pure beginners this remains my favorite first step. No structure means zero setup stress.
2. Chicken Wire Cylinder
I bought a ten-foot roll of chicken wire and formed it into a three-foot circle. Zip ties hold the ends. I set it on bare soil so worms can move in from below. Air flows freely from every side.
Turning stays easy. I just lift the wire, set it beside the pile, and fork the material back inside. This one handles leaves and grass clippings like a champ. I still run two of these every fall.
3. Four-Pallet Bin
Free pallets from a local warehouse became my go-to frame. I stood four of them on end and screwed the corners together with L-brackets. The open bottom sits on soil. A hinged front panel made from a fifth pallet lets me open the whole face when I need to dig out finished compost.
This setup looks neat enough for the backyard and lasts several seasons if I choose heat-treated pallets. I fill it with mixed kitchen scraps and yard waste all summer.
4. Plastic Trash Can with Holes
I drilled dozens of half-inch holes in an old 32-gallon trash can, including the lid and bottom. Screen mesh glued over the inside of each hole keeps pests out. I roll the can every few days to mix everything.
This works great on a patio or small side yard. Heat builds faster inside the dark plastic, so I get finished material in about eight weeks when I keep the moisture right. IMO this beats buying a fancy tumbler for the price.
5. Straw Bale Enclosure
I stack straw bales into a square or rectangle right on the garden bed I want to improve. The bales form walls while the center holds the scraps. Over time the straw itself breaks down and feeds the soil underneath.
No tools needed beyond a pitchfork. I love this method when I have a new bed that needs organic matter. The temporary walls disappear into the soil by the next season.
6. Cinder Block Three-Sided Bin
I laid cinder blocks into a U shape about three feet high and four feet wide. The open front makes turning simple. Air moves through the holes in the blocks. I can expand the size anytime by adding more blocks.
This one feels permanent and sturdy. Critters rarely dig through the solid walls. I use it for larger volumes of fall leaves mixed with kitchen waste.
7. DIY Barrel Tumbler
An old plastic drum mounted on two posts with a steel rod through the middle lets me spin the whole thing. I cut a door in the side and added a latch. A few turns every other day keeps the mix aerated and speeds breakdown.
The finished compost dumps straight into a wheelbarrow. This setup takes more initial work but saves my back later. I run it whenever I have consistent kitchen scraps and want faster results.
8. Simple In-Ground Pit
I dig a hole about two feet deep and wide in an unused garden corner. Scraps go in, a thin layer of soil covers them, and I forget about it. Worms and microbes do the rest. Months later I dig up rich soil right where I need it.
No structure means no visual impact. I use this method near fruit trees so the nutrients reach the roots slowly. It feels almost too easy, yet it works every time.
9. Hardware Cloth Square
Hardware cloth is sturdier than chicken wire. I form a four-foot square with wooden stakes at the corners and staple the cloth in place. The finer mesh keeps out mice better than open wire.
I like the clean look and the way finished compost sits ready at the bottom. Lifting one side of the cloth gives me easy access for turning or harvesting.
10. Two-Bin Pallet System
Seven pallets create two side-by-side bins with a shared wall. I fill the first bin completely, then start the second while the first cures. When the second fills, I empty the first and start over.
This continuous flow keeps me in finished compost almost year-round. The extra space lets me sort materials by age without mixing new scraps into almost-ready piles.
11. Trench Composting Between Rows
In the vegetable garden I dig shallow trenches between plant rows. Kitchen scraps and chopped weeds go in, then soil covers everything. The plants grow while the material breaks down underground and feeds the roots.
No pile sits in plain sight. Nutrients stay right where the plants need them. I do this every spring and fall in the main beds.
12. Stacked Plastic Tote Worm Bin
Two storage totes stacked with holes drilled in the upper one create a simple worm farm. Bedding of shredded newspaper and a handful of red worms turn kitchen scraps into castings. Liquid drains into the lower tote for use as fertilizer tea.
This stays indoors or on a covered porch. I keep it going through winter when outdoor piles slow down. The worms handle fruit and vegetable peels with almost no smell.
13. Concrete Block and Wood Front Bin
I built a more solid version with concrete blocks on three sides and sliding wood boards across the front. The boards pull out one by one so I can remove finished compost from the bottom without disturbing the top layers.
This hybrid feels permanent and tidy. Air flows through the block holes while the wood front keeps everything contained. I use it for the biggest volumes of mixed yard waste.
How I Choose Which Idea to Use Each Season
Space, time, and waste volume decide everything. In spring I favor the open pile and trench methods because they need almost no structure. Summer kitchen scraps push me toward the trash can or tumbler for faster turnover. Fall leaf season fills the pallet and wire setups. Winter keeps the worm bin busy indoors.
I never force one system to do everything. Mixing two or three keeps the process flexible. When one pile gets too wet I add more browns from another. When something smells off I check moisture and airflow instead of starting over.
Common Mistakes I Made So You Can Avoid Them
I used to add too many greens and end up with a slimy mess. Now I keep extra dry leaves or cardboard nearby for balance. Meat and dairy still stay out of every outdoor pile. They attract animals and slow the process. Pet waste never goes in either.
Turning feels optional for cold piles but speeds everything up. I turn every week or two when I want faster results. A pitchfork works fine. No special tools required.
Location matters more than I first thought. Full sun heats the pile faster. Partial shade keeps moisture steady in hot months. Direct contact with soil lets worms and microbes move in naturally.
Frequently Asked Questions
How long do these 13 compost pile ideas take to produce usable compost? Most outdoor piles finish in three to six months with occasional turning. Hot methods in enclosed bins or tumblers can finish in six to eight weeks. Worm bins give castings in about two months once the worms settle in.
Do I need special tools to start any of these setups? A drill, wire cutters, and a pitchfork cover almost everything. Many of the simplest ideas need nothing beyond free pallets or a shovel. I started with just those and expanded later.
What if my yard is small or I rent my place? The trash can, stacked tote worm bin, and trench methods work in tight spaces or temporary situations. I used the tote system on a balcony for two years with zero complaints from the landlord.
Can I mix kitchen scraps and yard waste in the same pile? Yes. Layer them and keep the brown-to-green ratio roughly three to one by volume. That mix produces the richest finished compost I have ever used.
How do I know the compost is ready? It looks dark and crumbly, smells earthy, and you can no longer recognize the original materials. I sift larger chunks back into a new pile and use the fine stuff right away.
Final Thoughts from My Own Yard
These 13 compost pile ideas turned a chore I once avoided into something I actually look forward to. My soil holds water better. Plants grow stronger. The trash can fills slower every week. I still experiment with small tweaks, but the core setups stay the same because they deliver.
Pick one idea that matches the space and time you have right now. Build it this weekend. Add your first layer of scraps and leaves. Watch what happens over the next month. That first handful of finished compost will convince you faster than any article ever could.


