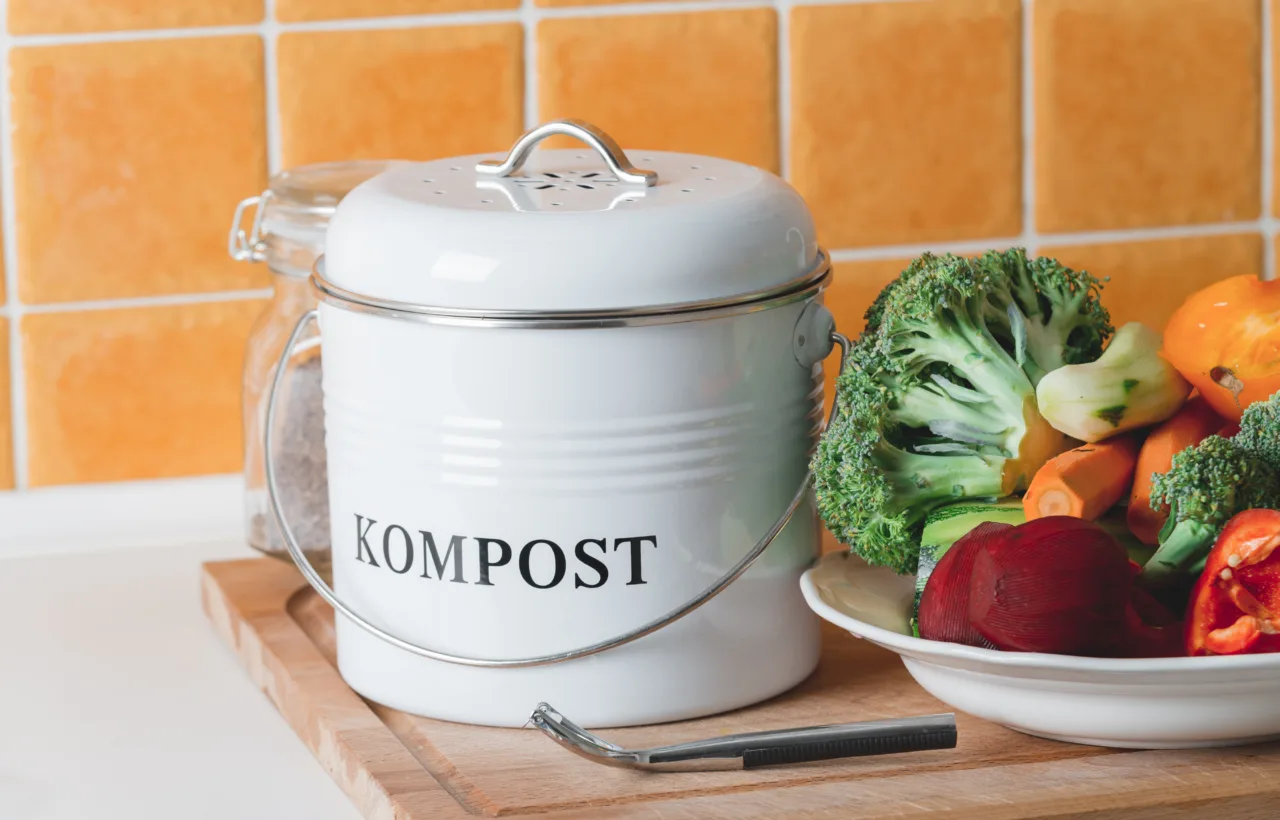

I started composting because my trash cans overflowed with peels and coffee grounds every week. Honestly? It felt wasteful. I needed a solid compost container that actually worked without turning my kitchen into a science experiment. After years of leaking plastic pails, stinky disasters, and one particularly bad fruit fly invasion, I finally figured out what makes a compost container worth keeping around.
That first setup taught me hard lessons. I grabbed whatever cheap bin sat on the shelf. Big mistake. Odors snuck out. Lids stuck. Cleaning took forever. I almost quit. See, the right compost container changes everything. It keeps scraps contained, smells locked down, and makes the whole habit stick. You want something practical that fits your space and routine. I get it. That’s exactly what pushed me to test options until I landed on winners.
Why a Good Compost Container Matters More Than You Think
I used to dump everything straight into the outdoor pile. Rain turned it soggy. Critters showed up. My kitchen stayed messy longer. A dedicated compost container solves that. It acts as the middle step. You collect scraps inside. Then you empty when full. Simple.
Odors stay controlled. Filters or tight seals make the difference. Pests stay out. Smooth surfaces and secure lids help. Cleaning gets easier. Removable parts win every time. I noticed my waste dropped fast once I committed. Less garbage bag money. More dirt for my plants. IMO, the container itself decides if you keep going or give up after a month.
Space plays a huge role too. My small apartment forced countertop choices first. Later, with a yard, I added outdoor ones. Match the compost container to your life. Not the other way around.
The Types of Compost Containers I Actually Used
I tried them all. Some flopped. Others stuck around for years. Here’s the breakdown from my own kitchen and backyard experiments.
Countertop Kitchen Compost Containers
These sit right by the sink. Perfect for daily peels and grounds. I started with a basic plastic one. It cracked after six months. Then I moved to stainless steel.
- Stainless steel options: Durable. Look decent on the counter. Charcoal filters handle smells well. My Epica-style pick held about a gallon. Emptied twice a week easily.
- Plastic ones with stay-open lids: OXO style became my daily driver for a while. Lid flips up and stays. One-handed scrap dumps during chopping. No filter though. Empty often in warm weather.
- Simple bowls or buckets: Wirecutter folks love mixing bowls. I tried it. Wide mouth scrapes clean. Freeze it overnight if smells build. Super low cost.
I keep mine near the cutting board now. Scraps go straight in. No second thoughts.
Outdoor Stationary Compost Containers
Once I had yard space, I built a simple wooden bin. Then bought a plastic barrel style. They hold more. Yard waste mixes in.
These work for passive composting. Pile it up. Wait. Turn occasionally with a fork. Mine sits in a shady corner. Capacity hits 50-plus gallons easy. Air slits help. Removable front panels make harvesting simple. I prefer these over open piles. Neater. Fewer neighbors complaining.
Tumbling Compost Containers
I bought a dual-chamber tumbler after reading raves. Spinning aerates without the fork work. Faster breakdown. My first one held 40 gallons total. Split chambers let me fill one while the other finishes.
Pros hit hard: sealed against pests, easy mix. Cons showed up too. Full ones get heavy. Hard to turn alone some days. Cost more upfront. Still, for busy weeks, the tumbler saves my back. I spin it every few days. Compost ready sooner than the stationary one.
Worm Bins and Bokashi Setups
Apartment days pushed me to worms. Vermicompost containers stay compact. Worms eat scraps. Castings come out rich. I kept mine under the sink. Quiet. Low smell if balanced.
Bokashi came next. Sealed bucket. Bran mix. Ferments everything including meat. I liked the speed. But the final step needs burying or more composting. Pungent if you open early. FYI, these suit tiny spaces best.
Electric ones? I tested a Reencle-style unit. It makes real compost indoors. Pricey. Works for no-yard folks. I stuck with simpler tools. Less electricity. Same results long-term.
How I Picked the Right Compost Container for My Setup
Size came first. Kitchen scraps from two people fill a 1- to 2-gallon bin every few days. Bigger households need more. Measure your counter or yard spot. Don’t guess.
Material matters next. Stainless resists rust and stains. Plastic cleans fast and costs less. Wood looks natural outside but weathers. I went stainless for indoor. Plastic for outdoor backups.
Features I demand now:
- Tight or filtered lid: Keeps fruit flies away. Charcoal works if you swap filters every few months.
- Easy empty and clean: Removable inner bucket or wide opening. Dishwasher safe helps.
- Handle or grip: Carry full bins without spills. I dropped one once. Lesson learned.
- Capacity match: Too small means constant trips. Too big breeds smells if underfilled.
Budget stayed real. Under $40 got me solid kitchen options. Outdoor ones hit $100-plus for tumblers. DIY from pallets saved cash early on. I built one free. Lasted two seasons before upgrades.
Compare honestly. OXO wins for daily ease and price. Epica or simplehuman for looks and odor lock. Tumblers beat stationary if turning tires you. Worm bins if you hate outdoor work. Test what fits your habits. My kitchen one empties into the outdoor tumbler. Smooth system now.
Avoid bins with painted interiors; the paint can chip and mix with your compost.
Mistakes That Almost Made Me Quit Composting
I packed meat scraps early. Attracted raccoons. Bad call. Stick to veggies, fruits, coffee, eggshells, paper. Greens and browns balance. Too wet? Add dry leaves. Too dry? Splash water.
I ignored airflow. Sealed tight without vents. Smelled like a swamp. Filters or holes fix that. Empty every 2-4 days max for kitchen bins. Longer and fruit flies party.
Cleaning skipped? Residue builds. I scrub weekly now. Mild soap. Dry fully. Filters last longer that way.
Location flopped once. Hot sun on the outdoor bin cooked it uneven. Shade or partial sun works better. Indoor near heat vents dried scraps weird. Counter away from stove now.
I overcomplicated. Fancy electric first. Noise bothered me. Simple containers won. Messy first drafts beat perfect plans. Same here.
Never use non-compostable 'compostable' plastics like PLA in home bins; they require industrial facilities to break down.
Practical Tips I Use Every Week for My Compost Container
Empty on a schedule. Kitchen bin to outdoor every other day. Freeze scraps in bags if trips delay. No smell. No bugs.
Line with paper or compostable bags. Cleanup speeds up. I reuse newspaper. Free.
Balance loads. Equal greens (scraps) and browns (paper, leaves). I keep a bag of shredded mail nearby.
Monitor moisture. Squeeze test. Damp sponge feel. Not dripping.
Turn outdoor ones regularly. Tumbler spin thrice weekly. Stationary fork every two weeks. Heat builds. Breakdown speeds.
Pest check daily at first. Seal gaps. Elevate outdoor bins. Clean around them. Wood chips on top deter insects.
Store finished compost cool and dry. Use within months. My plants thrive on it. Tomatoes doubled one season. Worth the effort.
Seasonal shifts count. Summer empties faster. Winter slows outdoor. I stockpile frozen scraps then.
Frequently Asked Questions
What size compost container works best for a small kitchen? I use a 1- to 1.75-gallon one. It holds daily scraps for two people without constant emptying. Bigger ones sit half-full and smell sooner.
How do I stop my compost container from smelling? Empty every few days. Use a filter if it has one. Add dry browns like paper. Freeze if needed. My stainless one with charcoal stays neutral for a week easy.
Can I put a compost container outside year-round? Yes for stationary or tumblers. Choose UV-resistant plastic or treated wood. I cover mine in heavy rain. Winter slows it but doesn’t stop.
Do I need a special compost container or will any bin work? Any sealed container starts you off. Dedicated ones last longer and control odors better. I began with a food bucket. Upgraded fast once smells hit.
How often should I clean my compost container? Weekly for kitchen ones. Soap and water after emptying. Outdoor less often. Just rinse when harvesting. Keeps everything fresh.
Wrapping Up My Compost Container Adventures
I went from trash bag overload to steady black gold for the garden. The right compost container made the habit stick. Kitchen stainless for daily grabs. Outdoor tumbler for the bulk. Simple rules. Consistent emptying. Balanced materials.
You start small. Pick one that fits your counter or corner. Use it daily. Adjust as needed. My plants thank me every harvest. Yours will too. Grab a solid option this week. Get those scraps out of the landfill. Watch the dirt improve. Honestly? Best garden upgrade I ever made. Now go fill yours.


