
I built my first compost bin out of pure desperation. Kitchen scraps piled up. Yard waste mocked me from the corner. Store-bought options looked overpriced and flimsy. So I figured out how to build a compost bin myself. And honestly? It changed everything about my garden.
I wasted months with sad little piles that turned into stinky messes. Then I got serious. I researched. I built. I failed a couple times. Now I have a system that pumps out rich, dark compost every season. You can too. This guide walks you through exactly what I did. No fancy tools. No huge budget. Just real steps that work.
Why I Bothered Learning How to Build a Compost Bin
I used to bag up leaves and grass and haul them to the curb. Then I watched my tomato plants struggle in tired soil. Something had to give.
Compost fixes that. It feeds your soil. It cuts trash. It feels good. But buying a bin felt wrong. Most plastic ones crack after a year. Metal ones rust. I wanted something sturdy that fit my space.
See, the real win comes from building it yourself. You control the size. You pick materials that last. And you save cash. My first solid bin cost under $40 using free pallets and some screws I already owned.
I think chasing perfection is the wrong way to go about it. Perfect design isn’t the right question. What works in your yard is.
Picking the Right Spot Before You Build Anything
Location makes or breaks the whole thing. I learned this the hard way.
My first attempt sat too close to the house. Flies showed up. Neighbors complained. Rookie move.
Now I follow these rules:
- Level ground that drains well. Waterlogged compost turns anaerobic and smells awful. I rake the spot smooth and check after rain.
- Partial sun or light shade. Full blazing sun dries it out too fast. Deep shade slows everything down. Morning sun with afternoon shade works best for me.
- Close enough to reach easily. But not right next to the patio. I keep mine about 30 feet from the back door. Easy trips with the kitchen scraps bucket. Far enough that any temporary smells stay away.
- Near a water source. You’ll need to moisten the pile sometimes. Hauling a hose beats carrying buckets.
I once put a bin under a big oak. Perfect. Leaves fell right in as brown material. Bonus points.
Don’t rush this step. Walk your yard. Stand in potential spots. Imagine hauling stuff there in the rain. You’ll thank yourself later.
Avoid placing your bin under eaves. Rain runoff from the roof can oversaturate the pile, making it anaerobic.
Choosing Your Compost Bin Style: What Worked for Me
Lots of options exist. I tried a few. Here’s my honest take.
The Super Simple Wire Bin
I started here. Grab 10-12 feet of hardware cloth or sturdy wire fencing. Form a circle. Secure the ends with wire or zip ties. Done.
Pros: Cheap. Fast. Great airflow. Cons: Harder to turn. Looks a bit messy. Critters can dig under if you don’t bury the bottom edge.
This got me composting fast. But I outgrew it.
The Pallet Bin (My Current Favorite)
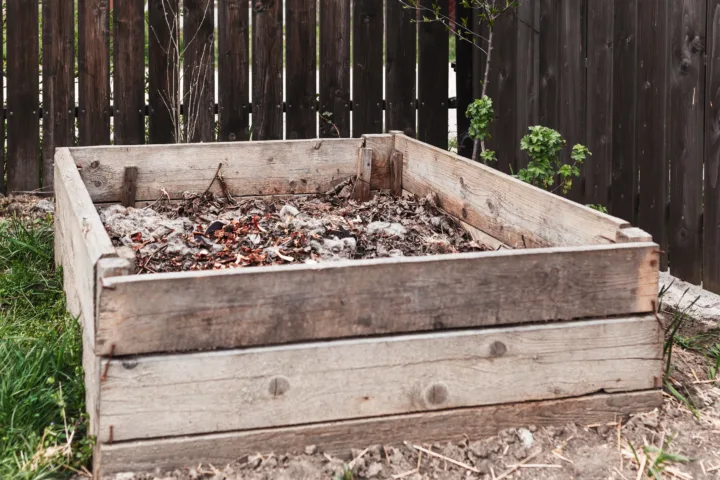
Free pallets from behind stores. Four of them. Screw or wire them into a square. Boom.
I built a three-bay version later. One bay for fresh stuff. One for turning. One for finished gold. Game… wait, no. It just works better.
Pros: Free or nearly free. Sturdy. Easy access. Cons: Pallets vary in quality. Some have chemicals. Stick to heat-treated ones marked HT.
The Wooden Bay System
I built one with 2x4s and hardware cloth. More work. Looks cleaner. Lasts longer.
Pros: Custom size. Removable front boards for easy turning. Cons: Costs more if you buy lumber. Takes a weekend.
Plastic Storage Bin Hack
For tiny spaces or apartments with a patio. Drill holes in a big tote. Done in 20 minutes.
I used this when I lived in a rental. Worked fine for kitchen scraps.
IMO, start simple if you’re new. Upgrade later. My pallet three-bay changed the speed of everything.
Tools and Materials I Actually Used
Keep it basic. Here’s my list for a solid pallet compost bin:
Tools:
- Drill or screwdriver
- Hammer or sledge for stakes
- Wire cutters or snips
- Measuring tape
- Level (optional but helpful)
- Gloves (pallet wood can be rough)
Materials for a basic 3×3 or 4×4 single bay:
- 4 sturdy wooden pallets (same size)
- Heavy-duty zip ties or outdoor screws
- 4-6 wooden stakes or T-posts
- Optional: hardware cloth for the bottom or lining to keep critters out
- Optional: old tarp or cardboard for a cover
For a three-bay upgrade I added more pallets and some 2x4s for dividers.
Total cost for my first one: about $15 for screws and zip ties. Pallets were free. I asked at a local warehouse. They said yes.
If pallets aren’t your thing, lumber works. Cedar or redwood lasts longest outdoors. Pine is cheaper but needs treating or it rots faster.
When using pallets, look for ones stamped 'HT' (heat treated) not 'MB' (methyl bromide). HT is safe for gardens.
Step-by-Step: How I Build a Compost Bin That Lasts
Let’s get started.
Step 1: Prep the Site
Clear weeds and rocks. Level the dirt. I leave the bottom open to soil. Worms and microbes move in freely. Drainage stays natural.
Some folks add a wire mesh floor. I tried it once. It snagged my pitchfork constantly. Open soil wins for me.
Step 2: Assemble the Walls
Stand one pallet upright for the back. Drive stakes through the bottom slats into the ground. About 12-18 inches deep.
Add the two side pallets. Butt the corners tight. Stake them. Wire or screw the corners together for strength.
Front pallet becomes a door. I attach it with wire on one side so it swings open. Or leave it off and use removable boards.
For three bays: build longer back wall with three pallets side by side. Add two divider pallets. Same staking.
I always check for square with a measuring tape corner to corner. Adjust until equal.
Step 3: Reinforce and Finish
Add extra screws at stress points. Line the inside with hardware cloth if rats are an issue in your area. I do this now. Staple or screw it in place.
Trim any sticking-out nails or wires. Safety first. I learned that after a nasty scratch.
Optional lid: old carpet, tarp, or scrap wood. Keeps rain from soaking it and holds heat in.
Step 4: The First Fill
This part feels good.
Layer like a lasagna:
- Bottom: thick sticks or twigs for airflow
- Then browns: dry leaves, shredded cardboard, straw
- Then greens: kitchen scraps, fresh grass, coffee grounds
- Repeat. Aim for roughly 2-3 parts browns to 1 part greens by volume.
Moisten each layer until it feels like a wrung-out sponge. Not dripping.
I toss in a shovel of finished compost or garden soil to jumpstart the microbes.
Cover it. Walk away for a week. Then check.
Keeping Your New Bin Happy: The Daily and Weekly Stuff
Building is half the battle. Maintenance keeps it cooking.
Turn it. I fork the pile every 1-2 weeks. Moves air in. Speeds things up. For multi-bay, I shift material from fresh to middle to finished.
Watch the balance. Too many greens? Smells like ammonia. Add browns. Too dry? Water it. Too wet? Add dry leaves and turn.
What goes in:
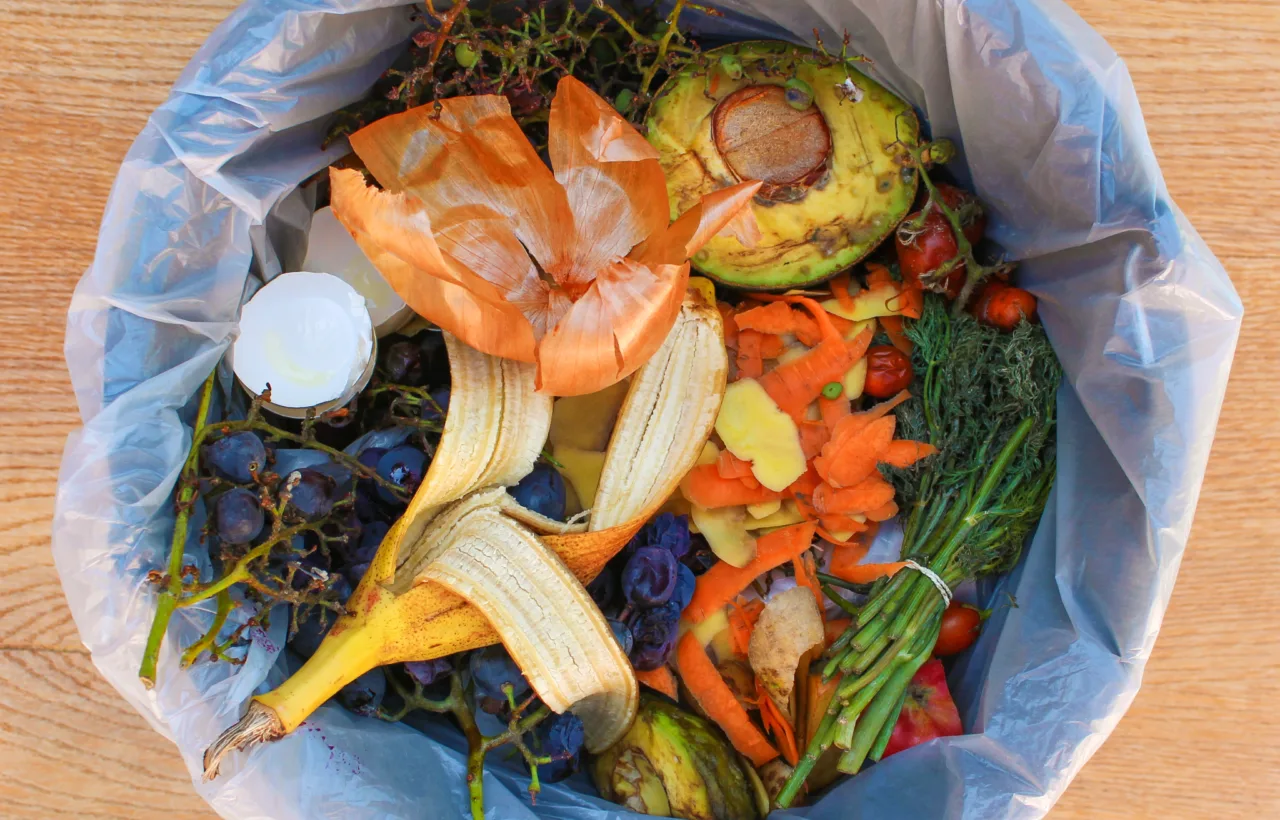
- Fruit and veggie scraps
- Coffee grounds and filters
- Eggshells
- Grass clippings
- Leaves
- Cardboard and paper (shredded, no glossy ink)
- Yard trimmings
What stays out:
- Meat, dairy, oils (attracts pests and smells)
- Pet waste
- Diseased plants
- Weeds gone to seed (unless your pile gets hot enough)
- Treated wood or glossy paper
I keep a small lidded bucket under the sink. Empty it every few days. Easy habit.
My piles hit 130-150°F in the center when they’re humming. That’s hot composting. Kills weed seeds and pathogens. Cooler piles still work. Just slower.
Mistakes I Made So You Don’t Have To
I built too small once. 2×2 feet. Never heated up properly. Aim for at least 3x3x3 feet. 4×4 is better for hot compost.
I ignored airflow. Solid wood walls with no gaps. Pile went anaerobic. Smelled like a swamp. Hardware cloth or pallet gaps fix that.
I put it in full shade under a dense tree. Took forever. Partial sun is key.
I added too much grass at once. Slimy mat formed. Now I mix grass with leaves immediately.
And I got impatient. Compost takes time. 2-6 months depending on turning and materials. Finished stuff looks like dark crumbly soil. Smells earthy. No recognizable scraps left.
Honestly? The biggest mistake was waiting so long to start.
My Three-Bay System and Why I Love It
Once I got serious I upgraded. Three bays side by side.
Bay 1: Add fresh materials daily. Bay 2: Turning and cooking. Bay 3: Finished or nearly finished.
When Bay 1 fills I pitchfork everything into Bay 2. Bay 2 moves to Bay 3. Bay 3 gets used in the garden. Cycle repeats.
Removable front slats make turning easy. I just pull the boards out, dig, put them back.
This setup means I always have finished compost ready. No waiting for one big pile to finish before starting over.
Cost more time upfront. Worth every minute.
Scaling It or Keeping It Tiny
Small yard? Single pallet bay or the plastic tote works. I did both.
Big garden or chickens/goats? Go three-bay or even four. Size the bays to your waste volume.
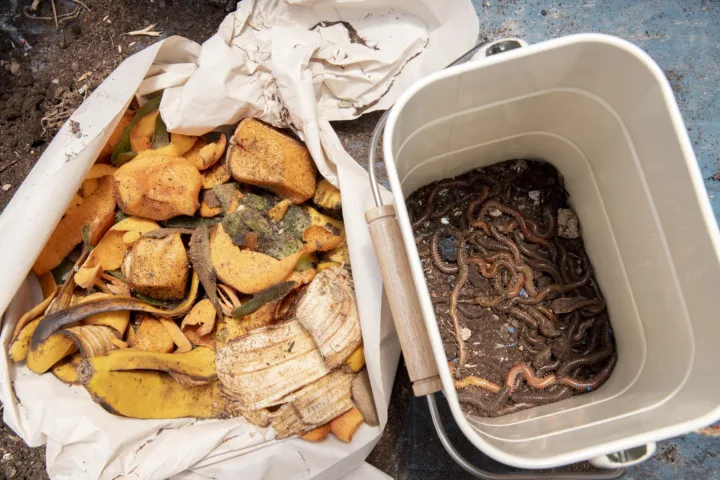
Apartment balcony? Worm bin or sealed tote with holes. Different game but still composting.
I started tiny. Grew with my garden. You can too.
Frequently Asked Questions
How long does it take to build a basic compost bin? Most people finish a simple pallet version in under two hours. I did my first one in 90 minutes once I had the pallets.
Do I need a fancy lid or cover? No. An old tarp or even cardboard works fine. It helps hold moisture and heat. Just leave some airflow.
Can I build a compost bin without power tools? Yes. Use wire, zip ties, and a hammer for stakes. Pallets and fencing need almost nothing electric.
What’s the best size when you first learn how to build a compost bin? Start with something around 3 feet by 3 feet by 3 feet. Big enough to heat up. Small enough to manage easily.
Will it attract rats or raccoons? Not if you bury food scraps deep, balance greens and browns, and avoid meat and dairy. Hardware cloth lining and a secure cover help a lot. My current setup has zero pest issues.
Wrapping This Up and Getting You Building
I went from bagging waste to harvesting free fertilizer. My plants thrive. My trash cans stay lighter. And I get that quiet satisfaction every time I add a bucket of scraps.
You don’t need perfection. You need a spot, some materials, and the willingness to start messy.
Grab those pallets this weekend. Or that old storage bin. Follow the steps. Layer it up. Turn it now and then.
Your garden will thank you. And so will the planet, one banana peel at a time.
Now go build something. I’ll be over here turning my pile and grinning.