
I’ve spent enough time dealing with messy garden corners, awkward bins, and compost piles that somehow never quite work the way you imagined to know that the setup matters just as much as what you put into it. The best compost heaps are not only practical, but they also fit naturally into your space, make turning and layering easier, and stop the whole process from feeling like another annoying garden chore.
That’s exactly why I pulled together these 10 compost heap ideas, with options for small gardens, larger backyards, low-budget setups, and designs that look much more considered than a random pile hidden behind the shed. This is not a step-by-step guide, but a collection of ideas that will help you understand what works, what usually goes wrong, and which type of heap actually makes sense for the way you garden.
How to implement it immediately
-
Pick a shady, well-drained spot close to your garden.
-
Build the heap with pallets, wire mesh, bricks, or a compost bin.
-
Layer brown materials like leaves and cardboard with green materials like grass and food scraps.
-
Keep the pile damp like a wrung-out sponge and turn it every two weeks.
-
Start a second heap so one can mature while you keep adding to the other.
Simple Open Compost Heaps Still Have a Place
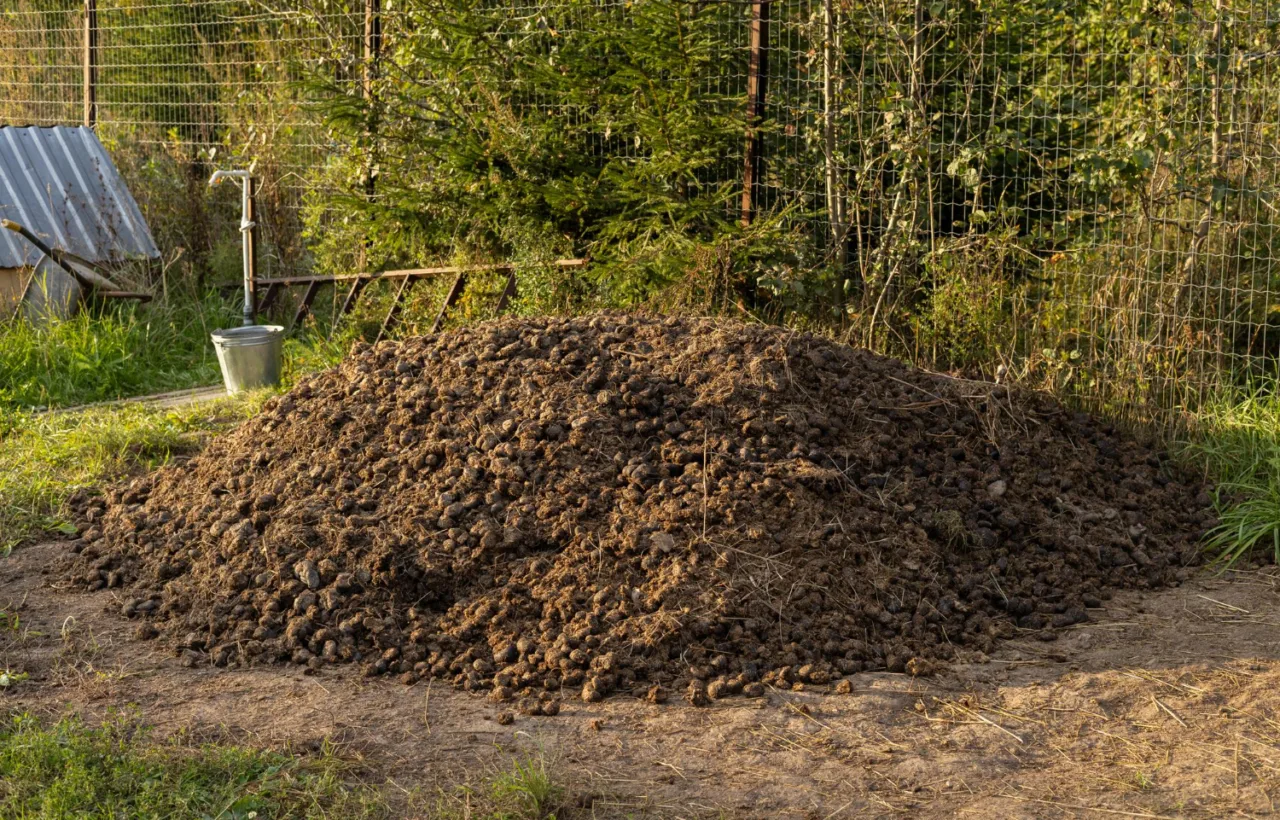
I keep one open heap in the far corner of my yard. No walls. No lid. Just a pile of leaves, grass clippings, and kitchen scraps layered carefully.
It costs nothing. You drop material right on the ground. Worms and microbes move in from the soil below. I turn it with a pitchfork every few weeks when I remember.
The downside hits hard in heavy rain. Everything gets soggy. In dry spells it needs water. Animals sometimes dig through it at night. Still, for pure volume this method wins. I use it for big fall leaf piles that would overflow any bin.
Key takeaway: Start with an open heap if you have space and patience. It teaches you the balance of greens and browns faster than any fancy container.
Pallet Compost Bins Became My Go-To
Three free pallets. That is all I needed for my first solid bin. I stood them up in a U shape and tied the corners with wire. Later I added a fourth pallet as a front door that lifts off.
The gaps between the boards give perfect airflow. The wood holds heat better than wire alone. I place it on bare soil so worms can crawl up. Finished compost comes out the front once the pile settles.
I once used treated pallets by accident. Bad idea. Chemicals can leach. Now I only grab the ones stamped HT for heat-treated. They last two or three seasons before the wood softens.
This setup holds a lot. I can dump a full wheelbarrow of garden waste without thinking twice. Turning is easy because the front comes off. IMO this is the best starter bin for most people.
Line the inside with cardboard to hold moisture and prevent small scraps from falling through gaps.
Wire Mesh and Chicken Wire Heaps Keep Things Light
I built a round wire bin with a twelve-foot length of hardware cloth. I formed a cylinder about three feet across and clipped the ends together. No tools beyond wire cutters.
Air moves through freely. The pile heats up fast if the mix is right. When it is ready I unclip the side, lift the whole cage off, and shovel the finished compost where I need it. Then I set the cage up again next to the leftover material and keep going.
Chicken wire works too but tears easier. Hardware cloth holds shape better. Either way the cost stays under twenty dollars. These bins move easily if you decide the spot is wrong.
One winter the pile froze solid. I learned to cover the top with cardboard during cold snaps. That small change kept the process alive longer.
Wooden Slat Bins Feel More Permanent
I built one from untreated cedar boards and 2×4 posts. The sides have gaps for air. The front boards slide out one by one so I can pull finished material from the bottom while adding fresh scraps on top.
This design looks neater than pallets. Neighbors stop asking if I am building a fort. Cedar resists rot longer than pine. I still expect to replace boards after five years or so.
The solid structure holds heat well. My piles reach the hot stage more often in this bin. I can compost meatier kitchen scraps without the smell spreading as far.
Building it took a Saturday and some basic tools. The plans are simple. Measure once. Cut carefully. Screw the posts into the ground or set them on concrete blocks for level.
Plastic Trash Can and Bucket Systems Save Space
My patio is tiny. I needed something that fits against the fence. A thirty-gallon plastic trash can solved it. I drilled holes all around the sides and bottom. Then I set it on a few bricks for drainage.
I add scraps, close the lid, and roll the whole can on its side every few days. The tumbling mixes everything without a pitchfork. Finished compost comes out through a small door I cut near the bottom.
Five-gallon buckets work the same way for even smaller spaces. I keep one under the kitchen sink during winter. FYI the smell stays contained if you balance the browns properly.
Plastic lasts forever. It does not look pretty. But for apartments or tight yards these containers deliver real results without taking over the whole space.
Three-Bin Systems Let Me Compost Continuously
Once I got serious I built a three-bay setup from more pallets. One bay for fresh material. One for the active pile. One for finished compost ready to use.
I move material from left to right as it breaks down. No more waiting for an entire single pile to finish before I can add new scraps. The garden gets a steady supply of black gold every few months.
This takes more space and more wood. It also takes more discipline. You have to actually move the material between bays. Lazy weeks leave the middle bay stuck.
Still, for anyone with a big garden and lots of waste this system pays off. I fill one bay completely before starting the next. The process becomes almost automatic after a season.
Straw Bale Enclosures Bring Extra Heat
One fall I stacked straw bales into a square and filled the middle with leaves and kitchen waste. The bales themselves slowly break down and add carbon. The walls hold heat like a thermal blanket.
I watered the pile and covered the top with more straw. Within weeks the center was steaming. When the compost was ready the bales had softened into mulch I spread around the berry bushes.
This method costs almost nothing if you can find free or cheap bales. It works best in mild weather. Heavy rain can collapse the walls. I only use it for temporary big piles now.
The finished result feels richer somehow. Maybe because the straw mixes in naturally. Or maybe I just like the rustic look.
Concrete Block Heaps Stay Put Forever
I stacked concrete blocks into a three-sided enclosure against the shed wall. No mortar. Just dry stacking so I can adjust the height later.
The blocks hold heat and keep animals out better than wood. Air still moves through the gaps. I can add height as the pile grows by stacking another layer.
This one feels permanent. It does not blow over in wind. It does not rot. The only downside is weight. Moving it later is a project. Choose the spot carefully the first time.
I use this heap for the densest material like thick stems and woody prunings that take longer to break down. The solid walls keep everything contained while the rest of the yard stays tidy.
Tumbling Drum Heaps Speed Everything Up
I converted an old fifty-five-gallon plastic drum into a tumbler. I drilled holes, mounted it on a simple wood frame with a metal pipe through the center, and added a door for loading.
Every few days I spin it a few times. The mix stays aerated without any heavy lifting. Compost finishes in weeks instead of months when the weather cooperates.
The drum holds less volume than an open heap. You have to manage the moisture carefully or it turns to sludge. Still, the convenience wins for busy weeks. I keep this one near the kitchen door for daily scraps.
Building the frame took more skill than the pallet bin. If you are not handy you can buy a ready-made tumbler. I preferred the DIY route because it cost almost nothing.
Woven Branch and Wattle Heaps Feel Like Old Farm Magic
Last spring I cut flexible willow branches and wove them around upright stakes to form a round enclosure. It looks like something from a country garden book.
Air flows through the weave. The structure is soft enough that I can pull it apart when the compost is ready. The branches themselves eventually compost too.
This method needs more time and the right plants nearby. It is not the fastest to build. But the finished look is hard to beat. I use it for leaf mold mostly. The slow breakdown fits the materials perfectly.
Honestly? I keep this one more for the joy of making it than pure efficiency. Some projects just feel good in the hands.
How I Choose Among These 10 Compost Heap Ideas
Space decides a lot. Tiny patio means plastic can or bucket. Big yard opens the door to three-bin or open heap systems. Budget matters too. Free pallets and wire win every time for beginners.
Time is the real limiter. If you hate turning piles, go for a tumbler or a well-built wooden bin with good airflow. If you enjoy the work, an open heap or pallet setup keeps you outside more.
I rotate between three systems right now. The three-bin handles the bulk. The trash can takes daily kitchen scraps. The open heap swallows fall leaves. Together they keep my waste out of the landfill and my garden beds full of life.
Moisture and air stay the constant rules no matter which idea you pick. Keep the pile as damp as a wrung-out sponge. Turn or tumble often enough that it does not go anaerobic and stink. Balance greens and browns roughly half and half. Everything else is just container choice.
Frequently Asked Questions
What are the best 10 compost heap ideas for beginners? Start with a simple pallet bin or a wire mesh cylinder. Both cost little, build fast, and teach the basics without overwhelming you. Once those work you can expand to three-bin or tumbler setups.
How long does compost take in different heap styles? Open heaps and wire bins often need three to six months. Tumblers and well-managed wooden bins can finish in six to eight weeks during warm weather. Cold weather slows everything down no matter the design.
Can I use any of these 10 compost heap ideas in a small urban yard? Yes. Plastic trash cans, five-gallon buckets, and small wire cages fit tight spaces. Just make sure the setup has drainage and airflow so it does not smell or attract pests.
Do I need to buy special materials for a good compost heap? No. Free pallets, scrap wood, wire fencing, and old trash cans work fine. The only things I ever buy are a pitchfork and maybe some hardware cloth when I cannot find free wire.
What should I never put in any compost heap? Skip meat, dairy, oily foods, and diseased plants in most home systems. They attract animals and can spread problems. Stick to fruit and vegetable scraps, coffee grounds, eggshells, leaves, grass, and cardboard for reliable results.
I still check my heaps almost every day. Sometimes just to see the steam rising. Sometimes to add a new layer of browns. The process became part of my routine the same way watering the tomatoes did.
Pick one idea from this list and build it this weekend. Start small if you need to. Add scraps. Watch what happens. Adjust as you learn. Your garden will thank you with better soil and fewer bags of waste on the curb. That quiet satisfaction of turning trash into something useful never really gets old.


