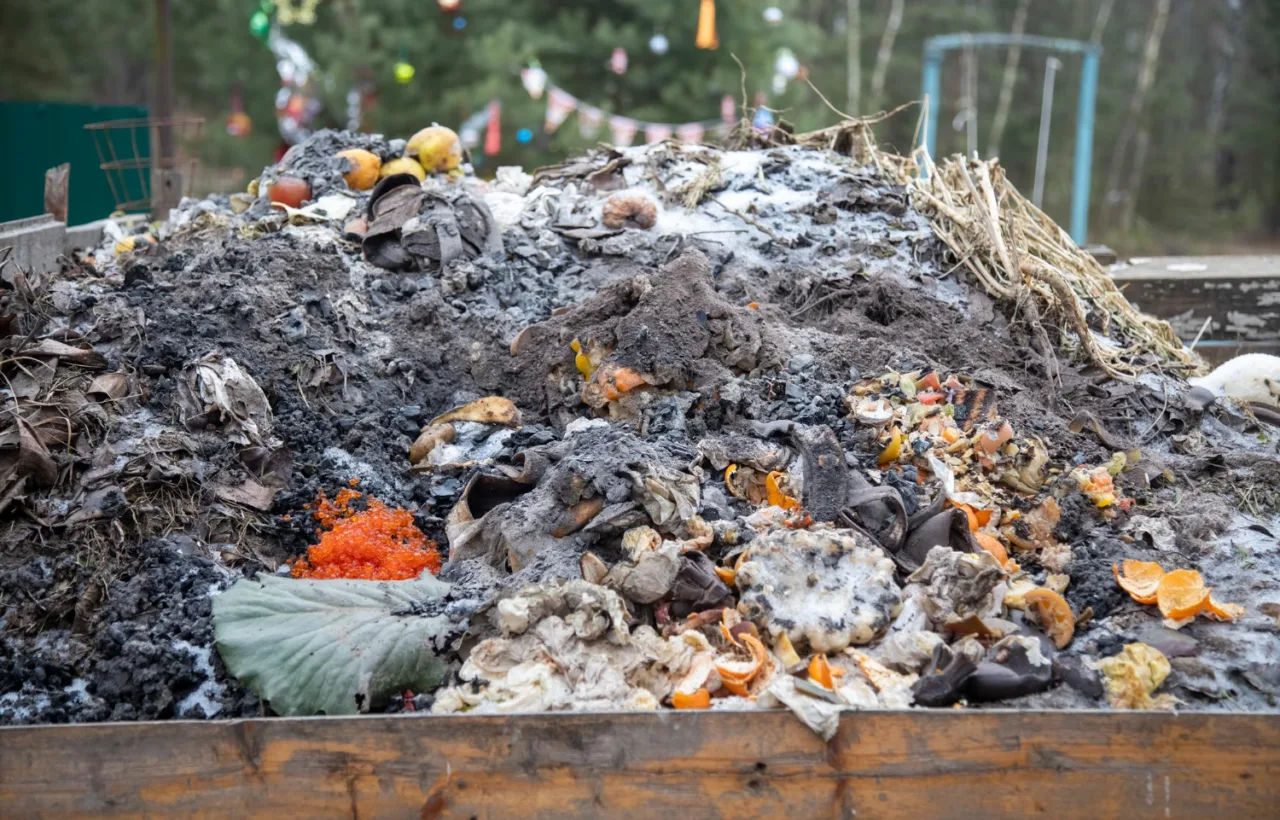

I started my first compost pile out of pure frustration with the amount of food waste I tossed every week. My kitchen scraps piled up faster than I could haul them to the curb, and my garden soil looked tired and lifeless. Honestly? I needed a better system. So I built a compost pile right in my backyard, and it changed everything about how I garden. If you want free fertilizer, fewer trash bags, and healthier plants, this is the exact path I took.
I learned the hard way that a good compost pile does not require fancy gear or perfect conditions. It just needs the right mix, a bit of attention, and patience. Let me walk you through every step I followed, the mistakes I made, and what finally clicked.
Why I Bothered With a Compost Pile in the First Place
I used to think composting was only for hardcore homesteaders with acres of land. Wrong. My tiny suburban yard became the perfect spot. The main reason I jumped in: I hated watching good organic matter rot in a landfill while my tomato plants begged for nutrients.
A compost pile does two big jobs at once. It shrinks your household waste. It creates dark, crumbly soil amendment that plants love. IMO, nothing beats the feeling of scooping finished compost onto a raised bed and watching seedlings explode with growth.
I noticed my water bills dropped too. Compost holds moisture like a sponge, so I water less. And pests? A well-managed pile stays quiet. No smell, no critters, just quiet breakdown.
Choosing the Spot for My Compost Pile
Location matters more than I expected. I picked a corner of the yard that gets morning sun and afternoon shade. Easy access from the kitchen door helped a ton. I can dump scraps in thirty seconds flat.
Look for these things when you pick your spot:
- Good drainage so water does not pool
- Close to a hose for easy watering
- Enough space to turn the pile without tripping over tools
- Away from fences or house foundations
I started with a simple open pile on bare ground. No bin needed at first. Later I added wire fencing to keep things neat. Three feet wide by three feet tall works great. That size heats up properly without becoming a mountain.
See, shade keeps it from drying out too fast in summer. Full sun works fine if you water more often. Just avoid low spots that flood after rain.
Place your pile at least 3 feet from tree trunks to prevent roots from invading and stealing nutrients.
The Greens and Browns That Make a Compost Pile Thrive
This is where most beginners get stuck. I sure did. The secret is balancing greens and browns.
Greens bring nitrogen. They are the wet, fresh stuff that heats the pile.
- Fruit and vegetable scraps
- Coffee grounds and filters
- Fresh grass clippings
- Tea bags (no staples)
- Crushed eggshells
Browns bring carbon. They are the dry, woody stuff that keeps air flowing and prevents stink.
- Dry leaves
- Shredded cardboard or newspaper
- Twigs and small branches
- Straw or hay
- Untreated wood chips
I aim for roughly two to three parts browns for every one part greens by volume. Too many greens and the pile smells like a swamp. Too many browns and it just sits there forever.
I keep a bin under the sink for kitchen scraps. Every few days I carry it out and bury the greens in the center of the pile. Then I cover them with a thick layer of leaves or shredded paper. No food sits on top. That keeps flies and animals away.
Never add these:
- Meat, fish, or bones
- Dairy products
- Oils or greasy leftovers
- Pet waste
- Diseased plants
- Weeds that have gone to seed
I learned that lesson when a neighbor’s cat discovered my early pile. Gross. Stick to the clean list and you stay problem-free.
Coffee grounds count as greens (nitrogen) despite being brown in color. Add them sparingly to avoid overloading nitrogen.
How I Actually Built My First Compost Pile
I cleared a three-by-three-foot patch down to bare dirt. Then I laid a base of twiggy branches about four to six inches deep. That layer lets air move underneath and keeps the bottom from turning soggy.
Next came the lasagna layers.
- Six inches of browns (mostly last fall’s leaves)
- Two to three inches of greens (kitchen scraps mixed with a little grass)
- A light sprinkle of garden soil or finished compost if I had any
- Repeat until the pile reached about three feet high
I watered each layer lightly as I went. The goal: moist like a wrung-out sponge. Squeeze a handful. One or two drops should come out. No more.
I finished the top with a thick brown blanket so nothing looked like dinner to raccoons. Done. The whole thing took me under an hour.
If you want a bin, wire mesh or old pallets work fine. I eventually built a simple three-sided enclosure from scrap wood. It keeps the pile tidy and makes turning easier.
Keeping My Compost Pile Happy and Hot
A compost pile is alive. It needs air, water, and food. I check mine once a week.
Turning is the big one. I use a pitchfork to move the outside material into the center and the center to the outside. This mixes everything and adds oxygen. Hot piles can hit 130 to 160 degrees Fahrenheit in the middle. That heat kills weed seeds and speeds breakdown.
I turn every seven to ten days when I am being diligent. Lazy weeks I turn every two or three weeks. Still works. Just slower.
Moisture is next. Dry pile? Sprinkle with the hose while turning. Wet pile? Add more dry leaves or cardboard and turn again. The sponge test never lies.
In winter I cover the pile with a tarp when heavy rain or snow hits. It keeps going, just slower. Come spring it roars back to life.
I once forgot to turn for a month. The pile went cold and a little smelly. I added a bunch of dry leaves, turned hard, and within days heat returned. Forgiveness is built in.
For reliable weed seed kill, the pile must maintain 131°F for 3 consecutive days. Monitor with a compost thermometer.
Troubleshooting the Problems I Actually Faced
My first pile taught me fast.
It smelled bad. Too wet or too many greens. I added browns and turned. Smell gone in two days.
Nothing was happening. Too dry or not enough greens. I watered and tossed in coffee grounds. Heat showed up within a week.
Flies appeared. Food scraps sat on the surface. I buried them deeper and covered thickly. Flies left.
It looked slimy. I had packed grass clippings in thick layers. Next time I mixed them with leaves right away. No more slime.
Patience helps. A cold pile still breaks down. It just takes six to twelve months instead of three to five. Hot piles finish faster if you stay on top of turning.
Harvesting and Using the Finished Compost
I know it is ready when the pile shrinks to about one-third its original size. No recognizable food scraps remain. It smells like fresh forest soil. Color is dark brown or black. Texture is crumbly.
I stop adding new material to one section and let it cure for four weeks. Then I scoop the bottom layer. Any big chunks go back into the active pile.
I sift through a simple screen made from hardware cloth if I want fine stuff for seed starting. Coarser compost goes straight on garden beds as mulch or soil mix.
My tomatoes, peppers, and roses have never looked better. Flower production jumped. Soil holds water longer between rains. I stopped buying bags of store compost. That alone paid for any effort I put in.
Extra Tips That Made My Compost Pile Easier
Chop big scraps with a shovel before adding. Smaller pieces break down faster.
Save leaves in the fall. I bag extras and store them dry. They become my free brown supply all year.
Coffee grounds are pure gold. I collect them from a local shop that gives them away. Free nitrogen boost.
If you live in an apartment or tiny space, start smaller. A simple tumbler or even a worm bin works. But for most yards, the open compost pile wins on cost and volume.
I keep two piles going now. One active for fresh scraps. One curing. That way I always have finished material ready.
Frequently Asked Questions
How long does a compost pile take to finish? A well-tended hot pile can finish in three to five months. A cold pile that I ignore might take a full year. Turning and balancing greens and browns speeds things up a lot.
Do I need a bin for my compost pile? No. I started with a simple heap on the ground and it worked fine. A bin just keeps things neater and can speed the process a bit by holding heat and moisture.
Can I put weeds in my compost pile? Yes if they have not gone to seed and your pile gets hot enough. I avoid aggressive spreaders like bindweed. Better safe than sorry with those.
What if my compost pile attracts animals? Bury food scraps deep and cover with plenty of browns. Skip meat and dairy entirely. A simple wire lid or fencing stops most curiosity.
How do I know the right moisture for a compost pile? Grab a handful from the center and squeeze. It should feel like a wrung-out sponge and release just a drop or two. That is the sweet spot every time.
I still check my pile every weekend like clockwork. It feels less like a chore and more like checking on a friend. The payoff shows up every spring when I spread that black gold and watch the garden wake up stronger than the year before.
Start small this weekend. Clear a spot. Layer some leaves and kitchen scraps. Water lightly. Walk away. Nature does the heavy lifting. You just give it a little help along the way. Your future garden (and your trash can) will thank you.


