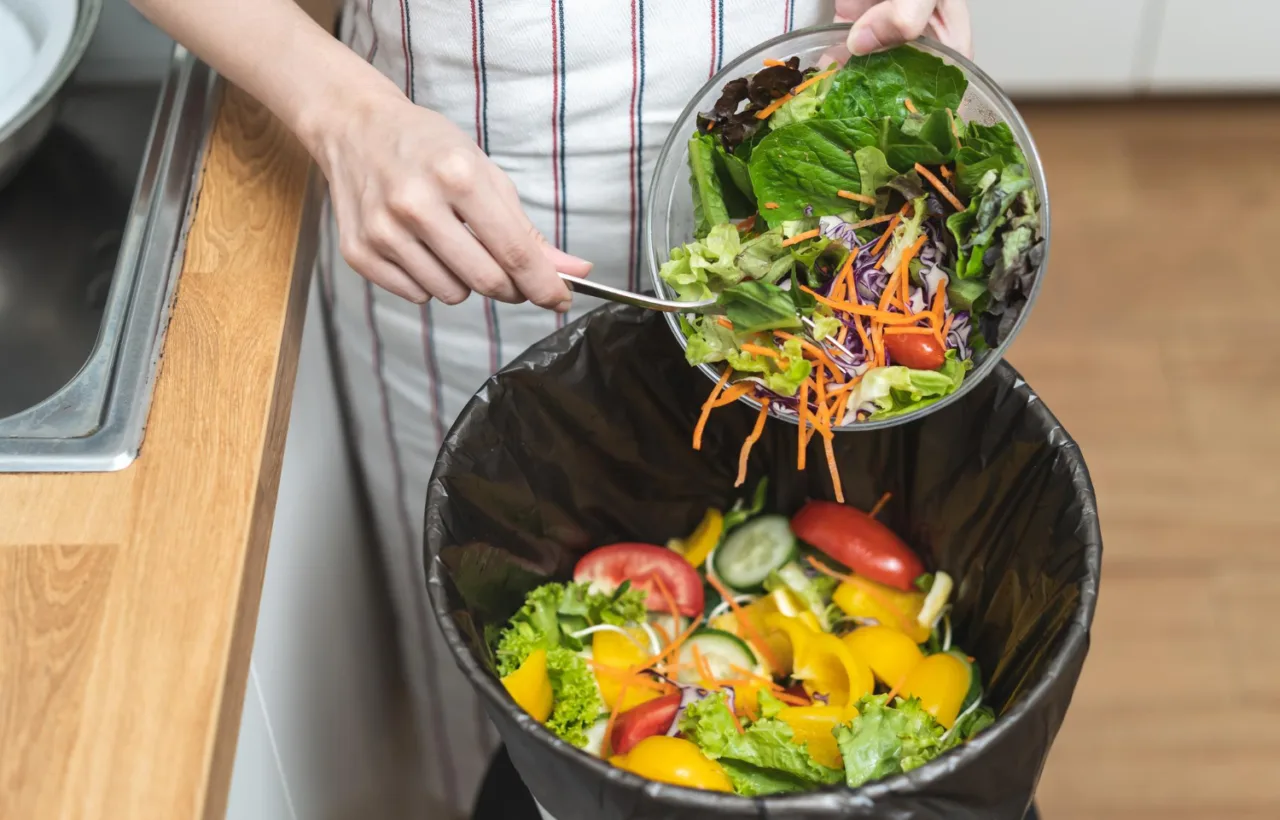

I wasted so much food scrap last year. Potato peels, coffee grounds, wilted lettuce. Straight into the trash. Then I tried starting a compost bin in my backyard. Everything changed.
Honestly? I almost quit after week two. The pile smelled funky. Flies showed up. I felt defeated. But I stuck with it. Now I pull dark, crumbly gold out of that bin every few months. My tomatoes thank me. My trash bag is lighter. And I feel like I finally cracked the code on something simple that most people overthink.
If you’re staring at a pile of kitchen waste and wondering where to begin, this is for you. I’m walking you through exactly how I did it. No fancy gear required. Just the real stuff that worked for me.
Why I Decided Starting a Compost Bin Was Worth the Effort
I garden in a small suburban lot. Soil was tired. Plants looked sad. Store-bought compost felt expensive and plastic-wrapped. I wanted free fertilizer from stuff I already threw away.
See, composting cuts landfill waste. It builds soil that holds water better. Plants grow stronger with fewer pests. IMO, it’s one of the easiest ways to feel useful in your own yard.
My first attempt taught me fast. I dumped everything in a random spot. No balance. No air. Disaster. Then I researched, tweaked, and finally got it right. Here’s the system I use now.
Choosing the Right Spot Before You Even Buy a Bin
Location matters more than you think. I picked a shady corner behind the shed at first. Bad move. Too dark. Too damp. Things stayed soggy.
Now I look for three things:
- Partial shade. Morning sun, afternoon cover. Full sun dries it out too fast. Full shade keeps it cold and slow.
- Good drainage. Flat ground that doesn’t puddle after rain. I rake a slight slope if needed.
- Easy access. Close enough that I actually walk out there with the kitchen bucket. Far from the house door means I get lazy.
I keep mine about ten feet from the back fence. Air flows on three sides. Water hose reaches it. Perfect.
Don’t put it right against a wooden fence. Moisture and critters will thank you later by wrecking the wood.
Place a paver under your bin to prevent ground rot and make turning easier. It also blocks burrowing critters.
Picking (or Building) Your Compost Bin
I started cheap. Bought a plastic tumbler for about forty bucks. It worked okay. Then I built a three-bin system from old pallets. Way better.
You have options:
- Open pile. Just a heap on the ground. Free. Attracts more critters though. I tried this first. Raccoons partied.
- Enclosed plastic bin. Lidded cylinder you buy at the garden center. Easy. Holds heat. Good for beginners. Mine holds about 80 gallons.
- Tumbler. Spin it to mix. Fun at first. Heavy when full. I outgrew mine.
- DIY wooden or wire. Pallets, hardware cloth, cinder blocks. Cheap. Custom size. My current favorite is three pallet bays side by side so I can turn one into the next.
Size tip: Aim for at least 3 feet by 3 feet by 3 feet. Smaller piles never heat up properly. Bigger is fine if you have space.
I drilled extra holes in my first plastic bin. Air is everything. Without it the pile goes anaerobic and smells like a swamp. FYI, ¼-inch holes every few inches work great.
For apartments I know people use worm bins under the sink. Red wigglers do the work. I haven’t tried it yet but it’s on my list.
The Greens and Browns Rule That Finally Clicked for Me
This is where most people mess up. Including me.
Greens are nitrogen-rich. Fresh stuff. Kitchen scraps. Grass clippings. Coffee grounds. They provide the fuel.
Browns are carbon-rich. Dry leaves. Shredded cardboard. Twigs. Newspaper. They provide the bulk and air pockets.
I shoot for roughly two to three parts browns to one part greens by volume. Not weight. Volume.
My first pile was all greens. Smelled terrible. Flies loved it. I added a giant bag of fall leaves. Smell vanished overnight. Magic.
Here’s what I actually toss in:
Greens I love:
- Fruit and veggie peels
- Coffee grounds and filters
- Tea bags (no staples)
- Fresh grass clippings (thin layers only)
- Crushed eggshells
Browns that save me:
- Dry leaves (I stockpile bags in fall)
- Shredded cardboard and paper bags
- Twigs and small branches
- Sawdust from untreated wood
- Straw
What I never add:
- Meat, fish, bones
- Dairy
- Oils and grease
- Pet waste
- Diseased plants
- Weeds with seeds
- Treated wood or glossy paper
Chop big stuff small. Corn cobs. Broccoli stems. The smaller the pieces, the faster they break down. I keep a pair of kitchen shears by the scrap bowl.
Avoid glossy paper, even if labeled recyclable; it contains clay binders that slow decomposition.
How I Actually Build the Pile Step by Step
I treat it like lasagna. Layers.
- Start with a base of bulky browns. Four to six inches of twigs or wood chips. Air and drainage underneath.
- Add a layer of browns. Dry leaves or shredded cardboard. Three to four inches.
- Add greens. Kitchen scraps. Thin layer so nothing clumps.
- Cover the greens completely with more browns. Four to eight inches if you can. This stops smells and flies.
- Sprinkle a little water if it feels dry. Goal: damp like a wrung-out sponge. Not dripping.
- Repeat until the bin is full or I run out of material.
I always finish with a thick brown blanket on top. Then I walk away for a few days.
If the pile is cold after a week I add more greens and turn it. If it smells I add browns and turn it. Simple diagnostics.
Use a compost thermometer to know exactly when to turn; the pile is ready when it starts cooling after peaking at 140 degrees Fahrenheit.
Keeping the Pile Alive: Water, Air, and Turning
Moisture is key. Too dry and nothing happens. Too wet and it goes sour.
I stick my hand in once a week. If it feels dry I water while turning. In summer I check more often. Rain usually handles winter.
Air is the other half. Microbes need oxygen. I turn the pile every two to four weeks with a pitchfork. Outer material goes to the middle. Middle goes out. It heats up again after turning. That’s the sweet spot. 130 to 160 degrees in the center means it’s cooking.
I don’t have a fancy thermometer. I just stick my hand near the middle. Warm is good. Hot is better. Cold means add greens or turn more.
My pallet bins make turning easy. I fork one bay into the next. Fresh material on top of the old.
Turning too often cools the pile. Aim for every 2 to 3 weeks, not every week, to maintain microbial activity.
Common Problems I Hit and How I Fixed Them
Smell like rotten eggs? Too wet or not enough air. Add dry browns. Turn hard. Cover food scraps better.
Flies or fruit flies? Not enough browns covering the greens. Or you added meat by accident. Bury scraps deep. Keep a brown layer ready.
Pile not heating? Too small. Too dry. Not enough greens. Or winter cold. I wait for spring or add fresh grass and manure if I have it.
Critters? Raccoons dug in my open pile. Now I use a bin with a lid and wire mesh under the bottom. No meat ever. Problem solved.
Slow breakdown? Chop smaller. Turn more. Balance better. Patience. Cold composting still works. It just takes longer. Mine finishes in three to five months when I tend it. A year if I ignore it.
Harvesting the Finished Compost
You’ll know it’s ready when the pile shrinks. Looks dark and crumbly. Smells like forest floor. No more recognizable food scraps.
I stop adding new material to one bay and let it cure for a month. Then I screen it through a piece of hardware cloth. Big bits go back into the active pile. Fine stuff goes into the garden.
I mix it into beds before planting. Top-dress around established plants. Mix into potting soil. My peppers exploded the first year I used it. Night and day difference.
Store extra in bags or a spare bin. It keeps forever if dry.
Indoor and Small-Space Options If You Lack a Yard
No backyard? No problem. I helped my sister set up a worm bin in her apartment.
Plastic storage tote. Drill holes. Moist shredded newspaper bedding. Red wiggler worms from a garden store. Feed them veggie scraps under the bedding. Harvest worm castings every few months.
Kitchen counter caddies work too. Collect scraps. Empty into a balcony tumbler or drop-off program if your city has one.
I keep a stainless steel pail under the sink with a charcoal filter lid. No smell. Easy.
My Personal Mistakes So You Can Skip Them
I put the bin in full sun once. It baked dry every afternoon. I had to water constantly. Moved it. Instant improvement.
I added whole banana peels and avocado pits. They took forever. Now I chop everything.
I got impatient and dug into the pile too early. Half-finished compost still worked but looked ugly. Now I wait for the full cure.
I ignored the brown stockpile. Ran out of leaves mid-summer. Had to buy straw. Now I bag leaves every fall like a squirrel.
Vulnerability moment: The first time it worked I stood there grinning like an idiot with a shovel full of black gold. Felt like I had a superpower. Still does.
Frequently Asked Questions
How long does starting a compost bin take before I get usable compost? With good care I get finished compost in three to five months. If I just pile and forget it can take a full year. Turning and balancing speeds everything up.
Can I start a compost bin in winter? Yes. I do. The pile slows way down in freezing temps but doesn’t die. I keep adding and cover it with a tarp or extra browns. It fires back up in spring.
What if my compost bin attracts animals? Use a lidded bin. Bury food scraps deep under browns. Never add meat or dairy. Put wire mesh under the bottom if rodents dig. My current setup stays critter-free.
Do I need special compost activators or starters? No. I never buy them. A scoop of finished compost or just garden soil introduces the right microbes. Nature handles the rest.
Is starting a compost bin worth it if I only have a tiny amount of scraps? Absolutely. Even a small bin or worm setup reduces waste and gives you some soil booster. Scale it to what you produce. Better than nothing.
Final Thoughts from Someone Who Almost Gave Up
Starting a compost bin felt messy and confusing at first. I made every beginner mistake. Smell. Flies. Cold pile. Frustration. Then the system clicked.
Now it’s just part of my week. Kitchen scraps go in the pail. Browns cover them. Occasional turn. Free fertilizer appears. My garden thrives. Trash day is lighter. I waste less.
You don’t need perfection. You need a bin, some browns, some greens, and a little patience. Start small. Layer it. Cover it. Check it once a week. Adjust.
Your future garden self will thank you. And you’ll never look at a banana peel the same way again.
Go start that pile. Messy first drafts still become gold.


