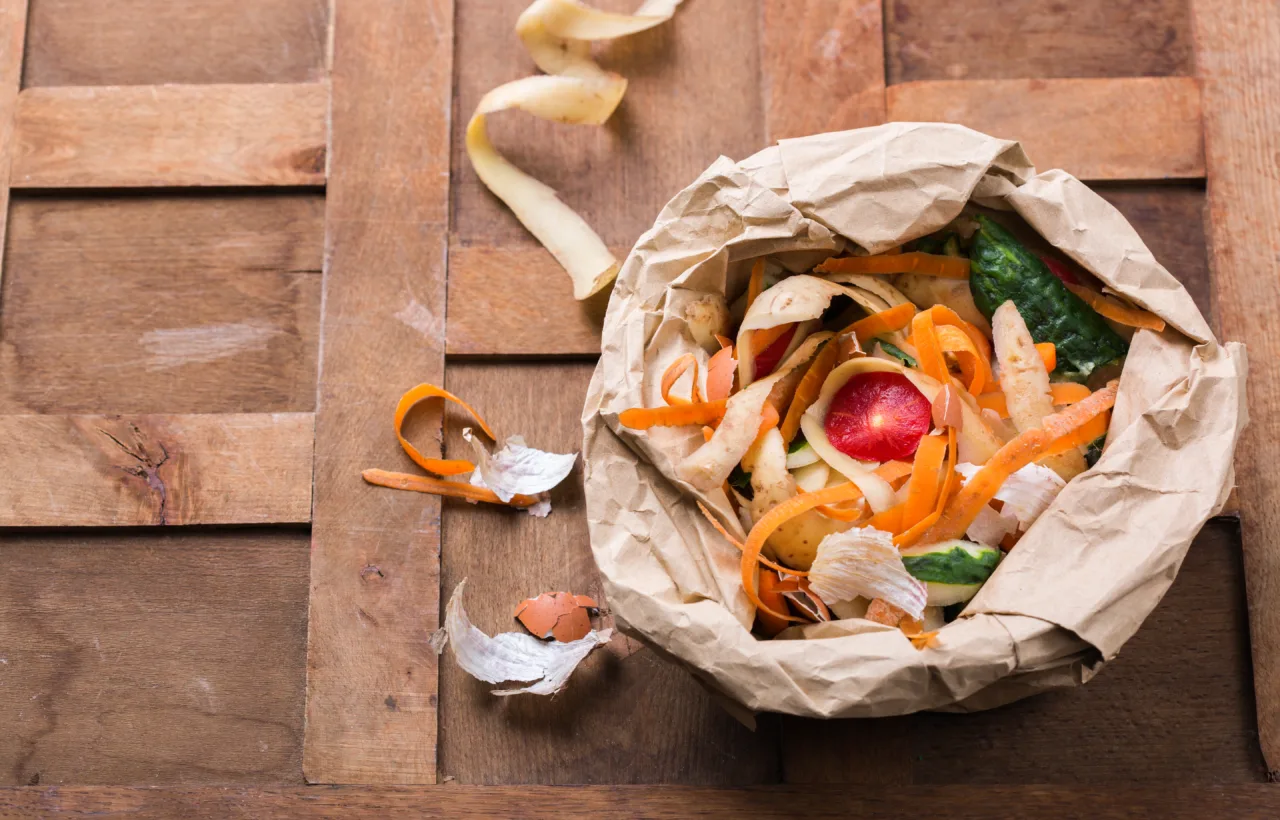

I started kitchen waste compost last spring after staring at yet another full trash bag of peels and coffee grounds. My counter felt like a landfill in miniature. I hated the waste. I wanted better soil for my tiny patio garden. So I jumped in. Honestly? The first week nearly broke me. Smells snuck out. Fruit flies showed up uninvited. But I stuck with it. Now my kitchen waste compost system runs smooth. It feeds my plants. It cuts my trash in half. And it feels good every single day.
You know that pile of onion skins and banana peels sitting on your cutting board? That stuff holds real power. I turned mine into dark, crumbly gold that my tomatoes adore. This guide walks you through exactly how I did it. No fancy equipment required at the start. Just real steps that worked in my small space.
Why I Bothered with Kitchen Waste Compost in the First Place
I used to toss everything. Peels. Cores. Leftover salad. Straight into the bin. Then I learned the numbers. Food scraps make up a huge chunk of household trash. In landfills they create methane. That gas heats the planet faster than almost anything else. I felt defeated when I first read that. My little kitchen was part of the problem.
See, I live in an apartment with a balcony the size of a yoga mat. No big yard. No fancy setup. Yet I still wanted to fix this. Kitchen waste compost solved it for me. It keeps scraps out of the trash. It makes free fertilizer. My plants grow stronger. My trash bags last longer. IMO, that combo wins.
I noticed the difference fast. My basil stopped wilting. My soil held water better. And I stopped feeling guilty every time I chopped veggies. That shift alone made the effort worth it.
The Basics I Wish Someone Had Told Me Sooner
Kitchen waste compost works when you balance two things: greens and browns. Greens bring nitrogen. Think fruit peels, veggie scraps, coffee grounds. Browns bring carbon. Dry leaves, shredded paper, cardboard. Get the mix right and the microbes do the rest.
I keep it simple. Roughly two or three parts browns to one part greens. Too many greens and it turns slimy. Too many browns and nothing happens. I learned that the hard way. My first pile smelled like old gym socks. I fixed it by dumping in a bag of last fall’s leaves. Problem solved.
Moisture matters too. Aim for a wrung-out sponge feel. Too dry and the process stalls. Too wet and you get that nasty anaerobic stink. I check mine every few days by sticking my hand in. Gross at first. Normal now.
Air keeps everything happy. I turn my pile or stir my bin weekly. Oxygen feeds the good bugs. They break everything down faster.
Shred your browns into smaller pieces to increase surface area and speed up decomposition.
What I Toss In (And What Stays Out)
Here is my go-to list after months of trial and error:
- Fruit and vegetable scraps: Apple cores, carrot tops, potato peels. Chop them small for speed.
- Coffee grounds and filters: My morning ritual now feeds the pile.
- Tea bags: Only the ones without staples or plastic.
- Eggshells: Crushed. They add calcium.
- Shredded newspaper or cardboard: Perfect brown material. I rip junk mail for this.
- Dry leaves or grass clippings: Free and plentiful if you have any outdoor space.
I skip these completely:
- Meat, fish, dairy, oils: They attract pests and smell awful.
- Pet waste: Just no.
- Diseased plants or weeds with seeds: They can spread trouble.
- Glossy paper or stickers: Plastics do not break down.
FYI, I freeze scraps if I cannot empty the counter bin right away. Stops the smell cold. Works like a charm in summer.
How I Set Up My First Kitchen Waste Compost System
I started tiny. No big investment. Just a countertop container and a spot outside.
Step 1: Grab a Simple Collection Bin
I used an old stainless steel canister with a lid. Any sealed container works. I line it with newspaper sometimes. Empty it every two or three days. Clean it with soap after. That keeps fruit flies away.
Some folks buy fancy ones with charcoal filters. I tried one. Nice, but not required. My plain bin does the job.
Step 2: Choose Your Method Based on Your Space
I tested three approaches. Each has strengths.
Backyard or balcony pile: Best if you have any dirt. Dig a hole or use a simple bin. Layer greens and browns. Cover food scraps well. I bury mine under a layer of leaves. No smell. No pests if you cover deep.
Vermicompost with worms: I keep a small worm bin under the sink. Red wigglers eat scraps fast. They turn them into castings that feel like black gold. I feed them mostly veggie peels. Avoid citrus and onions in big amounts. The bin stays odor-free if I balance moisture. My houseplants love the results.
Bokashi fermentation: This one surprised me. I use a sealed bucket with bran. It handles cooked food and even small meat scraps through fermentation. After a couple weeks I bury the pre-compost outside. Faster than traditional methods. Great for apartments.
I mix methods now. Counter bin for daily scraps. Worms for most of it. Occasional bokashi when I have leftovers. Flexibility keeps me going.
Step 3: Build and Maintain the Pile
I start with a base of twigs or cardboard for drainage. Then layer. Greens. Browns. Repeat. Water if dry. Turn every week or two.
In winter my outdoor pile slows. I just keep adding. Spring wakes it up. In summer I check moisture more often. Heat speeds everything.
Finished compost looks dark and smells like forest floor. That takes two to six months depending on how often I turn it. I sift out big pieces and toss them back in.
Common Mistakes I Made (And How I Fixed Them)
My first pile went anaerobic. Slimy. Smelly. I added too many wet greens and forgot air. Fix: More browns and a good turn with a pitchfork.
Fruit flies invaded once. I left the counter bin open too long. Fix: Lid on tight. Empty often. Freeze extras.
Pests sniffed around early on. I had left meat scraps in by accident. Never again. Now I bury everything deep and stick to the safe list.
Patience tripped me up too. I wanted instant results. Compost takes time. I think rushing is the wrong way to go about it. Steady small additions beat big dumps every time.
One more: I overcomplicated the tools. Fancy tumblers look cool. My simple wire bin works just as well. Start basic. Upgrade later if you want.
Avoid composting diseased plants or weeds with seeds, as they can survive the process and spread problems.
Real Results From My Kitchen Waste Compost Journey
After six months I had enough finished compost for all my pots and a small raised bed on the balcony. My peppers produced twice as many fruits. The soil held moisture longer during hot spells. I stopped buying bagged fertilizer.
Trash day feels lighter. Literally. Fewer bags. Less smell in the bin. My neighbors noticed and asked questions. Now two of them compost too. We swap tips.
I even use some finished stuff as mulch. It suppresses weeds and feeds the soil slowly. Bonus.
The biggest win sits in my head though. I feel connected to the cycle. Scraps go out. Soil comes back. Plants thrive. It closes the loop in a way that just makes sense.
Tips That Keep My System Running Smooth Year-Round
I batch my browns. In fall I collect bags of leaves and store them dry. Ready when I need them.
I chop everything. Bigger pieces take forever. A quick knife job speeds things up.
I monitor temperature sometimes. A hot pile (around 130-160 F) kills weeds and pathogens. I stick a compost thermometer in for fun. Not required, but cool to watch.
For small spaces I swear by the freezer trick. Full counter bin? Dump into a freezer bag. Empty later. Zero smell.
And I share extras. Finished compost goes to friends’ gardens. Builds community. Feels good.
Frequently Asked Questions
How long does kitchen waste compost take to finish? In my active setup it takes about three months for usable compost. Passive piles can stretch to a year. Turning and balancing greens and browns speeds it up a lot.
Can I do kitchen waste compost in an apartment with no outdoor space? Yes. I started that way. Use a worm bin or bokashi indoors. Or find a local drop-off through apps like ShareWaste. Many cities now pick up food scraps too.
What if my kitchen waste compost smells bad? Add more browns and turn it. Bad smell means too wet or too little air. I fixed mine that way every time. Cover food scraps completely.
Is kitchen waste compost safe for all plants? Mine works great for veggies, herbs, and flowers. I let it cure fully first so it does not burn roots. Start with small amounts if you are unsure.
Do I need special worms or additives? Not really. For vermicompost I bought red wigglers once. After that the colony grew itself. No chemicals needed. The microbes show up on their own.
My Final Take on Making Kitchen Waste Compost Stick
I almost quit that first smelly week. Honestly? Glad I did not. Kitchen waste compost changed how I see my kitchen. Scraps stopped being trash. They became resources. My plants thank me. My trash bill dropped a bit. And I sleep better knowing less methane comes from my habits.
Start small this week. Grab a container. Toss in tomorrow’s coffee grounds and a banana peel. Cover with some paper. Watch what happens. You will mess up. I did. Then you will fix it. Messy progress beats perfect inaction every time.
Give it a month. Then tell me how your soil looks. I bet you will smile at those dark crumbs the same way I do.


