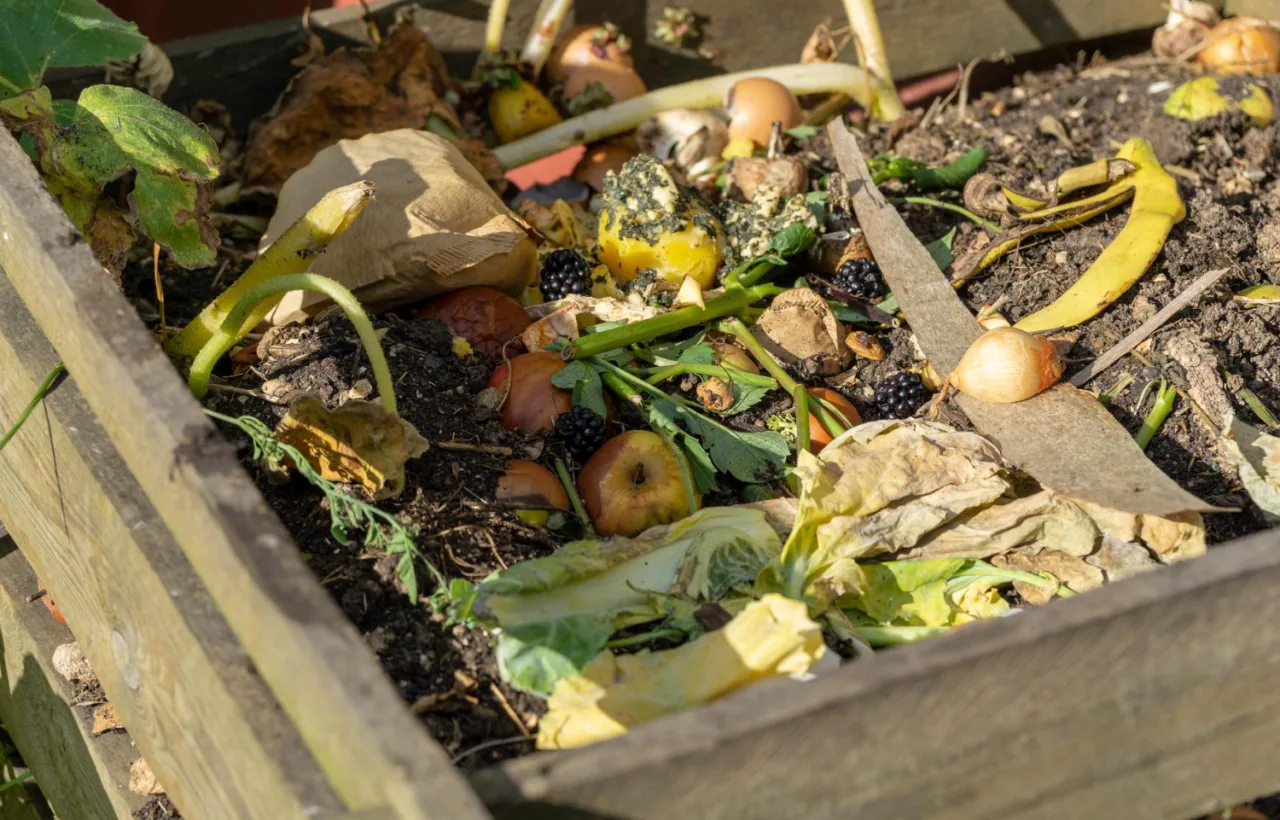

I got tired of tossing perfectly good food scraps in the trash every night. Fruit peels. Coffee grounds. Egg shells. All that good stuff headed for the landfill while my garden sat hungry. So I decided to make a kitchen compost bin diy right on my counter. No fancy store-bought thing. Just stuff I already had. It took me one afternoon and under five bucks. And it changed how I cook.
Honestly? I almost gave up before I started. The first time I tried composting, my whole kitchen smelled like a dumpster fire. My partner threatened to throw the bin out the window. I felt defeated. Then I figured out the real trick. Not the bin itself. The filter and the emptying routine. That fixed everything.
See, a kitchen compost bin diy is not about turning scraps into dirt overnight. It is a holding spot. You collect the greens and browns while you cook. Then you dump them into your outdoor pile or worm bin every couple days. Simple. Effective. And if you do it right, zero smell.
I have used mine for over a year now. It sits next to my sink. Looks decent. Costs almost nothing. And every scrap that used to rot in a bag now feeds my tomatoes. Let monme walk you through exactly how I built it, what worked, what flopped, and how you can copy it without the headaches I had.
Why I Chose a Kitchen Compost Bin DIY Over Buying One
Store-bought options look pretty. Stainless steel. Charcoal lids. Fancy handles. They also cost twenty to sixty dollars. I checked. Some hit eighty. For a fancy bucket. No thanks.
I wanted cheap. Free if possible. And I wanted to know exactly what went into it. So I scavenged. Old coffee can from the office recycle bin. Charcoal filters from the pet store. A drill I already owned. Hot glue gun. Done.
The big win? Control. I sized it for my counter. Made the lid fit tight. Added extra holes where I needed them. Store versions come one size. Mine fits my life.
Plus the pride. Every time I lift the lid and drop in a banana peel, I remember I built this. Not some factory. Me. That feels good.
Materials I Gathered for My Kitchen Compost Bin DIY
I kept the list short. No trips to specialty stores. Just house stuff and one cheap buy.
Here is exactly what I used:
- Empty plastic coffee can or similar container with a tight lid. Mine held about a gallon. Yogurt tubs or nut containers work too if they seal well.
- Charcoal filters. Pet store kitty litter ones. Pack of two for about three bucks. These kill the smell.
- Drill with a 1/4-inch bit. Any small bit works. I used what I had.
- Hot glue gun. Or strong craft glue. Super glue in a pinch.
- Newspaper or brown paper bags. For the base layer.
- Optional: decorative paper or paint. If your container is clear and you hate looking at scraps.
That is it. Total cost for me: $1.50 after the free can. Filters were the only purchase.
I tried a metal tin once. Looked nicer. But the plastic coffee can sealed better and weighed less when full. Stick with plastic for beginners.
For a stronger seal, line the lid rim with a thin bead of silicone caulk instead of hot glue. It lasts longer.
Step-by-Step: How I Built My Kitchen Compost Bin DIY
I cleared the counter. Put on a podcast. Got to work. Took maybe twenty minutes once I had everything.
Prepping the Container
First I washed the coffee can with hot soapy water. Dried it completely. Any leftover coffee oil would attract fruit flies later. Learned that the hard way.
Then I drilled. Ten to twelve holes in the lid. Spread them out. Not too big. Just enough for air. Oxygen keeps the scraps from going anaerobic and stinky.
I almost drilled the sides too. Bad idea. Holes on the side let liquid leak if it gets wet. Lid only. Trust me.
Adding the Odor Killer
This is the magic part. I hot-glued one charcoal filter right to the inside of the lid. Covered all the holes. Pressed hard so it stuck flat.
The filter traps smells. Replaces every two or three months when it starts to fade. Super easy. Peel off the old one. Glue a new one.
Without this step my first bin failed hard. Smelled like death by day three. With it? Nothing. Even after a weekend of onion peels and coffee.
Building the Base Layer
I tore newspaper into strips. Lined the bottom with a half-inch layer. This soaks up liquid. Stops scraps from sticking. Acts like a brown material starter.
Some people add a scoop of finished compost or dirt here. I skip it for the kitchen version. Saves mess. The outdoor pile handles the real breakdown.
Finishing Touches
If your container is clear like mine was, wrap the outside in craft paper or paint it. Hides the contents. Makes it look intentional instead of trashy.
I wrote “scraps only” on the lid with a marker. Reminds everyone what goes in. No mystery meat. No dairy. Just plants.
Lid on. Ready.
What I Put in My Kitchen Compost Bin DIY (And What I Skip)
Rules keep it clean. I stick to them religiously.
Good stuff I toss in every day:
- Fruit and veggie peels, cores, stems
- Coffee grounds and paper filters
- Tea bags (remove the staple if any)
- Eggshells (I crush them first)
- Bread crusts and plain pasta
- Paper towels or napkins (no chemicals)
- Houseplant trimmings
Stuff I never add:
- Meat, fish, bones
- Dairy or cheese
- Oils or greasy leftovers
- Pet waste
- Anything plastic or synthetic
Meat and dairy turn the bin into a stink bomb and invite pests. Not worth it. Those go in the trash or freezer for later outdoor burial if I must.
I chop big pieces small. Speeds everything up later. Banana peels get sliced. Apple cores diced. Takes five extra seconds. Worth it.
My Daily Routine That Keeps the Bin Fresh
This is where most people mess up. They fill it and forget. Then complain about smell.
I empty every two or three days. Max. Kitchen scraps start to break down fast indoors. Heat and moisture speed it up.
Here is my flow:
- Cook. Scrape peels straight into the bin.
- Wipe the rim if anything sticks.
- Snap the lid tight.
- Every other night or when half full, I carry it outside.
- Dump into my main compost pile or bury in a trench.
- Rinse the bin with a little vinegar water. Air dry. Fresh newspaper base. Ready again.
If I know I will be gone a few days, I freeze the scraps in a bag first. Then dump frozen into the bin when I return. No smell. No flies. Genius move I stole from a friend.
I keep a small trowel nearby for stirring if it looks wet. But honestly I rarely need it. The filter and frequent dumps handle most issues.
In humid climates, even with a filter, emptying every other day is critical. Skipping one day can lead to mold growth on the filter.
Common Mistakes I Made (So You Do Not Have To)
I failed publicly. Here is the list so you skip the drama.
Mistake one: No filter. Day one of my first attempt. Kitchen smelled like compost hell. Partner banned the bin. I almost quit.
Mistake two: Too big a container. I started with a huge storage bin. It took forever to fill. Scraps sat too long. Smelled. Now I use small. One gallon max for a household of two.
Mistake three: Ignoring moisture. Wet coffee grounds plus fruit equals soup. Newspaper base fixed it. If it still looks soggy I add dry leaves or more paper.
Mistake four: Hiding it under the sink without checking. Out of sight. Out of mind. I forgot to empty once. Bad news. Now it lives on the counter. Visible. Used.
Mistake five: Adding everything. That leftover chicken? Nope. Instant regret. Stick to plant matter only for kitchen versions.
Fix those five and you are golden. My current bin has zero drama.
Place a small piece of cardboard on top of the scraps inside the bin. It absorbs excess moisture and reduces smell between dumps.
How My Kitchen Compost Bin DIY Compares to Other Options
I tested a few approaches before settling.
Freezer bag method: Super simple. Throw scraps in a zip bag. Freeze. Dump outside later. Zero smell. Zero bugs. But it takes freezer space. And you still need a place to dump. Good backup. Not my daily driver.
Worm bin indoors: Cool if you want real compost fast. Red wigglers eat the scraps. But worms need care. Temperature control. More setup. I keep worms outside. Kitchen bin feeds them.
Store-bought stainless: Pretty. Filter included. But forty bucks for what I made for free. And the plastic ones look cheap. Mine is unique. Mine works the same.
In-ground trench only: Dig a hole. Bury scraps. Cover. No bin needed. Great for yards. Messy for daily kitchen use. I use both. Bin for convenience. Trench for overflow.
My kitchen compost bin diy wins for daily ease. Cheap. Custom. Effective. The others fill gaps.
Extra Tips That Made Mine Better Over Time
After six months I tweaked a few things.
I added a second identical bin. One fills. One empties and dries. Swap. Always clean.
I keep a small bowl of baking soda nearby. Sprinkle a pinch if I sense any faint odor. Rare now.
For apartments without outdoor space, I dump into a community compost drop-off or city bin. Same system. Just different end point.
I track what I save. Roughly two pounds of scraps a week out of the trash. Feels solid. My garden soil improved. Tomatoes thrived last summer. Direct result.
If you have kids, let them help drill or glue. Makes it a family thing. They remember better what goes in.
Frequently Asked Questions
How often should I empty my kitchen compost bin diy? Every two to three days max. Or when it hits half full. Frequent dumps keep smells and pests away. I do it while taking out regular trash so it becomes habit.
Will a kitchen compost bin diy attract fruit flies? Only if you skip the filter or leave it too long. Tight lid plus charcoal plus regular emptying equals zero flies in my experience. Freeze scraps if flies ever show.
Can I use this kitchen compost bin diy in a small apartment? Absolutely. Mine started in a tiny kitchen. Just empty into a bag for outdoor drop-off or freeze until you can. Size it small so it fits the counter or under the sink.
What if I do not have a drill for the holes? Poke holes with a heated nail or screwdriver. Or skip holes and empty daily. The filter still works. Air is nice but not mandatory if you dump often.
How long do the charcoal filters last in a kitchen compost bin diy? Two to three months for me. When faint smells start, replace. Cheap and easy. I buy multipacks.
Final Thoughts From My Counter
I built this kitchen compost bin diy because I hated waste. Now it sits there every day doing quiet good work. Scraps go in. Soil comes out eventually. Garden loves it. I love the zero guilt.
You can do the same. Grab a can. Glue a filter. Drill some holes. Start today. Do not wait for perfect. Messy first version beats no version.
My tomatoes thank me every summer. Yours will too. Go make one. Then come back and tell me how it goes. I am still tweaking mine. Always room to improve.
Honestly? Best five dollars and twenty minutes I ever spent in the kitchen.


