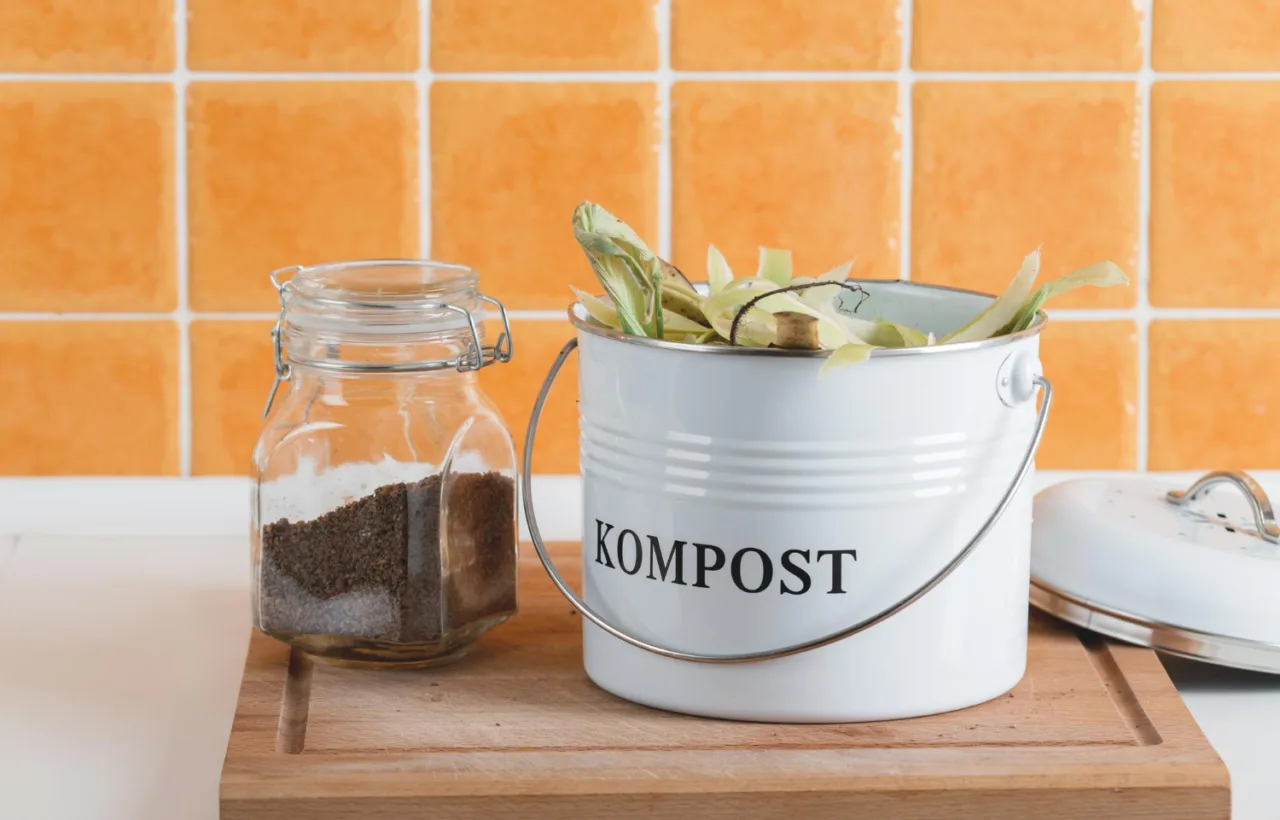

I wasted three months and two trash bags full of rotting banana peels before I got this right. My first indoor compost bin sat on the counter like a tiny garbage can of regret. Fruit flies threw parties. The smell hit me every time I opened the fridge. I almost quit composting altogether.
Honestly? That failure taught me more than any glossy review ever could.
If you live in an apartment, a condo, or just hate the idea of hauling scraps outside every other day, an indoor compost bin solves the problem. It keeps your kitchen scraps out of the landfill and turns them into something useful. I use mine daily now. No drama. No bugs. Just quiet progress.
This is the guide I wish someone had handed me. Straight talk from one person who figured it out the hard way.
Why I Started Looking for an Indoor Compost Bin in the First Place
City living means limited options. I have no backyard. My balcony is tiny. Taking food scraps downstairs felt like a chore I would skip half the time. Then I watched a documentary on food waste and felt that familiar guilt spiral.
I needed something that worked right there in my kitchen. Something small. Something that did not announce itself with a cloud of fruit flies every time I lifted the lid.
See, most people think composting requires a big outdoor pile. That is the wrong question. The real question is: how do I keep scraps from rotting in my trash while I wait to deal with them?
An indoor compost bin answers that. It is a holding station, a fermenter, or even a full system depending on which type you pick. I tried them all. Some worked. Some made me open every window in the place.
The Four Main Types of Indoor Compost Bin I Actually Tried
Not every indoor compost bin does the same job. I learned this after buying the wrong ones twice.
Countertop Caddies: The Simple Holding Spot
These are the stainless steel or plastic buckets with lids and charcoal filters. You toss in peels, coffee grounds, and eggshells. Empty them every few days into a larger system or a municipal drop-off.
I started with a cheap plastic one. Big mistake. It leaked. The filter was useless after a week. Then I switched to a stainless steel version with a tight seal. Night and difference.
Key features that matter:
- Tight-fitting lid that actually seals
- Replaceable charcoal filter for odor control
- Easy-to-clean interior (dishwasher safe is ideal)
- Capacity around 1 to 1.75 gallons so you empty it often enough
My current favorite holds a solid week of scraps for one person. I empty it into a community compost bin every Sunday. Zero smell if I keep the filter fresh.
Bokashi Bins: The Fermentation Magic
Bokashi changed my mind about what indoor composting could be. You add scraps, sprinkle special bran full of microbes, and seal it up. It ferments everything, including meat and dairy that normal compost hates.
I bought a two-bucket system. One fills while the other ferments for two weeks. You drain the liquid (compost tea) every few days. That stuff makes my houseplants go wild.
Pros I noticed right away: almost no smell if you seal it properly. Handles almost any food waste. Fast.
Cons: you still need somewhere to bury the fermented material or finish it in soil. The bran costs money ongoing. And the first time I forgot to drain the tea, it got funky.
IMO, bokashi is perfect if you cook a lot of varied meals and want speed.
Worm Bins: Living Roommates That Eat Your Trash
Vermicomposting with red wigglers feels like keeping pets that pay rent in castings. I set up a stackable tray system under my sink. The worms eat the scraps. I harvest the castings every few months for my plants.
It took two weeks to get the moisture right. Too wet and it smelled. Too dry and the worms slowed down. Once balanced, it ran silent and odor-free.
What worked for me:
- Bedding of shredded newspaper and coconut coir
- Feeding every few days, buried under the bedding
- Never adding meat, dairy, or citrus in large amounts
The castings are pure gold. My basil has never looked better. Just know you are responsible for living creatures. Vacation requires a worm-sitter plan.
Electric Composters: The Fancy Countertop Machines
I tested two. One was a pure dehydrator-grinder. It shrunk scraps into dry bits that still needed outdoor composting. The other claimed real compost. It came closer but still needed curing time.
These cost hundreds. They use electricity. They make some noise. Filters and additives add up.
I returned the first one. Kept the second for winter when outdoor options freeze. It works. But for the price, I would rather stick with bokashi or worms most of the year.
How I Chose My Everyday Indoor Compost Bin
I stopped chasing perfect and started matching the bin to my actual life.
I cook for one most nights. I generate moderate scraps. I have no outdoor space of my own. I drop off at a community garden weekly.
That pointed me to a high-quality countertop caddy paired with a small bokashi backup for meat days. Simple. Effective.
Here is the exact checklist I use now when recommending one to friends:
- Measure your counter space first. Do not buy something that crowds your cutting board.
- Decide if you want holding only or actual processing.
- Test the lid one-handed. You will be scraping boards with the other hand.
- Check filter replacement cost and availability.
- Read recent reviews for real odor performance, not marketing claims.
Honestly? Spend the extra $15 on stainless steel. Plastic scratches and holds smells longer.
For stainless steel bins, wipe the interior with vinegar weekly to prevent mineral stains and lingering smells.
My Daily Routine with an Indoor Compost Bin
Mornings start with coffee grounds going straight in. Prep vegetables and the peels follow. Dinner scraps go in last.
I keep a small silicone scraper by the board. One swipe and done. Lid closes. Filter does its job.
Every three to four days I empty it. If I wait longer in summer, I freeze scraps first. Freezer bag in the fridge door works great as overflow.
Cleaning takes two minutes. Hot water. Mild soap. Air dry. Replace the filter every two to three months depending on use.
That is it. No science degree required.
Common Mistakes I Made So You Can Skip Them
I added oily leftovers once. Smelled like a fryer for days. Lesson: stick to plant matter, eggshells, coffee, and tea in basic bins.
I ignored the browns. Wet scraps alone turn anaerobic and stinky. Shredded paper or dry leaves balance it.
I left the bin in direct sun. Heat sped up the rot. Cool spot under the cabinet works better.
I bought the prettiest one without checking capacity. Pretty does not help when it overflows mid-week.
Punchy takeaway: start small, empty often, and keep it dry-ish.
Odor Control Secrets That Actually Work
Charcoal filters help but they are not magic. Empty on schedule. That is 80 percent of the battle.
I sprinkle a little baking soda in the bottom sometimes. Or a sheet of newspaper. Absorbs moisture.
If fruit flies appear, I freeze the bin contents overnight. Kills the larvae. Then I wash thoroughly and start fresh.
For bokashi, seal tight and drain tea religiously. The liquid smells vinegary when fresh. Dilute it 1:100 for plants. Never pour it straight.
Worm bins stay smell-free when the bedding stays like a wrung-out sponge. Not dripping. Not bone dry.
What I Put In and What I Keep Out
Yes pile:
- Fruit and vegetable scraps
- Coffee grounds and filters
- Tea bags (no plastic ones)
- Eggshells (crushed)
- Plain paper towels and napkins
- Shredded cardboard
No pile for most indoor systems:
- Meat and bones (except bokashi)
- Dairy (except bokashi)
- Oils and greasy food
- Pet waste
- Diseased plants
- Glossy paper or stickers
Chop big pieces. Smaller bits break down faster if you are processing, or pack better if you are just holding.
Real Results After Six Months
My trash bag fills half as often. That alone feels good. My houseplants get free fertilizer. I drop off finished material and feel like I am part of something bigger.
The biggest change is mental. I look at food differently. Less waste happens because I notice every peel. That awareness spilled into other habits. Smaller grocery trips. Better meal planning.
I was skeptical it would stick. It did.
Frequently Asked Questions
Does an indoor compost bin smell bad? Not if you empty it regularly and use a decent filter or bokashi seal. My stainless steel one stays neutral. The old plastic one was a different story.
Can I use an indoor compost bin in a small apartment? Yes. Countertop models take less space than a toaster. Worm bins fit under the sink. I have done both in 600 square feet with no issues.
How often do I need to empty my indoor compost bin? Every 2 to 5 days depending on how much you cook and the size. Summer heat means more often. Freezing scraps buys you time.
Is bokashi better than a regular indoor compost bin? Depends. Bokashi handles more types of waste and ferments fast. A regular caddy is simpler and cheaper if you just need temporary storage. I use both.
Do electric indoor composters make real compost? Most grind and dry. A few get closer to actual compost but still need curing. Great for volume reduction. Not magic soil factories for the price, IMO.
Final Thoughts from My Kitchen Counter
I went from nearly quitting to looking forward to scraping the cutting board. An indoor compost bin removed the friction. That is the whole secret.
Pick one that matches your space and habits. Start with a solid countertop model if you are unsure. Add bokashi or worms later if you get hooked.
You will make mistakes. I still do. The bin forgives you faster than you think.
Go grab one this week. Your future self (and your trash can) will thank you. And if the fruit flies show up again? You know exactly what to do now.


