
I got tired of smelly piles and fancy tumblers that never quite worked for me. So I dug a hole, dropped in a bucket full of holes, added worms, and turned my kitchen scraps into garden gold with an in-ground compost bin. Honestly? It changed everything about how I handle waste in my yard.
See, I used to wrestle with open compost heaps that drew raccoons and fruit flies. Then I tried a spinning tumbler that jammed every other week. None of it stuck. One spring I watched a neighbor bury a simple plastic bucket in his raised bed and feed it scraps like it was no big deal. I copied him. That first in-ground compost bin taught me more in three months than years of fiddling with other systems.
You want fast breakdown, zero odor, and compost that feeds your plants right where they grow. This method delivers. I’ll walk you through exactly how I did it, what worked, what flopped, and why I keep adding more of these things around my garden.
Why an In-Ground Compost Bin Makes Sense for Real Gardens
Most folks chase big black bins or shiny tumblers. I think that’s the wrong way to go about it. The real question isn’t “which bin looks coolest.” It’s “which setup lets worms and microbes work with the soil instead of fighting it.”
An in-ground compost bin sits buried in your garden bed or yard. Worms move freely between the bin and the surrounding dirt. Plant roots sneak in for snacks. Heat and moisture stay more stable because the earth acts like insulation. I noticed my scraps disappeared faster than they ever did aboveground.
Here’s what sold me after one season:
- Direct soil feeding. Castings and liquid leachate drip straight into the root zone. My tomatoes next to the first bin grew bigger and greener than the ones farther away.
- Pest control without chemicals. The lid and soil cover keep most critters out. Raccoons can’t tip it. Flies stay minimal if you bury scraps under bedding.
- Space saver. It disappears into a raised bed. No ugly pile taking up the corner of the yard.
- Climate buffer. Hot days don’t cook the worms. Cold snaps don’t freeze them solid. They just migrate deeper if needed.
- Cheap as dirt. A five-gallon bucket costs a few bucks or nothing if you grab one free. Compare that to $100-plus commercial units.
I ran two side-by-side once: one open pile and one in-ground setup. The pile smelled after rain and attracted ants. The buried bin stayed quiet and finished scraps in weeks instead of months. Messy beats stuck. Every time.
My First DIY In-Ground Compost Bin Build (Step by Step)
I started simple. No fancy kits. Just stuff I already had or could grab at the hardware store.
Gathering the Basics
You need almost nothing:
- One food-grade 5-gallon bucket with a tight lid
- A drill and bits (¼-inch and ½-inch)
- Shovel
- Shredded cardboard or newspaper for bedding
- Red wiggler worms (about ¼ pound to start)
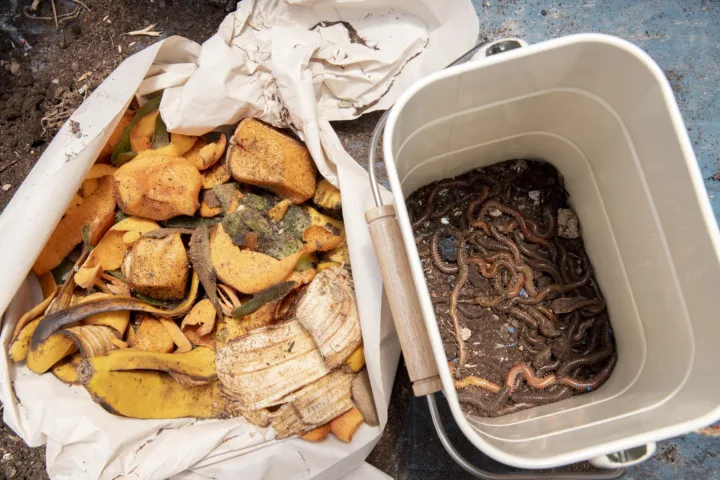
- Kitchen scraps (fruit and veg only at first)
I snagged my first bucket from a restaurant that was tossing pickle containers. Free and already food-safe. Perfect.
Drilling the Holes
This part matters most. Worms need to come and go. Water needs to drain. Air needs to flow.
I drilled:
- 20–30 holes in the bottom
- 12–16 vertical rows of holes up the sides
- A ring of holes just under the rim
- 8–12 holes in the lid for ventilation
I cleaned every sharp plastic bit with pliers so nothing stabbed the worms. Took me twenty minutes. Done.
Picking the Spot and Digging
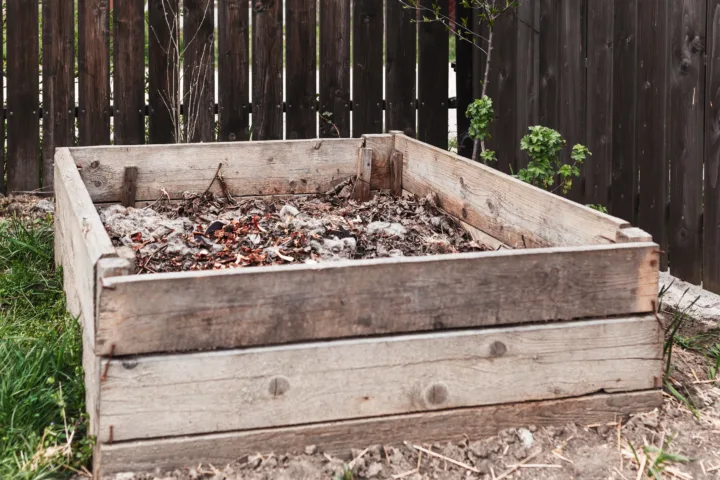
I chose the middle of a raised vegetable bed. Soil there was already loose. Digging took ten minutes.
Make the hole a few inches deeper and wider than the bucket. I tossed wood chips in the bottom for drainage and a false floor. Set the bucket so the lid sat just above soil level. Packed dirt around the sides. Left the top air holes exposed.
Loading It Up
Layer like a lasagna:
- Thick bedding at the bottom (shredded cardboard)
- A handful of finished compost or old leaves for microbes
- A small amount of chopped kitchen scraps
- More bedding
- The worms
- Final thick cover of bedding on top
I watered everything until it felt like a wrung-out sponge. Snapped the lid on. Walked away.
Two weeks later I peeked. Level had dropped. Worms were fat and busy. Scraps were mostly gone. I grinned like an idiot.
How I Maintain My In-Ground Compost Bin Without Losing My Mind
Daily fussing kills compost joy. I keep this dead simple.
Every few days I lift the lid, push aside the top bedding, dump a small pail of scraps, sprinkle more cardboard, and close it. That’s it. No turning. No moisture meters. No charts.
If it looks dry in summer I pour a watering can over the top. The excess drains into the bed and waters the plants at the same time. Bonus.
Winter is even easier. The ground keeps things warmer than air temperature. I still feed, just less often. Worms slow down but don’t die.
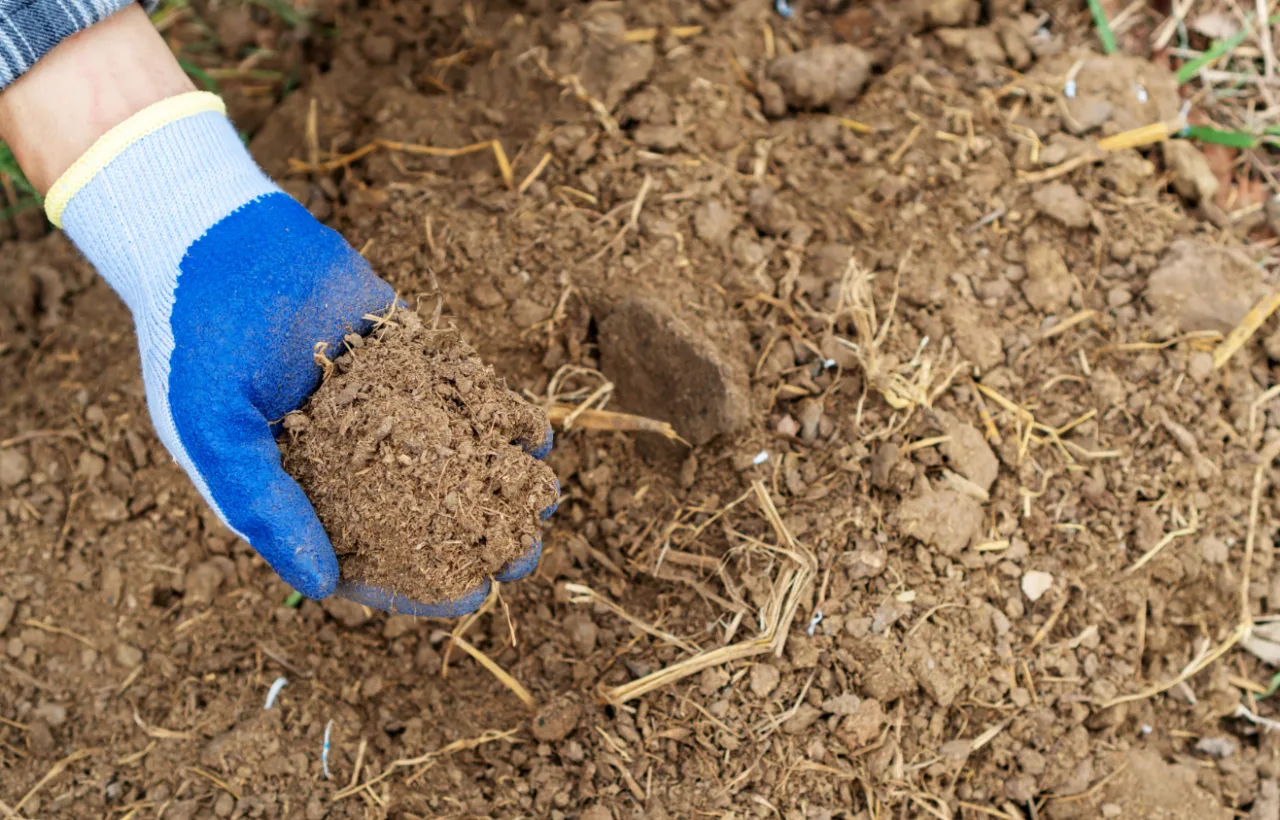
Harvesting feels almost like cheating. After a couple months the bottom half turns into dark, crumbly castings. I dig the bucket out, dump the finished stuff around nearby plants, refill with fresh bedding and scraps, and bury it again. Or I leave it and let the worms keep working while roots pull nutrients.
One time I forgot a bin for six weeks during a busy stretch. Came back expecting disaster. Found black gold and happy worms. Forgiving system. Love that.
Avoid adding meat or dairy even in buried bins; they attract rodents and slow decomposition.
Commercial Options Versus My DIY Version
I tried a couple store-bought in-ground units after my DIY success. Curious, you know?
Subpod and Vego Garden versions look sleek. They snap together, have nice lids you can sit on, and come with aeration tools. They work great. My neighbor swears by his Subpod. Zero smell. Easy to harvest through the side doors.
But here’s my honest take. The commercial ones cost $80–$200. My bucket cost $0–$8. Performance? Nearly identical for kitchen scraps. The fancy lids and seats are nice if you want a garden bench that doubles as a compost spot. For pure function, DIY wins on price and simplicity.
I keep both now. One fancy Subpod-style in the front bed where guests see it. Three plain buckets hidden in the back veggie patch. Best of both worlds.
If plastic freaks you out, look for food-grade only. Or try ceramic or metal options if you find them. Most of us start with plastic because it lasts and costs nothing.
Common Mistakes I Made (So You Don’t Have To)
I messed up. A lot at first.
Added meat once. Bad idea. Smelled and drew a raccoon. Stick to plants, coffee grounds, tea bags, crushed eggshells.
Overfed early on. Pile of scraps sat there rotting because the worm population hadn’t grown yet. Start small. Let them multiply.
Buried the whole bucket too deep. Air holes got covered. Things went anaerobic and stinky for a week. Fixed it by raising the bucket a couple inches.
Forgot bedding. Pure scraps turn slimy. Always sandwich food between cardboard or leaves.
Used glossy magazine paper. Worms hated it. Stick to plain newspaper or cardboard.
Each flop taught me something. Now the system runs itself.
Real Results From My Garden After One Full Year
My soil changed. Hard clay turned crumbly. Plants next to the bins needed less fertilizer. Yields jumped. I stopped buying bagged compost.
Worms spread into the surrounding beds on their own. Free labor force.
Kitchen trash dropped by half. Feels good knowing peels and cores become plant food instead of landfill methane.
Neighbors started asking questions. I showed them the bins. Three of them built their own the next weekend. Contagious in the best way.
Frequently Asked Questions
Does an in-ground compost bin smell? Not if you bury scraps under bedding and keep the lid on. Mine has never smelled worse than regular garden dirt. Overly wet or meaty scraps are the only things that cause odor, and those are easy to avoid.
How many worms do I need to start? A quarter pound of red wigglers works fine. They multiply fast once food shows up. You can even skip buying them and let local worms find the buffet, though it takes longer.
Can I put an in-ground compost bin in a raised bed? Yes. That’s where mine live. Just make sure the bed is deep enough for the bucket plus a couple inches of drainage material underneath.
What if I live somewhere with freezing winters? The ground protects better than you think. Worms go deeper or slow down. I still feed lightly all winter and everything bounces back hard in spring.
How long until I get usable compost? Four to eight weeks for the first batch once worms settle in. After that you can harvest smaller amounts every month or so while the bin keeps running.
Final Thoughts From Someone Who Almost Gave Up on Composting
I almost quit composting three times. The open piles defeated me. The tumblers frustrated me. The electric gadgets felt wasteful.
Then the in-ground compost bin showed up in my life. Simple. Quiet. Effective. It fits real gardens and real schedules.
If you have a patch of dirt and a bucket, you can do this tomorrow. Drill some holes. Dig a hole. Drop it in. Feed it. Watch magic happen underground.
Your plants will thank you. Your trash can will thank you. And you’ll walk past that little buried lid every day with a small private smile knowing good things are cooking down there.
Go make one. You’ll wonder why you waited so long.