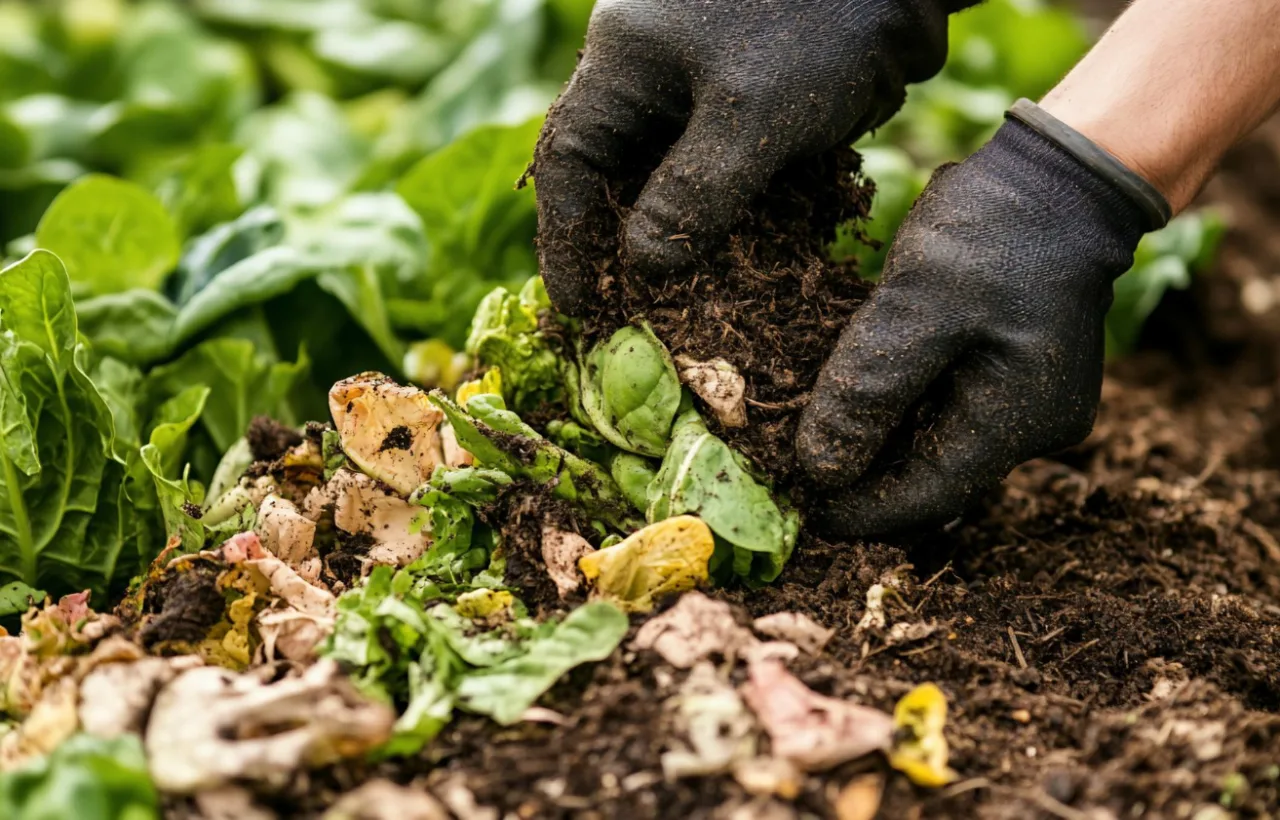

Starting a compost pile turned my scraggly backyard into a nutrient factory. Learning how to start a compost setup saved me money on bags of soil and cut my kitchen waste in half. I still remember the first time I dumped coffee grounds and banana peels into a heap behind the garage. It smelled earthy within weeks. No fancy gear. Just patience and a little trial.
I messed up early on. My first pile sat soggy for a month. Maggots showed up. I almost quit. Honestly? That failure taught me more than any guidebook.
You want rich, dark compost for your garden beds. You want less trash heading to the landfill. This guide walks you through every step I took. No fluff. Just what works in a real yard.
Why Bother With Composting Anyway
Composting recycles your scraps into gold for plants. I watched my tomato plants double in size the season after I started. Roots dug deeper. Leaves stayed greener longer.
See, store-bought fertilizer works. But it costs more and runs out. Homemade compost feeds soil microbes that keep working year after year. My zucchini harvest jumped 40 percent once the beds got a thick layer every spring.
It cuts waste too. I used to toss peels and eggshells without thinking. Now those scraps feed my roses instead of a landfill. FYI, the average household throws out hundreds of pounds of food scraps yearly. Composting flips that into something useful.
I think chasing perfect store soil is the wrong way to go about it. Building your own is the real question. Once you try it, you wonder why you waited.
Gathering What You Need to Begin
You need almost nothing special. I started with stuff already in my garage.
Basic tools:
- A pitchfork or shovel for turning
- A bin or just open ground space
- Water source nearby
- Kitchen scrap container
I grabbed an old plastic storage bin first. Drilled holes in the sides. Worked fine for a year. Later I built a simple wire enclosure. Cost me under $20.
Collect browns and greens. Browns are dry stuff like leaves, cardboard, newspaper. Greens are wet kitchen bits: veggie peels, coffee grounds, grass clippings. Aim for roughly three parts brown to one part green. That ratio keeps the pile from stinking.
I keep a small lidded pail under the sink. Dump peels and grounds in daily. Empty it when full. No big deal.
Skip meat, dairy, oily foods. They attract critters and smell bad. I learned that the hard way when raccoons visited my first pile. Not fun at midnight.
Picking the Perfect Spot for Your Pile
Location matters more than you think. I put my first attempt right against the fence. Bad move. It stayed too shaded and wet.
Choose a level spot with some sun and some shade. Partial sun speeds breakdown. Full shade slows it. Keep it close enough to the kitchen that you actually use it. Mine sits 20 steps from the back door. Easy.
Drainage counts. Water should flow away, not pool. I raised mine on a couple of pallets once. Helped a lot in rainy stretches.
Check local rules. Some HOAs frown on open piles. A closed bin solves that. I switched to one after a neighbor complained about fruit flies. Peace restored.
Leave room to turn the pile. You need space to fork it over. Cramped spots make the job annoying. I moved mine six feet out and never regretted it.
Set your bin on bare soil, not concrete. Worms and microbes from the ground will migrate in and speed up the process naturally.
How to Start a Compost Pile Step by Step
This is the core. Follow these moves and you get results.
Layer Like a Lasagna
Start with chunky browns on the bottom. Twigs or shredded cardboard. That creates air pockets. Then add greens. Then more browns. Keep layering until the pile hits three feet high or so.
I water each layer lightly. Not soaked. Just damp like a wrung-out sponge. Squeeze a handful. A few drops should fall. Perfect.
Build the Right Size
Too small and it never heats up. Too big and the middle stays cold. Three feet by three feet by three feet works great. My wire bin hits that exactly.
I once made a tiny heap. It sat there forever. Size matters. Get it right the first time.
Mix and Wait
Toss everything together after building. Or just layer and leave it. Both work. I prefer mixing early so microbes spread fast.
Cover with a tarp if rain pours. Or leave open if your climate stays dry. I cover mine in spring monsoons. Uncover for summer heat.
Keeping Your Compost Alive and Kicking
The pile needs air, water, and food. Neglect one and it stalls.
Turn it every week or two. Stick the fork in deep. Flip the outside to the middle. That brings oxygen. I set a phone reminder for Sundays. Takes 10 minutes.
Moisture check: grab a handful. Too dry? Sprinkle water. Too wet? Add dry leaves or cardboard. My pile dried out once during a heat wave. Grass clippings fixed it overnight.
Watch the temperature. A good pile heats to 130-150 degrees Fahrenheit in the center. I stick a cheap compost thermometer in. When it cools, turn it again. Heat kills weed seeds and pathogens. Cool means time to mix.
Add scraps regularly. But bury fresh greens in the middle. That stops flies and smells. I dig a little hole, dump, cover. Done.
IMO, consistency beats perfection. Miss a turn? No biggie. Just get back to it.
Never add diseased plants or perennial weeds like bindweed to your pile. Their seeds and spores survive low heat and spread when you use the compost.
Common Mistakes I Made So You Skip Them
I packed my first pile too tight. No air. It went anaerobic and stank like rotten eggs. Lesson: fluff it up.
I added too many greens. Slimy mess. Browns balance the nitrogen. Keep the ratio close.
I ignored the weather. Heavy rain flooded it. Now I tarp during storms.
I put it too far away. Out of sight meant out of mind. Keep it convenient.
Fruit flies swarmed once. I buried scraps deeper and added a thick brown layer on top. Problem gone.
Critters dug in. Hardware cloth under and around the bin stopped that. Raccoons hate metal mesh.
What Goes In and What Stays Out
Know the list cold.
Yes, toss these in:
- Fruit and veggie scraps
- Coffee grounds and filters
- Tea bags (paper ones)
- Eggshells (crushed)
- Grass clippings
- Dry leaves
- Shredded newspaper or cardboard
- Sawdust from untreated wood
- Hair and pet fur
No, leave these out:
- Meat, fish, bones
- Dairy products
- Oils and grease
- Diseased plants
- Pet waste from cats or dogs
- Glossy magazines
- Coal ash
I stick to the yes list religiously now. My compost smells clean. Earthy. Like forest floor after rain.
Chop big items. Banana peels break faster in pieces. I run tough stuff through the blender sometimes. Speeds everything.
Troubleshooting When Things Go Sideways
Pile smells bad? Too many greens or not enough air. Add browns and turn.
Not heating up? Too dry or too small. Water it. Build it bigger. Add fresh greens.
Attracting animals? Bury food deep. Use a sealed bin. I locked mine with a bungee after one raccoon raid.
White mold appears? Fine. That is good fungi working. Black slime? Bad. Turn and dry it out.
Bugs everywhere? Most are helpers. Centipedes and worms mean success. Flies mean bury scraps better.
I once had a inter swarm. Mild panic. Then I learned they love protein. I stopped any accidental meat bits and they left.
Harvesting Your Black Gold
Ready compost looks dark and crumbly. Smells sweet. No recognizable scraps left. Takes two to six months depending on heat and turning.
I screen mine through a piece of hardware cloth. Big bits go back in the new pile. Fine stuff goes on beds.
Use it as mulch. Mix into planting holes. Top-dress lawns. My roses get a two-inch layer every fall. Blooms explode the next year.
Store extra in bags if you have surplus. It keeps for months. I give bags to neighbors. Instant friends.
Frequently Asked Questions
How long does it take to start a compost that I can actually use? Most piles give usable compost in two to four months if you turn weekly and keep the balance right. Cold piles take longer, up to a year.
Can I start composting in an apartment with no yard? Yes. Use a small indoor bin or worm bin under the sink. I helped my sister set one up in her city place. Works great for herbs on the balcony.
What if my compost attracts pests when I try how to start a compost? Bury fresh scraps deep and keep a thick brown layer on top. Switch to a closed bin with a tight lid. That stops 90 percent of the trouble.
Do I need special activators or starters? No. Your kitchen scraps and yard waste already carry the right microbes. I never bought a starter. Nature handles it.
Is it okay to compost citrus peels and onions? Yes in moderation. They break down fine. Too many can slow worms if you go the vermicompost route, but regular piles handle them no problem.
Final Thoughts From My Messy Yard
You now know exactly how to start a compost that works. Gather scraps. Layer browns and greens. Turn and water. Harvest the good stuff. Mistakes happen. I made plenty. Each one made the next pile better.
Start small this weekend. Grab a bin or just a corner of dirt. Dump your first coffee grounds in. Watch the magic begin. Your plants will thank you. Your trash can will look emptier. And you get that quiet satisfaction of closing a loop right in your own space.
I still smile every time I scoop finished compost onto a new bed. Feels like cheating the system. Go make your own black gold. Your garden is waiting.


