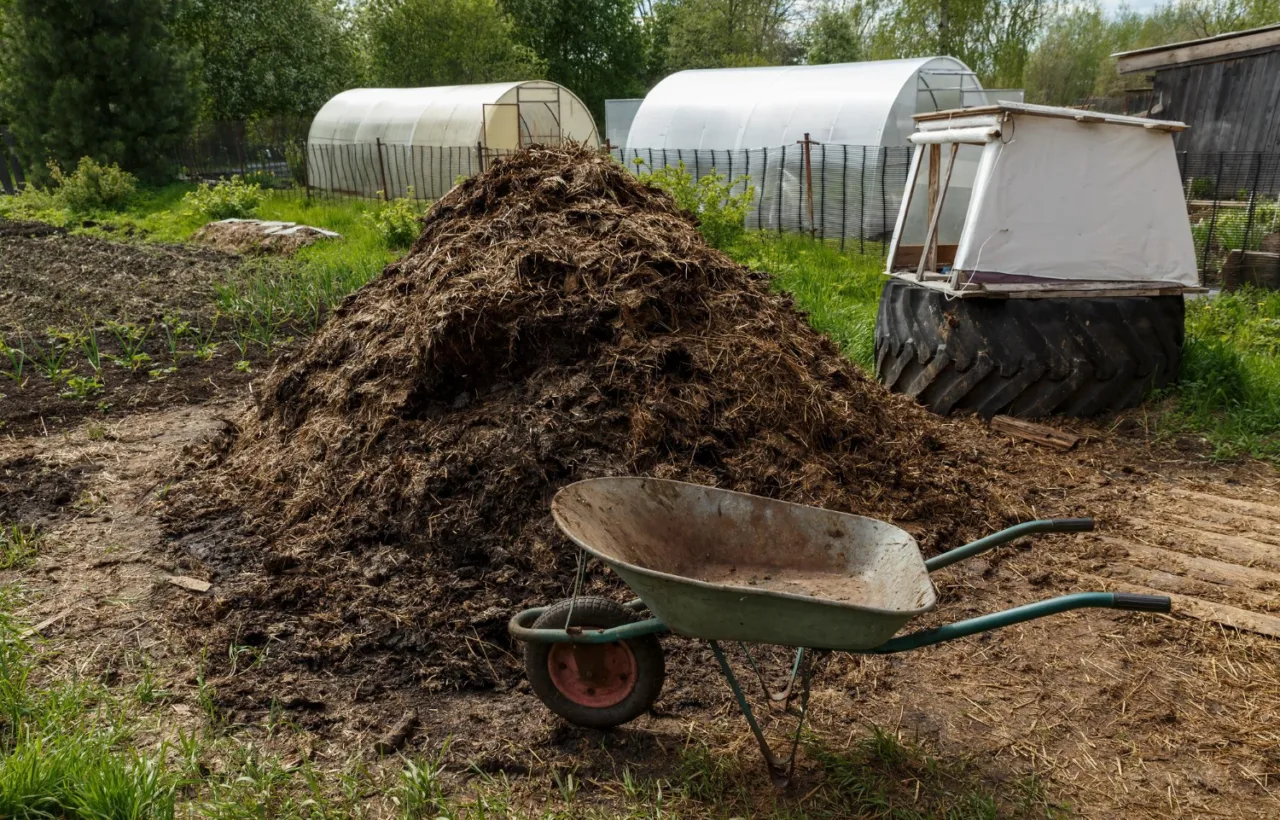

I wasted a whole summer staring at a smelly heap of kitchen scraps before I figured out how to make a compost pile the right way. The pile sat there, wet and rank, attracting flies while my garden soil stayed hard as concrete. I almost gave up. Honestly? I felt like a failure every time I walked past it with another bag of peels.
Then I stopped overthinking and started treating it like a simple recipe. Now I turn kitchen waste and yard junk into dark, crumbly compost that makes my tomatoes explode with growth. You can do the same. This guide walks you through every step I use, from choosing materials to fixing the problems that trip most people up.
Why I Finally Learned How to Make a Compost Pile
My first attempt failed because I dumped everything in one corner and hoped for magic. Grass clippings, banana peels, coffee grounds, and wet leaves all mixed together without any plan. The result? A slimy mess that smelled like rotten eggs.
I think that’s the wrong way to go about it. Success isn’t about perfect conditions or fancy bins. Success comes from balancing the right ingredients and giving the pile what it needs: air, moisture, and a mix of carbon and nitrogen.
See, once I understood that simple idea, everything clicked. My current pile finishes in about four months. I use the finished stuff around my raised beds and watch the soil improve year after year. The best part? I cut my trash bags in half and save money on store-bought fertilizer.
You get the same payoff. Less waste. Better soil. And the quiet satisfaction of turning garbage into garden gold.
Gathering the Right Stuff for Your Compost Pile
I keep two mental lists: greens and browns. Get those right and the rest falls into place.
Greens: The Nitrogen Boosters
Greens feed the microbes that break everything down. I collect these in a small sealed bucket under my sink:
- Fruit and vegetable scraps
- Coffee grounds and paper filters
- Fresh grass clippings
- Tea bags (remove any staples)
- Crushed eggshells
I chop larger pieces with kitchen shears so they break down faster. FYI, I freeze meat-free scraps in a bag when the bucket fills up. That keeps smells down until I head outside.
Browns: The Carbon Backbone
Browns give the pile structure and soak up extra moisture. I store a big pile of these next to my compost area:
- Dry leaves
- Shredded cardboard and newspaper (no glossy pages)
- Twigs and small branches
- Straw or untreated wood chips
- Paper towel rolls and brown paper bags
I aim for two to three parts browns for every one part greens by volume. That ratio keeps the pile from turning into a stinky swamp.
I once ignored the ratio and dumped a whole week of grass clippings on top. The pile went anaerobic overnight. Lesson learned. Now I always cover fresh greens with a thick layer of dry leaves or cardboard.
Picking the Perfect Spot
Location matters more than most people think. I tried a shady corner against the fence first. Bad idea. Water pooled and the pile never heated up.
I moved it to a level, well-drained patch that gets morning sun and stays accessible even in winter. I can reach it with the hose and a wheelbarrow without tracking mud through the house. The spot sits at least a few feet from any wooden structures so moisture doesn’t cause problems.
A simple open pile works fine if you have space. I started with three wooden pallets wired together into a square. Later I added a second bin so one pile can finish while I start a new one. You don’t need anything fancy. Wire fencing or even a free-standing heap gets the job done.
Building Your First Compost Pile Step by Step
I build mine like a lasagna. Layers keep air flowing and materials mixed from the start.
Here’s the exact process I follow every time I start a new pile:
- Lay a four- to six-inch base of bulky browns such as twigs or wood chips. This creates air channels at the bottom.
- Add a four- to six-inch layer of mixed greens and smaller browns.
- Sprinkle a thin layer of finished compost or a shovel of garden soil if you have it. The microbes jump-start the process.
- Water lightly until the layer feels like a wrung-out sponge.
- Repeat the green and brown layers until the pile reaches at least three feet high and three feet wide. Smaller piles struggle to heat up.
I water as I go. Too dry and the microbes slow down. Too wet and the pile smells. The goal is damp, not soggy.
Once the pile stands tall, I cover the top with a final thick layer of browns. That keeps flies away and holds moisture in. Then I walk away for a few days and let the heat build.
A properly built hot compost pile can reach 160°F within 24-48 hours.
Keeping the Pile Happy
Maintenance takes less time than people fear. I check my pile once a week.
I stick a long metal rod or old screwdriver into the center. If it comes out warm or hot, the microbes are working. Ideal temperatures sit between 130 and 160 degrees Fahrenheit for a hot pile. I don’t obsess over exact numbers. Warm means progress.
Every week or two I turn the pile with a garden fork. I pull material from the outside into the center and vice versa. Turning adds oxygen and mixes everything evenly. Some people turn less often and still get good results. I prefer the weekly habit because it speeds things up and keeps smells away.
Moisture is the other key. If the pile looks dusty or feels dry, I water it while turning. If it drips when I squeeze a handful, I add more dry browns and turn again.
I never add meat, dairy, oily foods, pet waste, or diseased plants. Those invite pests and create odors that turn neighbors against you. Stick to the greens and browns lists and you stay safe.
Never let the pile dry out completely; microbes die and take weeks to recover.
Troubleshooting the Messes I Made
My early piles taught me every common problem the hard way.
When the pile smells like ammonia or rotten eggs, it has too many greens or not enough air. I fix it by mixing in dry leaves or shredded cardboard and turning thoroughly. The smell disappears within a day or two.
When nothing happens and the pile stays cold, it usually needs more greens, more water, or a bigger size. I add fresh kitchen scraps, water, and turn. Within a week the heat returns.
Bugs are normal. Centipedes, beetles, and worms mean the system works. I only worry if I see large numbers of flies or rodents. Then I bury fresh scraps deeper and make sure the top layer of browns stays thick.
I once left a pile alone for three months in summer. It finished just fine, though slower than my turned piles. Cold composting works if you prefer less work. Hot composting rewards the extra effort with faster results and fewer weed seeds.
Keep a bag of shredded dry leaves nearby to quickly fix any odor or moisture issues.
Frequently Asked Questions
How long does it take to make a compost pile into finished compost? A well-maintained hot pile finishes in three to five months. A cold pile that you rarely turn can take six to twelve months. I harvest when the material looks dark, crumbly, and smells like rich soil.
Can I make a compost pile in a small yard or even on a balcony? Yes. Use a compact bin or tumbler. I know apartment gardeners who succeed with worm bins indoors and small outdoor containers. Just keep the ratio and moisture right.
What if my compost pile attracts rats or raccoons? Cover food scraps with at least four inches of browns every time you add them. Use a bin with a tight lid and no gaps larger than a quarter inch. Avoid meat and dairy completely. That combination solved the problem for me.
Do I need special tools to make a compost pile? No. A garden fork or pitchfork, a hose, and a pair of gloves handle everything. A compost thermometer is nice but optional. I managed fine for years with just a metal rod to check heat.
Is it okay to add weeds to the compost pile? I only add weeds before they set seed and never add aggressive ones like bindweed. Hot piles kill most seeds, but I stay cautious. When in doubt I leave them out.
The Payoff Makes Every Bit of Effort Worth It
I still remember the first time I spread finished compost around my tomato plants. The soil felt alive. The plants grew stronger and needed less water. That single batch convinced me to keep going.
You now know how to make a compost pile that works. Start small this weekend. Collect some leaves and kitchen scraps. Build the layers. Water them. Check back in a week. The microbes do most of the heavy lifting once you give them the right conditions.
Honestly? The biggest mistake is waiting for perfect conditions. Just begin. Your garden (and your trash can) will thank you.


