
I spent years tossing food scraps in the trash and feeling guilty about it. Then I finally jumped into compost bins diy projects last spring. My backyard went from bare dirt to thriving beds full of rich, dark compost that my tomatoes still thank me for. Honestly? Building these myself saved me hundreds of dollars and gave me this weird sense of pride every time I dump coffee grounds into the pile.
You want the same thing. Cheap. Simple. Effective. No fancy store-bought tumbler required. I tried three different styles myself and landed on favorites that actually work in a regular suburban yard. Stick with me and I’ll walk you through exactly what I did, the mistakes I made, and the setups that keep producing black gold month after month.
Why I Started Building Compost Bins DIY Instead of Buying One
Store bins looked sleek online. Then I saw the price tags. $80 for a plastic one that cracked in the first freeze. $200 for a fancy tumbler that still needed turning by hand. Nope.
I already had free pallets from a neighbor’s renovation. An old trash can sat empty in the garage. Some leftover wire fencing waited in the shed. Building my own felt obvious.
The real win hit me three months later. My first batch of finished compost smelled like a forest floor after rain. My peppers doubled in size. I stopped buying bagged soil. That payoff keeps me hooked.
See, commercial bins often lack airflow or hold too little volume. DIY versions let me customize size, drainage, and access. Plus they cost almost nothing.
The Three Compost Bins DIY Styles I Actually Built and Tested
I didn’t stop at one. Curiosity got the better of me. Here’s the rundown of what worked and what frustrated me.
Test a single bin style for one season before building multiple. You will learn your climate's specific moisture and turning needs first.
The Classic Pallet Three-Bin System
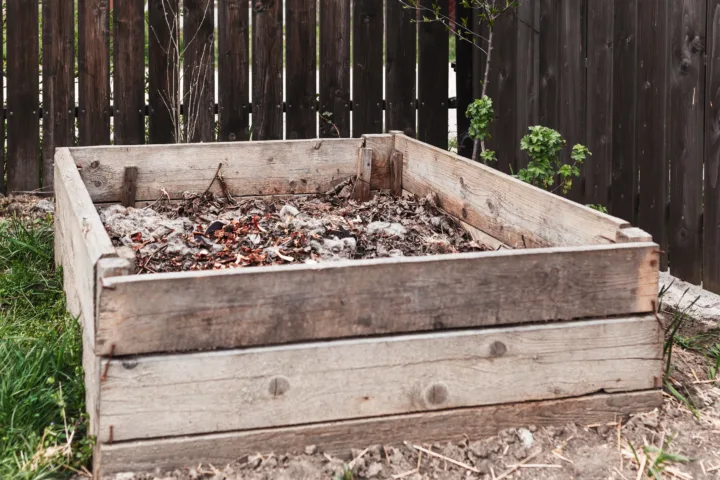
This one became my workhorse. Free shipping pallets. A drill. Some deck screws. Done in under an hour with a buddy holding things steady.
I grabbed seven heat-treated pallets (look for the HT stamp, never MB). Three for the back wall. Two dividers. Two sides. Screwed them together on level ground.
Key features that sold me:
- Three separate bays. One for fresh scraps. One for actively cooking. One for finished stuff ready to use.
- Easy access. Front stays open or I added a simple hinged pallet door later.
- Great airflow. Gaps between slats keep oxygen flowing so the pile heats up fast.
I layered browns (dry leaves, cardboard) and greens (veggie peels, coffee grounds) right on the soil. Watered it like a damp sponge. Turned every week with a pitchfork. Ready compost in about eight weeks during summer.
One downside: it looks a bit industrial. I tucked it behind the shed and planted some sunflowers in front. Problem solved.
The Lazy Trash Can Tumbler
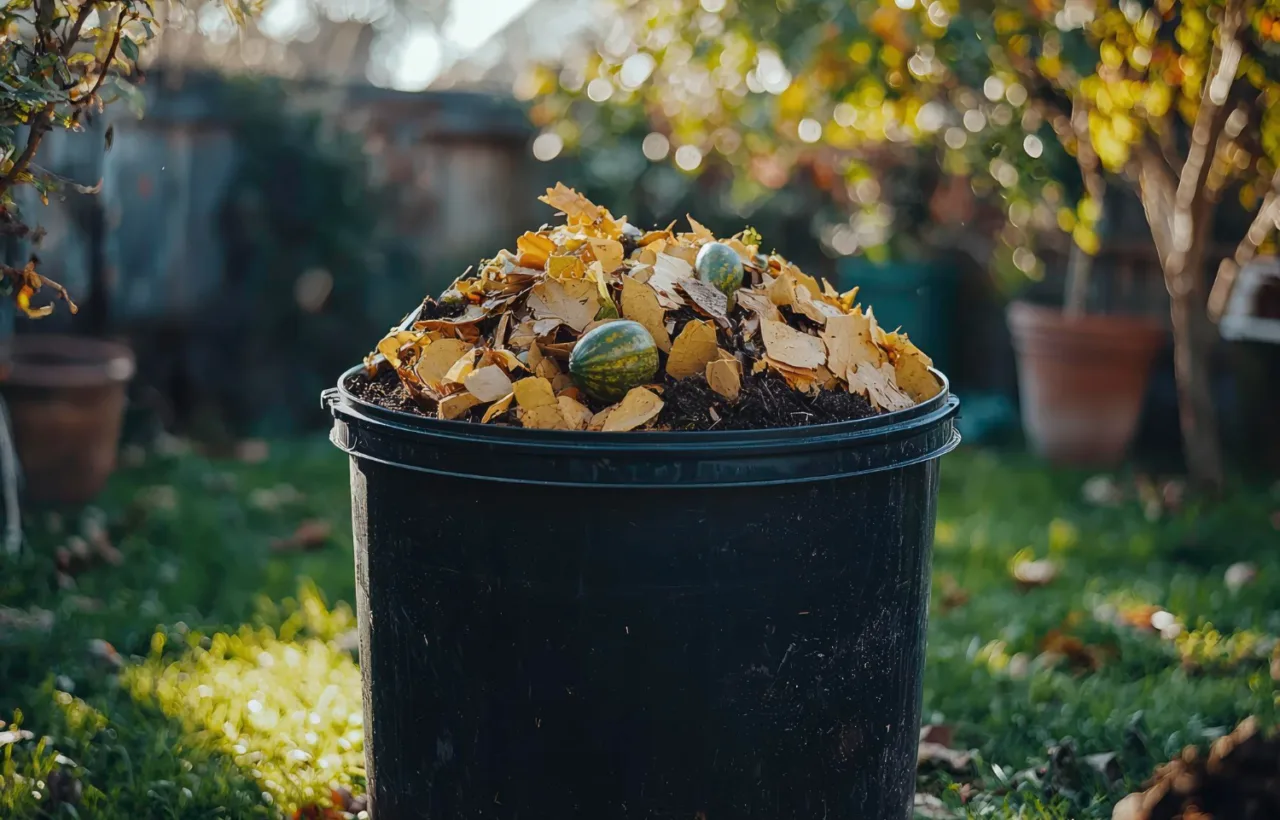
I wanted something portable and pest-proof for kitchen scraps. Enter the $10 plastic storage bin method. Or a regular trash can.
I drilled about 30 holes all over a 30-gallon can for air. Added a few more in the lid. Tossed in a shovel of garden soil and some finished compost as starter. Then kitchen scraps went straight in.
To “tumble” it I just rolled the whole thing across the yard every few days. Super low effort.
What I loved:
- Hidden. Stash it behind the garage. No one knows.
- Fast. Heat builds quick in the sealed space.
- Cheap. One afternoon and you’re composting.
It works best for smaller households. Mine filled up in two weeks with just two people. I empty the finished stuff into the pallet bins to finish curing. Perfect combo.
The Wire Circle Bin for Leaves and Yard Waste
Fall hit and leaves piled up. I unrolled some leftover hardware cloth into a four-foot diameter cylinder. Tied the ends with wire. Dropped it on bare soil.
Fill. Wait. Done. No building skills needed.
This one shines for bulky browns. I stuff it full of leaves, grass clippings, and shredded paper. It shrinks down crazy fast. When the pile drops I lift the wire cage and move it over. Boom, free compost left behind.
Honest take: It’s the least pretty option. But for pure volume it can’t be beat. I keep two going now.
How I Choose the Perfect Spot for Any Compost Bins DIY Setup
Location makes or breaks the whole thing. I learned this the hard way.
My first attempt sat too close to the house. Neighbors complained about the occasional whiff after a heavy rain. Moved it. Instant peace.
Rules I follow now:
- Partial shade. Full sun dries it out too fast. Full shade slows everything down.
- Level ground with good drainage. I add a layer of gravel or sticks at the bottom.
- Easy access to water and path. Dragging a hose fifty feet gets old quick.
- Away from wooden fences or structures. Moisture and heat will rot them eventually.
- Out of direct wind. Wind steals moisture and heat.
I also check local rules. Some HOAs hate visible bins. Mine sits behind a trellis with climbing beans. Looks intentional. Wins.
Avoid placing bins under eaves or trees. Rain shadows from roofs and roots from trees can both sabotage moisture and drainage.
The Exact Layering Method That Turned My Piles Into Finished Compost Fast
I used to just dump everything in and pray. Slow results. Bad smells. Lesson learned.
Now I treat every addition like a lasagna.
Start with a six-inch base of coarse browns: twigs, cardboard chunks, dry leaves. This creates air pockets.
Then two to three inches of greens: fruit peels, coffee grounds, fresh grass, veggie scraps.
Repeat. Keep the pile moist like a wrung-out sponge. Never soggy.
I aim for a rough 3:1 browns to greens ratio by volume. Too many greens and it gets slimy and stinky. Too many browns and nothing happens.
Turn the pile once a week with a pitchfork or compost aerator tool. I bought a cheap one for fifteen bucks and never looked back. The more I turn, the faster it cooks.
In peak summer my pallet bins hit 140 degrees inside. That’s the sweet spot. Pathogens die. Weeds seeds cook. Magic happens.
Winter slows it way down. I just keep adding and wait for spring. No stress.
Common Mistakes I Made With Compost Bins DIY (So You Don’t Have To)
I failed first. Hard.
Threw in meat and dairy once. Attracted every raccoon in the neighborhood. Never again. Stick to plant matter and eggshells only.
Forgot to chop big items. Whole banana peels sat there for months. Now I chop everything roughly. Speeds things up a ton.
Ignored moisture. One dry spell and the pile went dormant. I check weekly now with a squeeze test.
Built too small. My first wire bin was only two feet across. Barely heated. Three feet minimum for hot composting.
Used treated wood that wasn’t heat-treated. Chemicals leached. Switched to HT pallets only.
These screw-ups taught me more than any blog post. Fail fast. Adjust. Keep going.
Tools and Materials I Keep on Hand for Quick Compost Bins DIY Builds
You don’t need a full workshop.
Must-haves:
- Drill and bits
- Deck screws or zip ties
- Work gloves
- Pitchfork or shovel
- Hose or watering can
Nice-to-haves:
- Wire cutters
- Staple gun
- Hardware cloth
- Old pallets (free on Craigslist or Facebook Marketplace most weekends)
I source pallets from local businesses. Just ask. Most say yes if you haul them away.
Total cost for my three-bin system: under $20 for screws. Everything else free or already owned.
How I Maintain My Compost Bins DIY Through Every Season
Spring and summer are easy mode. Add. Turn. Water. Harvest.
Fall means leaf city. I shred them with the mower first. Mix heavy into the bins.
Winter I cover the tops with a scrap piece of plywood or tarp to keep excess rain out. Still add kitchen scraps. Just less turning.
I harvest finished compost by sifting it through a piece of hardware cloth stretched over a wheelbarrow. Chunks go back into the active pile. Fine stuff goes straight on the garden.
My beds get a two-inch top dressing every spring and fall. Plants go nuts. Soil stays loose and full of worms. Best free fertilizer ever.
Frequently Asked Questions
How long does it take for diy compost bins to make usable compost? In warm weather with regular turning I get finished stuff in six to ten weeks. Cooler months stretch it to three or four months. Patience pays off.
Can I put weeds in my compost bins diy setup? Only if your pile gets hot enough to kill seeds. I stick to non-seeding weeds or hot compost only. Better safe than a garden full of volunteers.
Do compost bins diy attract pests? Not if you bury food scraps under browns and skip meat, dairy, and oils. My trash can version stays completely sealed and pest-free.
What’s the cheapest way to start with compost bins diy? Grab four free pallets and some screws. Or drill holes in an old trash can. Both work great and cost almost nothing.
How do I know when the compost is ready? It looks dark and crumbly. Smells earthy. Original scraps are unrecognizable. That’s the green light.
I still get a little thrill every time I open a bin and see that rich black stuff. It feels like cheating the system. Kitchen waste becomes garden fuel. Money stays in my pocket. The yard looks better every year.
If you’ve got scraps piling up and bare dirt waiting, pick one of these styles this weekend. Start small. Keep it simple. Your future plants will thank you. And you’ll wonder why you waited so long.