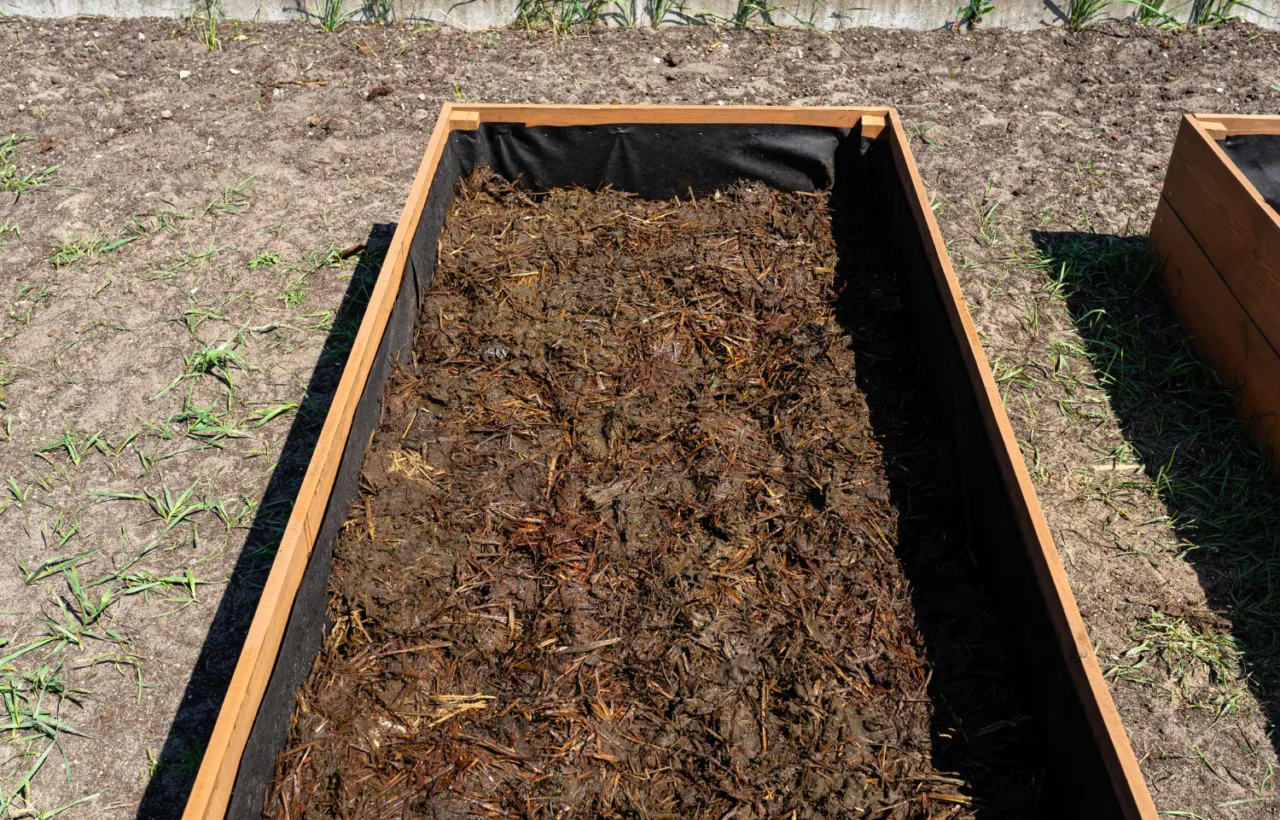

I spent years tossing kitchen scraps in the trash like it was no big deal. Then I built my first compost box and everything shifted. That simple wooden structure in my backyard turned banana peels and coffee grounds into rich soil that made my tomatoes explode with flavor. Honestly? I wish I started sooner.
You want free fertilizer, less trash, and a garden that thrives. A compost box delivers all that without fancy equipment or a huge yard. I learned this the hard way after a few smelly failures and one raccoon raid. Now I fill mine weekly and harvest black gold every spring. Let me walk you through exactly what worked for me so you skip the headaches.
Why a Compost Box Beat My Old Pile Every Time
I used to just dump scraps in a corner of the yard. It worked. Sort of. The pile sprawled. It attracted flies. Rain turned it into a soggy mess. A compost box fixed that mess.
Containment keeps everything neat. My box holds heat better than an open heap. Microbes love the warmth and break things down faster. I get usable compost in three to six months instead of a full year.
See, the box also blocks pests better. I added a tight lid and wire mesh bottom. No more midnight visitors digging through my leftovers. Plus it looks intentional instead of like I forgot to clean up.
I started with a cheap plastic tote version. It worked fine for a balcony setup. Then I upgraded to pallets when I got a real yard. Both taught me the same lesson: structure matters more than price.
Choosing the Right Compost Box for Your Space
Not every compost box fits every life. I tried three styles before landing on my favorite. Here’s how I sorted them.
A compost box should be at least 1 cubic yard (3x3x3 feet) to maintain proper heat and moisture.
The DIY Pallet Compost Box I Still Use
Free pallets changed the game for me. I grabbed four matching ones from a local warehouse. Wired them into a square. Boom. Instant 3×3 foot box.
Airflow is excellent. The gaps between slats let oxygen in so the pile never goes anaerobic and stinky. I can remove the front panel to turn the pile easily. Cost me under $20 for screws and zip ties.
IMO this beats store-bought for volume. I fill it with fall leaves and kitchen waste all season. It handles my family’s scraps plus yard clippings without overflowing.
One downside: it weathers. I brush on linseed oil once a year. Still standing strong after four seasons.
Plastic Tote Compost Box for Small Spaces
My first attempt used a 30-gallon storage bin. I drilled holes in the bottom and lid for air and drainage. Lined the base with twigs. Added dirt and scraps. Done in an hour.
Perfect if you rent or have only a patio. I kept it on the back porch. Emptied kitchen caddy into it every few days. It made decent compost though slower than the pallet version.
Key tip I learned: paint the outside dark. Dark colors absorb heat and speed things up. Also drill more holes than you think. Ten on bottom. Ten on sides. Ten on lid.
Tumbler Style When Turning Feels Like Work
I borrowed a dual-chamber tumbler one summer. Spinning it mixed everything with zero shovel work. Compost finished faster because of constant aeration.
But it cost more and held less. For me the pallet won on capacity and price. If your back protests or you want continuous batches, a tumbler makes sense. Just know rain can sneak in cheap models and slow things down.
Materials and Tools I Actually Used
I kept it simple. No power tools beyond a drill for the plastic version.
For the pallet compost box:
- Four wooden pallets (same size)
- Heavy-duty zip ties or screws
- Wire mesh for the bottom (hardware cloth)
- Optional hinges for a front door
For the plastic tote:
- One lidded storage bin
- Drill and 3/16-inch bit
- Twigs or shredded cardboard for base
Total time for either: under two hours. I did the pallet one on a Saturday morning while coffee brewed. Felt productive as hell.
Step-by-Step: How I Built My Compost Box
Follow these steps and you will have a working system by afternoon.
- Pick your spot first. I chose a shady corner near the garden hose but away from the house. Direct sun dries it out. Full shade keeps it too cool. Partial shade wins.
- Assemble the frame. Stand three pallets upright. Zip-tie the corners. Leave the fourth for the front so I can open it later. Secure the bottom with mesh so rodents stay out and worms can enter.
- Add a base layer. I toss in six inches of coarse browns: twigs, cardboard strips, dry leaves. This creates air pockets and drainage.
- Layer greens and browns. Kitchen scraps (greens) go on next. Cover them completely with more browns. Ratio I aim for: two parts brown to one part green. Keeps smell down and heat up.
- Moisten and wait. Spray until it feels like a wrung-out sponge. Not dripping. Not bone dry. Close the lid. Check in a week.
That’s it. No secret sauce. Just balance and patience.
Warning: Only use heat-treated (HT) pallets for your compost box; MB pallets contain toxic chemicals.
What Goes In My Compost Box (And What Stays Out)
I keep a running mental list so I never second-guess.
Yes pile:
- Fruit and veggie scraps
- Coffee grounds and filters
- Eggshells (crushed)
- Tea bags (no staples)
- Grass clippings
- Dry leaves and cardboard
- Paper towels (unbleached)
Hard no:
- Meat, dairy, oils
- Pet waste
- Diseased plants
- Weeds with seeds
- Glossy magazines
I learned the hard way about meat. One leftover chicken bone turned the whole box into a fly hotel. Never again. Stick to plant stuff and you stay golden.
FYI I freeze scraps in a kitchen container during summer. Stops fruit flies cold and I dump the frozen block once a week. Game… wait, no. Just smart.
My Daily and Weekly Routine That Keeps It Humming
Consistency beats perfection. I empty the kitchen caddy every three to four days. Layer fresh browns over the new greens. Give the pile a quick turn with a pitchfork every two weeks.
Moisture check is non-negotiable. Stick your hand in. If it feels dry, water it. If it smells sour, add more dry leaves and turn. Too wet equals stink. Too dry equals slow.
In winter I pad the outside with straw bales for insulation. The pile still cooks slowly. Spring gives me a ready batch right when planting starts.
I harvest from the bottom. Finished compost looks dark, crumbly, and smells like forest floor. I sieve out big chunks and throw them back in. The rest goes straight on the garden beds.
Warning: Never add meat, dairy, or oily scraps to your compost; they attract pests and cause bad smells.
Common Mistakes I Made So You Don’t Have To
I packed the first box too full of wet greens. Instant slime. Lesson: always bury greens under browns.
I ignored airflow once. Pile went anaerobic. Smelled like a swamp. I punched more holes and turned it daily for a week. Saved it.
Location mattered more than I thought. My original sunny spot baked the moisture out. Moved it under a tree and rates jumped.
Size too. My first tote was too small. It filled in a week and stalled. Bigger is better until you hit about 3x3x3 feet. Beyond that turning gets hard.
Troubleshooting Smells, Pests, and Slow Breakdown
Smell hits? Add browns and turn. Works every time for me.
Fruit flies? Cover fresh scraps immediately and freeze kitchen scraps between dumps.
Rats or raccoons? Hardware cloth bottom plus a locking lid stopped them cold. I also keep the area around the box clear of brush.
Slow compost? Chop materials smaller. Banana peels take forever whole. I dice them now. Heat jumps and everything finishes faster.
Cold weather stall? Insulate or just wait. Passive composting still works. It just takes longer. My winter batch is ready by April every year.
Using the Finished Compost Like a Pro
I mix mine 50/50 with potting soil for containers. Straight compost can be too rich for seedlings. For garden beds I top-dress two inches deep and let rain work it in.
My roses went from sad to showstoppers the first year I used homemade stuff. Tomatoes doubled in size. Honestly the best fertilizer I never bought.
I also brew compost tea. Steep a shovel full in a bucket of water for a day. Strain and water plants with it. Instant nutrient boost.
Frequently Asked Questions
How big should my compost box be? I recommend at least 3 feet by 3 feet by 3 feet. Smaller stalls. Larger works if you can still turn it. My pallet one hits that sweet spot perfectly.
Can I use a compost box indoors? Yes for a small worm version or electric unit. Regular outdoor style needs space and airflow. I keep a countertop caddy inside and haul it out.
How long until I get usable compost from my compost box? Three to six months with regular turning in warm weather. Up to a year if you ignore it. Mine averages four months.
Do I need worms in my compost box? No. They show up on their own if conditions are right. I never buy them. Nature handles it.
What if my compost box freezes in winter? It pauses. That’s fine. Resume turning when thaw comes. I still add scraps all winter. They break down in spring.
Final Thoughts From Someone Who Almost Quit
I almost gave up after the raccoon incident. Honestly? That third failure nearly stuck. Then I fixed the lid and mesh and everything clicked.
A compost box is not complicated. It is just a container that gives microbes the right home. Air. Moisture. Balance. That’s the whole formula.
Build yours this weekend. Start small if you need to. Toss in those apple cores instead of the trash. Watch the magic happen. Your garden will thank you and so will your trash bill.
I still grin every time I scoop that finished black gold. You will too. Now go make your own.


