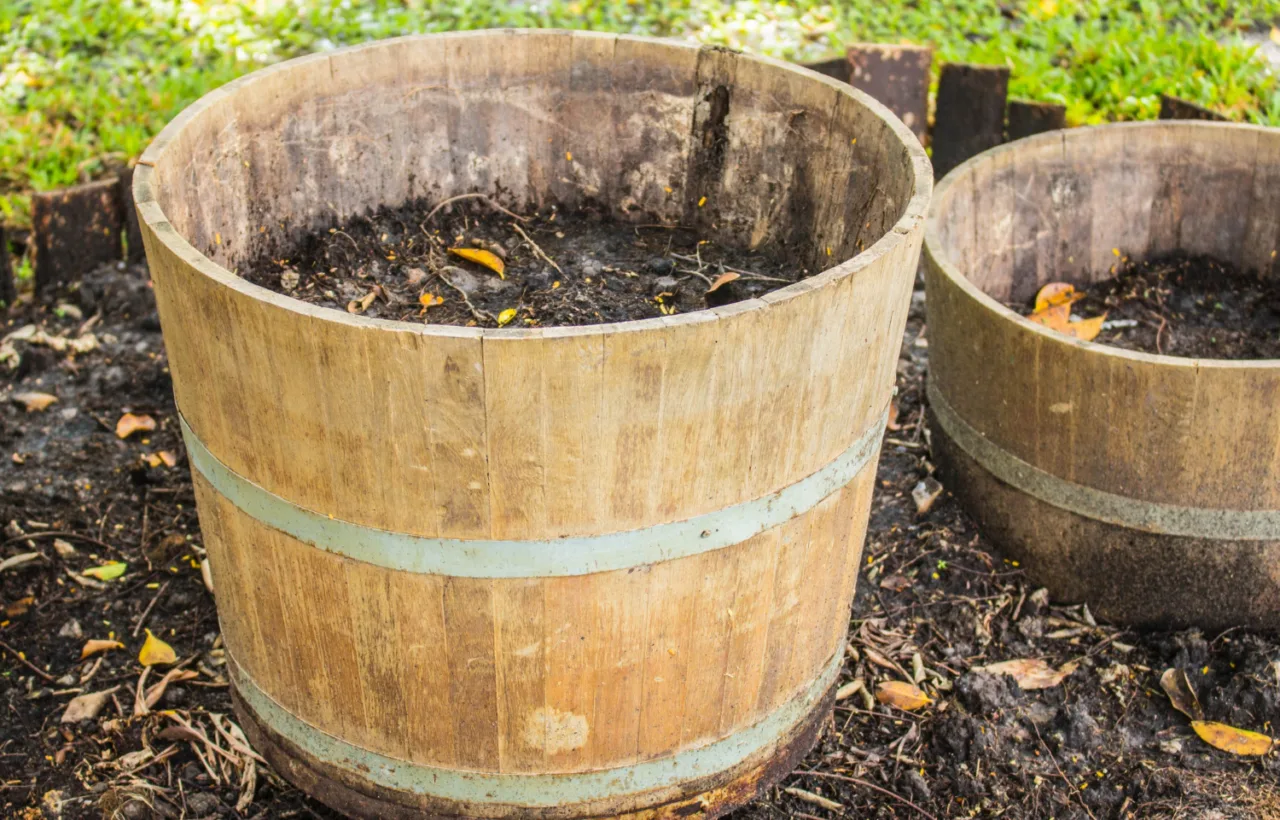

I started my compost barrel journey after months of frustration with a messy open pile that attracted every critter in the neighborhood. Honestly? That old heap defeated me more times than I care to admit. The smell. The flies. The back-breaking turns with a pitchfork. I needed something better, something that actually worked without turning my yard into a science experiment gone wrong. So I built and then upgraded to a proper compost barrel. Now I get rich, crumbly compost faster than I ever thought possible. And I’m sharing every bit of what I learned so you can skip the headaches I faced.
This isn’t some polished sales pitch. It’s my real story with the compost barrel: the wins, the fails, and the exact steps that finally clicked for me.
Why I Ditched the Old Pile for a Compost Barrel
See, traditional compost heaps look simple on paper. Dump stuff. Wait. Turn. Repeat. But reality hits hard. My pile sat there for months, half-rotten and attracting raccoons. I got tired of the work. My back protested every time I forked through the wet clumps.
A compost barrel changed that. It’s basically a big drum you spin. The tumbling mixes everything and pumps in oxygen without you breaking a sweat. I went from dreading composting to looking forward to my daily spin. FYI, that little ritual became oddly satisfying.
I tried both a store-bought dual-chamber model and a DIY version from a 55-gallon food-grade drum. Both beat the open pile hands down. The closed design keeps pests out. The spinning speeds breakdown. And it looks tidy. No more eyesore in the corner of the yard.
The real shift happened when I stopped treating composting like a chore. I started treating it like a simple system. Greens go in. Browns go in. Spin. Wait a bit. Harvest black gold for the garden beds.
Choosing the Right Compost Barrel for Your Setup
I wasted money on the wrong size first. Don’t do that. Match the barrel to your household waste.
An oversized barrel won't generate enough heat to compost efficiently; match capacity to your weekly waste volume.
Size Matters More Than You Think
A small 20-gallon unit works for one or two people. I produce more scraps than that. My dual-chamber 43-gallon barrel handles a family of four plus yard waste without overflowing. Larger ones hold more but get heavier to turn when full.
Dual-chamber models let me fill one side while the other finishes. Single-chamber forces a batch system. I prefer dual. Continuous supply. No waiting around empty-handed.
DIY or Buy Ready-Made?
I built my first one. Found a free 55-gallon food-grade barrel from a local food processor. Added a wooden stand, PVC paddles inside for better mixing, and a door. Cost me under $100 in lumber and hardware. It worked great for a year.
Then I upgraded to a commercial dual-chamber with a gear crank. Easier on the arms. Better seals. Worth the extra cash if you hate DIY projects. Both styles produce solid compost. The DIY feels more personal. The store one feels more reliable long-term.
Look for these features:
- Solid frame that won’t tip
- Aeration holes or vents that actually work
- Easy-access doors big enough for a shovel or wheelbarrow
- BPA-free plastic or food-grade materials
- Drainage so liquid doesn’t pool
Skip the cheap thin plastic ones. They crack after one winter. I learned that the hard way.
How I Set Up My Compost Barrel for Success
Location makes or breaks the whole thing. I put mine in partial shade near the kitchen door. Easy access for daily scraps. Not full sun (dries it out) and not deep shade (stays too cold).
Level ground helps. I slid a tray underneath to catch any drips. That liquid makes killer fertilizer for potted plants, diluted of course.
First load mattered. I added a shovel of finished compost and some garden soil as starter. That introduced the good microbes right away. Then I layered greens and browns.
What Goes Into My Compost Barrel (And What Stays Out)
Balance is everything. I aim for roughly equal parts green (nitrogen) and brown (carbon). Too much green and it gets slimy and smelly. Too much brown and nothing happens.
Greens I toss in daily:
- Fruit and veggie scraps
- Coffee grounds and filters
- Fresh grass clippings (in thin layers)
- Tea bags (paper ones)
Browns I keep stocked:
- Shredded leaves
- Cardboard and newspaper (torn small)
- Sawdust from untreated wood
- Dry grass or straw
I chop bigger pieces. Apple cores get halved. Banana peels get sliced. Smaller bits break down faster. IMO, that one habit cuts weeks off the process.
Things I never add: meat, dairy, oily foods in large amounts (attracts pests even in a sealed barrel), pet waste, diseased plants, or glossy paper. Some fancy insulated barrels handle small meat scraps. Mine doesn’t ones don’t. I stick to plant stuff for peace of mind.
Moisture check: squeeze a handful. It should feel like a wrung-out sponge. Too dry? Add water while spinning. Too wet? Add more browns and spin more often.
My Daily and Weekly Routine with the Compost Barrel
I keep it simple. Every time I add kitchen scraps, I throw in a handful of browns and give the barrel three to five full spins. That’s it.
Once a week I do a longer session. Ten spins each direction. Check the moisture. Peek inside. If it smells earthy and sweet, I’m golden. If it smells like ammonia or rotten eggs, I add browns and spin more.
Temperature rises in a healthy pile. I stick my hand near the center (carefully). Warm means the microbes are working. Cold means I need more greens or better mixing.
In summer my barrel finishes a batch in four to six weeks. Winter slows it down. I still spin it. Just lower expectations. Some people move theirs into a garage. I leave mine out and accept the slower pace.
Common Problems I Hit and How I Fixed Them
I The first few batches disappointed me. Clumpy. Uneven. Smelly. I almost quit.
Smell issues: Almost always too wet or not enough air. I added dry leaves and spun twice a day for a week. Fixed.
Slow breakdown: Pieces too big or not enough greens. I started chopping everything and adding coffee grounds. Night and day difference.
Leaks: My DIY door seal wasn’t perfect. I added weatherstripping. Commercial ones sometimes drip from the doors after rain. I just keep a tray under them.
Pests: Zero with a sealed barrel. That alone sold me. Open piles invited everything. Barrel? Peaceful nights.
Hard to turn when full: Dual chambers help. Or empty one side sooner. I never pack it more than three-quarters full. Leaves room to tumble.
Apply a bead of silicone caulk around the door seal before first use to prevent leaks.
Harvesting and Using the Finished Compost
When the material looks dark, crumbly, and smells like forest floor, it’s ready. I spin the barrel over a tarp or wheelbarrow and open the door. Scoop it out. Screen the big bits if I want finer stuff. Those go back into the next batch.
I mix it into garden beds before planting. Top-dress around tomatoes and peppers. Use it in potting mix (one part compost to two parts soil). My plants exploded the first season I used barrel compost. Bigger yields. Healthier leaves. Fewer pests.
One tip: let it cure another week or two after harvesting if it still feels warm. Cool finished compost is gentler on roots.
DIY Compost Barrel Build Tips from My Experience
If you go the homemade route like I did first, start with a clean food-grade 55-gallon barrel. Drill plenty of air holes. Cut a door. Reinforce the edges with aluminum or wood. Build a sturdy stand from treated lumber or scrap. Add internal paddles from split PVC. Mount the barrel on casters or a pipe axle so it spins free.
I spent one full Saturday on mine. Total cost stayed low. It lasted two solid years before I wanted upgrades. Perfect starter project.
Frequently Asked Questions
How long does it take for a compost barrel to make finished compost? In warm weather with good balance and regular spinning, I get usable compost in four to eight weeks. Cooler months stretch it to three months or more. Patience plus spinning wins every time.
Can I put meat in my compost barrel? I don’t. Most basic barrels struggle with it and risk smells or pests. High-end insulated dual-chamber models sometimes handle small amounts. Stick to plant scraps if you’re unsure.
Does a compost barrel work in winter? Yes, but slower. I keep spinning mine through freezes. The microbes slow down but don’t fully stop. Some folks insulate theirs or bring them into an unheated garage. I just accept winter batches take longer.
How often should I turn my compost barrel? I spin it every time I add material, plus a longer session once a week. Over-turning can cool it too much. Under-turning starves it of air. Find your rhythm. Three to five spins per addition works for me.
Is a compost barrel better than a regular bin? For me, yes. Easier turning. Better pest control. Faster results. Traditional bins hold more volume and cost less. If you have space, strength, and time for forking, a bin works fine. My back and my sanity prefer the barrel.
Final Thoughts from Someone Who Almost Gave Up
I almost quit composting three times. The third time nearly stuck. Then the compost barrel showed up and flipped the script. Now I produce more black gold than my garden can use. Friends ask for bags of it. My soil improves every year. And the daily spin feels like a tiny win instead of a chore.
You don’t need perfect conditions. You don’t need expensive gear. You just need a solid compost barrel, a rough idea of greens and browns, and the willingness to spin it regularly. Start small if you want. Build one. Buy one. Just start.
Your kitchen scraps deserve better than the landfill. Your plants deserve better than store fertilizer. And you deserve a system that actually works without wrecking your back or your weekend. Grab a compost barrel and give it a real shot. I bet you’ll wonder why you waited so long.


