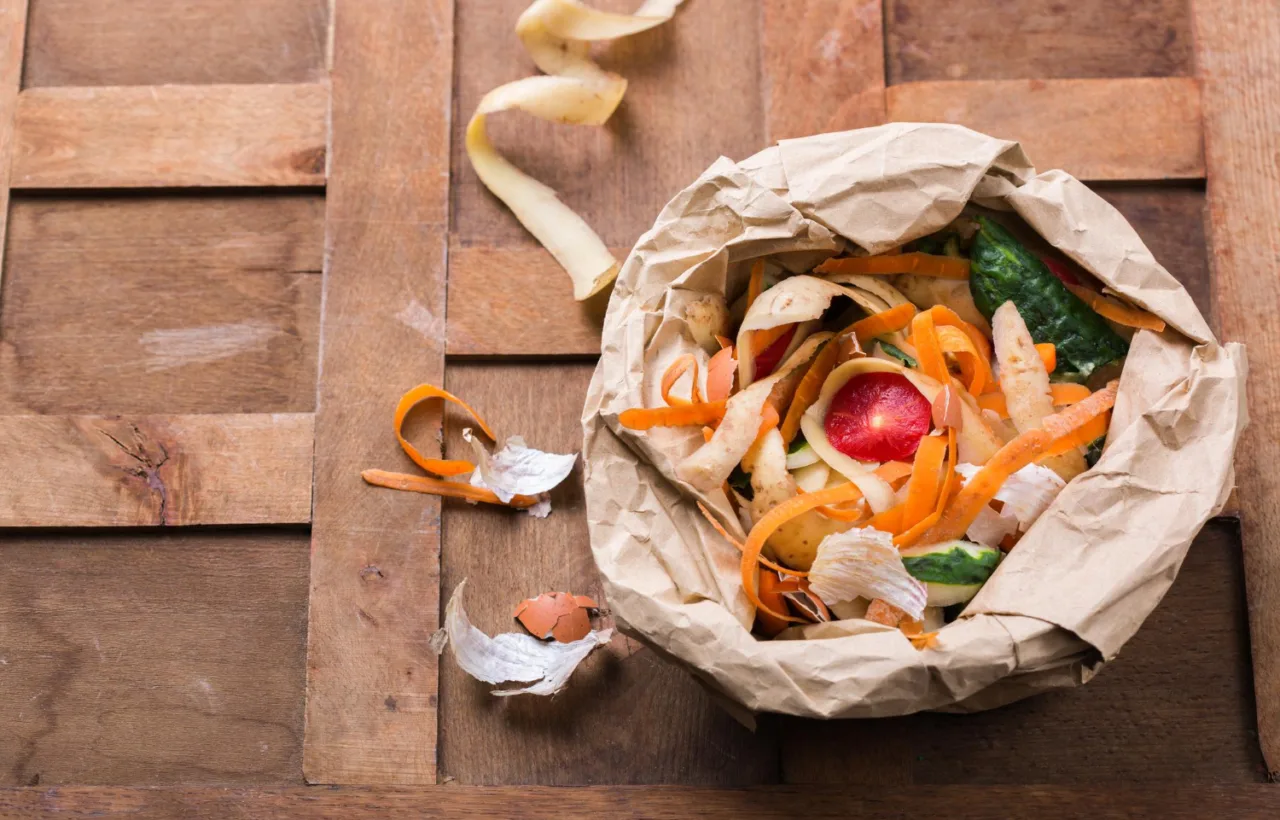

I spent years tossing banana peels and coffee grounds in the trash. Then I started making my own organic compost. Everything changed. My tomato plants doubled in size. My soil stopped turning into concrete every summer. And I cut my grocery store fertilizer bill to basically zero.
Honestly? I wish I had started sooner.
This guide walks you through exactly how I make organic compost at home. I share the mistakes that nearly made me quit, the simple ratios that finally worked, and the real results I see in my raised beds every season. No fancy equipment required. Just scraps, leaves, and a little patience.
Why I Bothered with Organic Compost in the First Place
I used to buy bags of “garden soil” from the big box store. My plants looked okay. Barely. Then one spring I watched a neighbor dump dark, crumbly stuff around his peppers. His plants exploded with growth while mine sulked.
I asked what it was. He said organic compost. Homemade.
I felt defeated. My garden looked tired. The soil compacted after every rain. Water ran right off. Plants needed constant feeding. I knew something had to give.
So I tried making my own. The first batch smelled like a swamp. The second one never heated up. But the third one? Magic. Dark, earthy, and full of life. I mixed it into my beds and watched my cucumbers climb like they had somewhere important to be.
That is the power of real organic compost. It feeds the soil, not just the plants. It holds water. It builds structure. It invites worms and microbes that do the hard work for you.
IMO, nothing else comes close.
The Basics I Wish Someone Had Explained Sooner
Organic compost is just decomposed plant and food material that has broken down into a stable, nutrient-rich soil amendment. Microbes do the heavy lifting. You just give them the right conditions.
I keep it simple. Four things matter:
- Greens (nitrogen-rich): kitchen scraps, fresh grass clippings, coffee grounds
- Browns (carbon-rich): dry leaves, shredded cardboard, straw, newspaper
- Moisture: like a wrung-out sponge
- Air: plenty of oxygen so it stays aerobic
Get those right and the rest follows.
My Favorite Greens and Browns
Here is what actually goes into my bins most weeks:
Greens I use constantly:
- Fruit and vegetable scraps
- Coffee grounds and filters
- Fresh grass clippings (thin layers only)
- Crushed eggshells
- Tea bags (no staples)
Browns that keep things balanced:
- Fall leaves (I stockpile bags every autumn)
- Shredded cardboard and paper bags
- Straw or hay
- Small twigs and wood chips for structure
- Untreated sawdust in small amounts
I avoid meat, dairy, oily foods, pet waste, and diseased plants. Those attract pests or slow everything down. Simple rule. Follow it.
How I Actually Build My Organic Compost Pile
I use a three-bin system made from free pallets. Nothing fancy. You can start with a single pile or a cheap tumbler. Location matters more than the container. I pick a shady spot with good drainage and easy access to water.
Here is my exact process.
Step 1: Start with a Base Layer
I lay down four to six inches of bulky browns. Twigs, wood chips, or chunky leaves. This creates air pockets at the bottom. Never skip this. My first piles turned into soggy messes because I forgot.
Step 2: Layer Like Lasagna
I alternate greens and browns. Roughly two to three parts browns for every one part greens by volume. I use a five-gallon bucket as my measuring tool. Two buckets of leaves. One bucket of kitchen scraps. Easy.
I chop big pieces smaller. Corn cobs get smashed. Cardboard gets torn. Smaller pieces break down faster. I cover every green layer with browns so nothing sits exposed. That keeps flies and smells away.
Step 3: Add Water and Air
I water as I build if the materials feel dry. Final moisture should feel like a damp sponge. Squeeze a handful. A few drops come out. Perfect.
Then I turn the pile every week or two with a pitchfork. Outside material goes to the center. Center goes out. This mixes everything and adds oxygen. Hot compost needs that air.
I aim for a pile at least three feet by three feet by three feet. Smaller piles struggle to heat up. Bigger ones work great.
Hot vs Cold: What I Chose and Why
I tried cold composting first. Just dump and wait. It works. But it takes a year or more. And weed seeds often survive.
Now I go hot. I build the pile all at once when I have enough material. It heats up to 130–160°F in the center within days. That kills pathogens and weed seeds. Finished compost in three to five months if I stay on top of turning.
See the difference? Hot needs more attention. Cold needs more patience. I prefer hot because I want results this season.
The Mistakes That Almost Made Me Quit
I made every classic error. Let me save you the trouble.
Too many greens. My early piles turned slimy and stinky. Ammonia smell means excess nitrogen. Fix: add more browns and turn.
Too dry. Nothing happened. The pile just sat there. Fix: water it and mix.
Too wet. Smelled like rotten eggs. Anaerobic. Fix: add dry browns and turn for air.
Pile too small. Never heated up. Fix: build bigger or combine materials.
No turning. Slow breakdown and weird smells. Fix: fork it regularly.
Adding the wrong stuff. I once tossed in a bunch of oily leftovers. Raccoons showed up. Lesson learned. Stick to the safe list.
Honestly? The biggest shift came when I stopped chasing perfection. Messy piles still become compost. Just slower. Start. Adjust as you go.
Avoid adding diseased plants, weeds with seeds, or meat scraps to your pile to prevent pathogens and pests.
How I Know My Organic Compost Is Ready
Finished compost looks dark brown or black. It smells like fresh forest soil. You cannot recognize the original materials anymore. It feels crumbly and moist.
I stop adding new scraps about four weeks before I want to use it. Let it cure. Then I screen it through a homemade sifter (hardware cloth on a wood frame). Big chunks go back into the next pile. Fine stuff goes on the garden.
I store extras in a covered bin or tarp. Keep it slightly moist. It stays good for months.
Real Ways I Use Organic Compost in My Garden
This is where the fun starts.
I mix two to three inches into new beds before planting. For existing beds I top-dress with an inch or two in spring and fall. Scratch it in lightly. Water well.
For containers I blend one part compost with two parts potting mix. Plants love it.
I also make compost tea. Steep a shovelful in a bucket of water for a day or two. Strain and water plants with it. Instant nutrient boost.
My tomatoes went from average to ridiculous the first year I used my own. Peppers set fruit earlier. Leafy greens stayed tender longer. The soil holds water better during dry spells. I water less. Weeds decrease because the soil biology improves.
That is not hype. That is what happened in my actual backyard.
Apply compost tea within 4 hours of brewing to maintain beneficial microbe activity.
Buying vs Making: My Honest Take
Sometimes I buy bagged organic compost when I need a lot fast. Brands like Purple Cow or local certified stuff work fine. Look for OMRI listed if you want the real deal. Avoid anything that smells sour or has visible trash bits.
But homemade wins for me. Free. Fresher microbes. Exactly the ingredients I choose. Plus the satisfaction of turning waste into wealth.
FYI, bulk delivery from a local landscape supplier often costs less than bags if you need yards of it. Just ask about the source.
Frequently Asked Questions
How long does it take to make organic compost? With hot composting and regular turning I get usable material in three to five months. Cold piles take six to twelve months or longer. Patience pays off either way.
Can I compost in an apartment? Yes. I started with a small worm bin under the sink. Vermicomposting works great indoors. Or find a community drop-off. Many cities now have programs.
Why does my compost smell bad? Usually too wet or too many greens. Add dry browns, turn the pile for air, and cover food scraps well. It should smell earthy, not rotten.
Is organic compost the same as fertilizer? Not exactly. It improves soil structure and feeds microbes long-term. It contains nutrients but releases them slowly. I still use it as my main amendment and only add targeted fertilizers if a soil test shows a big deficiency.
What if I have no yard space? Use a tumbler on a balcony or a worm bin inside. Or collect scraps and drop them at a community garden. Start small. You will figure it out.
Final Thoughts from My Messy, Happy Garden
I almost gave up after that first stinky failure. Honestly? The third attempt nearly stuck too. Then I stopped overthinking ratios and just started paying attention to moisture and air.
Now my garden thrives on the scraps I used to throw away. My soil feels alive. My plants look stronger every year. And I sleep better knowing less of my waste ends up in a landfill making methane.
You can do this. Start with a pile of leaves and a week of kitchen scraps. Build it. Turn it. Watch it transform. Your garden will thank you. And so will your trash can.
Go make some black gold.


