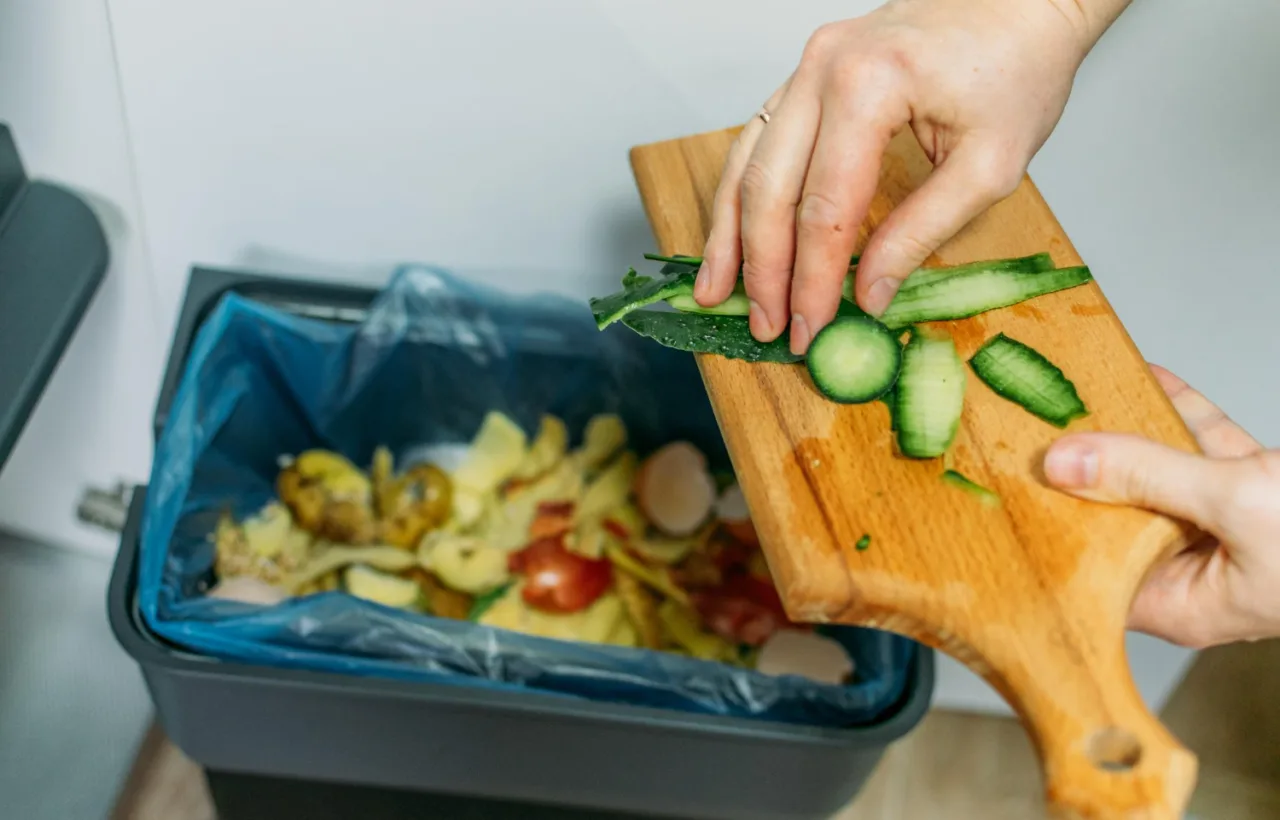

I spent years tossing banana peels and coffee grounds straight into the trash. Then I finally built my own easy compost bin last spring. It took me less than an hour. Cost me under fifteen bucks. And now my tomato plants look like they hired a personal trainer.
Honestly? I almost skipped the whole thing. I thought composting meant some fancy tumbling drum that cost two hundred dollars and needed a PhD to operate. See, that was the wrong way to go about it. The real question isn’t “how do I buy the perfect system.” It’s “how do I start with what I already have.”
I live in a small suburban yard with zero patience for complicated projects. So I went looking for the simplest setup possible. What I found changed how I handle food waste forever. This article walks you through exactly what I did. You’ll get the materials list, the step-by-step build, the mistakes I made so you don’t have to, and the real results after six months.
Let’s get started.
Why I Finally Decided an Easy Compost Bin Was Worth It
I used to feel guilty every time I scraped leftovers into the garbage. All that organic stuff just rotting in a landfill. Meanwhile my garden soil looked tired and sandy. I needed black gold. Fast.
Store-bought bins looked sleek in the photos. But the reviews talked about cracked lids and funky smells. Plus the price tags made me wince. I decided to test the DIY route instead.
My first attempt used a plain plastic storage tote. Nothing fancy. I drilled some holes. Added leaves and scraps. Waited. Within two months I had crumbly dark compost that made my basil explode with growth. I was hooked.
The beauty of an easy compost bin sits in its simplicity. You don’t need power tools or carpentry skills. You don’t need a huge backyard. You just need a container that lets air and water do their thing while keeping critters out.
FYI, I now keep two bins going at once. One fills up while the other finishes cooking. Game over for kitchen waste.
The Exact Materials I Used for My Easy Compost Bin
I kept it stupid simple. Here’s everything that went into my first successful build:
- One 30-gallon plastic storage bin with a tight-fitting lid (I grabbed the cheapest opaque one at the hardware store)
- A handheld drill with a 3/16-inch bit
- A handful of dry leaves or shredded cardboard for the base
- A bag of basic topsoil (or just dirt from the yard)
- Kitchen scraps ready to go
That’s it. Total cost: $12.47. I already owned the drill.
Some people swear by pallets or wire fencing. Those work great if you have the space and free wood. I wanted something portable that I could hide behind the garage. The plastic bin won.
I tested a trash can version later. Same idea. Just taller. Both versions produce solid compost. The tote feels easier to turn by hand though.
Use a 1/4-inch drill bit instead of 3/16-inch for better airflow without letting in larger pests.
Step-by-Step: How I Built My Easy Compost Bin in 45 Minutes
I clocked it. Forty-five minutes from start to first scoop of dirt. Here’s the exact process I follow every time I set one up for friends.
Step 1: Drill the Air Holes
I flip the bin upside down. Drill 10 to 12 holes across the bottom. Then I do the same on the lid. Airflow matters more than almost anything else. Without it the pile goes anaerobic and starts stinking like old gym socks.
I space the holes about two inches apart. No need for perfection. Just get oxygen moving.
Step 2: Build the Brown Base
I dump a thick layer of dry leaves into the bottom. About four inches deep. Sometimes I mix in shredded junk mail or cardboard. This layer soaks up extra moisture and feeds the good microbes.
See, greens alone turn slimy. Browns keep everything balanced.
Step 3: Add Dirt and Start Layering
I cover the leaves with a few inches of plain dirt. Then I start adding kitchen scraps. Banana peels. Coffee grounds. Eggshells. Wilted lettuce. I always bury the fresh stuff under more dirt or leaves. That keeps fruit flies guessing.
My golden ratio sits around three parts brown to one part green. I don’t measure with a scale. I just eyeball it. Too many greens? Add more leaves. Too dry? Splash some water.
Step 4: Moisten and Close
I mist the whole pile until it feels like a wrung-out sponge. Not dripping. Not dusty. Then I snap the lid on tight.
I set the bin in a shady spot near the back fence. Full sun cooks it too fast and dries it out. Partial shade works perfect.
What I Toss In (And What I Leave Out)
This part trips people up. I learned the hard way when my first batch attracted raccoons.
Safe stuff I add every week:
- Fruit and vegetable scraps
- Coffee grounds and paper filters
- Tea bags (remove the staple)
- Crushed eggshells
- Grass clippings (in thin layers)
- Shredded newspaper or cardboard
- Nutshells
- Houseplant trimmings
Stuff I never add:
- Meat or fish
- Dairy products
- Oily leftovers
- Pet waste
- Diseased plants
- Weeds that already went to seed
- Glossy magazines or coated cardboard
Honestly? The list of yes items feels way longer once you start looking. I keep a small lidded pail under the kitchen sink. Every couple days I dump it into the big bin and cover it. No drama.
The Mistakes I Made So You Don’t Have To
I messed up early. Let’s talk about it so you skip the learning curve.
First mistake: I added too many wet greens at once. The pile turned into a slimy mess that smelled like vinegar. Fix? I stirred in a huge armful of dry leaves and cardboard. Smell vanished in two days.
Second mistake: I forgot to water during a dry spell. Everything stalled. Compost needs moisture to cook. Now I check it once a week with my hand. If it feels dusty I add water.
Third mistake: I put the bin right against the house. Bad idea. Occasional leaks and the occasional curious squirrel. Now it lives ten feet away behind some shrubs. Out of sight. Out of mind.
One more tip that saved me: I keep a second empty bin ready. When the first one fills I start the second and let the first finish undisturbed. Two months later I have finished compost while the new bin keeps collecting scraps.
Keep a bale of straw nearby to quickly fix excess moisture; straw aerates better than leaves.
How Long My Easy Compost Bin Actually Takes
People ask me this constantly. The honest answer: it depends.
In summer with weekly turning I get usable compost in six to eight weeks. In cooler weather it stretches to three or four months. Hot composting (bigger pile, more turning) finishes faster. Cold composting (set it and forget it) takes longer but needs almost zero work.
I turn mine every week or two with a garden fork. Just flip the outside material into the center. That keeps oxygen high and speeds things up. Some folks never turn and still get great results. I like the faster timeline.
You’ll know it’s ready when the original scraps disappear. The pile looks dark and crumbly. It smells like fresh forest soil. No heat left. That’s black gold time.
I mix mine half and half with regular potting soil for containers. Straight compost works as mulch around tomatoes and peppers. My yields jumped noticeably the first season.
Use a compost thermometer to track progress; the pile should heat to 130-150°F for active decomposition.
Other Easy Compost Bin Ideas I Tried and Liked
The plastic tote remains my daily driver. But I experimented.
The wire fence circle takes ten minutes. Unroll chicken wire into a four-foot diameter loop. Fasten the ends. Dump stuff in the middle. Super cheap. Excellent airflow. Harder to keep pests out though.
Pallet bins look rugged and free if you score pallets. Three pallets form a U shape. Wire them together. Add a fourth for the front if you want. Big capacity. Lasts years. I built one for a friend with a big garden. She loves it.
Trash can composters work almost identically to my tote. Drill holes. Add scraps. Roll the whole can every few days to mix. Great for renters who might move.
In-ground trench composting needs zero container. Dig a foot-deep trench in the garden. Bury scraps. Cover with soil. Plants nearby thank you. I use this method in my vegetable beds for the really messy stuff.
Worm bins (vermicomposting) live indoors or on a balcony. Two stacked buckets with holes. Add red wigglers. They eat scraps and poop pure magic. I keep a small one under the kitchen counter for winter.
Each method has trade-offs. Space. Cost. Speed. Smell risk. Pick what matches your life. IMO the plastic tote hits the sweet spot for most beginners.
Line wire bins with hardware cloth to keep out mice while maintaining airflow.
Keeping My Easy Compost Bin Happy Year-Round
Maintenance stays light once you understand the basics.
I check moisture weekly. Add water or dry browns as needed. I turn every week or two during peak season. In winter I just keep adding and wait for spring.
Fruit flies showed once. I buried new scraps deeper and added a thicker brown layer on top. Gone.
Rodents never showed up because I keep the lid tight and avoid meat. Hardware cloth around the bottom holes adds extra protection if raccoons live nearby.
I harvest from the bottom. Finished compost sinks. Fresh stuff stays on top. Some people build bins with a bottom hatch. My tote just tips over when I’m ready.
The best part? Watching the volume shrink. A full bin of scraps becomes half a bin of finished compost. Magic.
Never add diseased plant material or perennial weeds; they can survive the composting process and spread.
Frequently Asked Questions
How much does an easy compost bin really cost to make? Mine ran under fifteen dollars using a basic storage tote and stuff I already owned. You can go completely free with pallets or wire if you scavenge.
Will my easy compost bin smell bad? Only if the balance tips too far toward wet greens or if it gets waterlogged. Keep the brown-to-green ratio right and the lid on. Mine smells like dirt. Nothing more.
Can I make an easy compost bin if I live in an apartment? Yes. Use a smaller tote on the balcony or go full vermicomposting indoors with worms. Trench composting in large pots works too. Plenty of options without a yard.
How often do I need to turn the compost? I turn every one to two weeks for faster results. You can skip turning entirely for a slower cold compost process. Both ways produce usable soil.
What size easy compost bin works best for a family of four? A 30-gallon tote handles us fine. We fill one every six to eight weeks. Bigger families or heavy gardeners might want two bins or a pallet setup.
Final Thoughts From My Backyard
I started this journey feeling overwhelmed and a little defeated by all the fancy composting gear online. Then I just drilled some holes in a cheap bin and started tossing scraps. That simple move cut my trash output by a third and gave my garden the best soil amendment I’ve ever used.
You don’t need perfection. You need a container, some air holes, and the willingness to bury banana peels under leaves. My easy compost bin taught me that small consistent actions beat complicated systems every single time.
Grab a bin this weekend. Drill the holes. Add the first layer. In a few months you’ll scoop out dark crumbly compost and wonder why you waited so long. Your plants will thank you. Your trash bags will thank you. And you’ll get that quiet satisfaction of closing the loop right in your own yard.
I still smile every time I dump the kitchen pail. Who knew dirt could feel this good.


