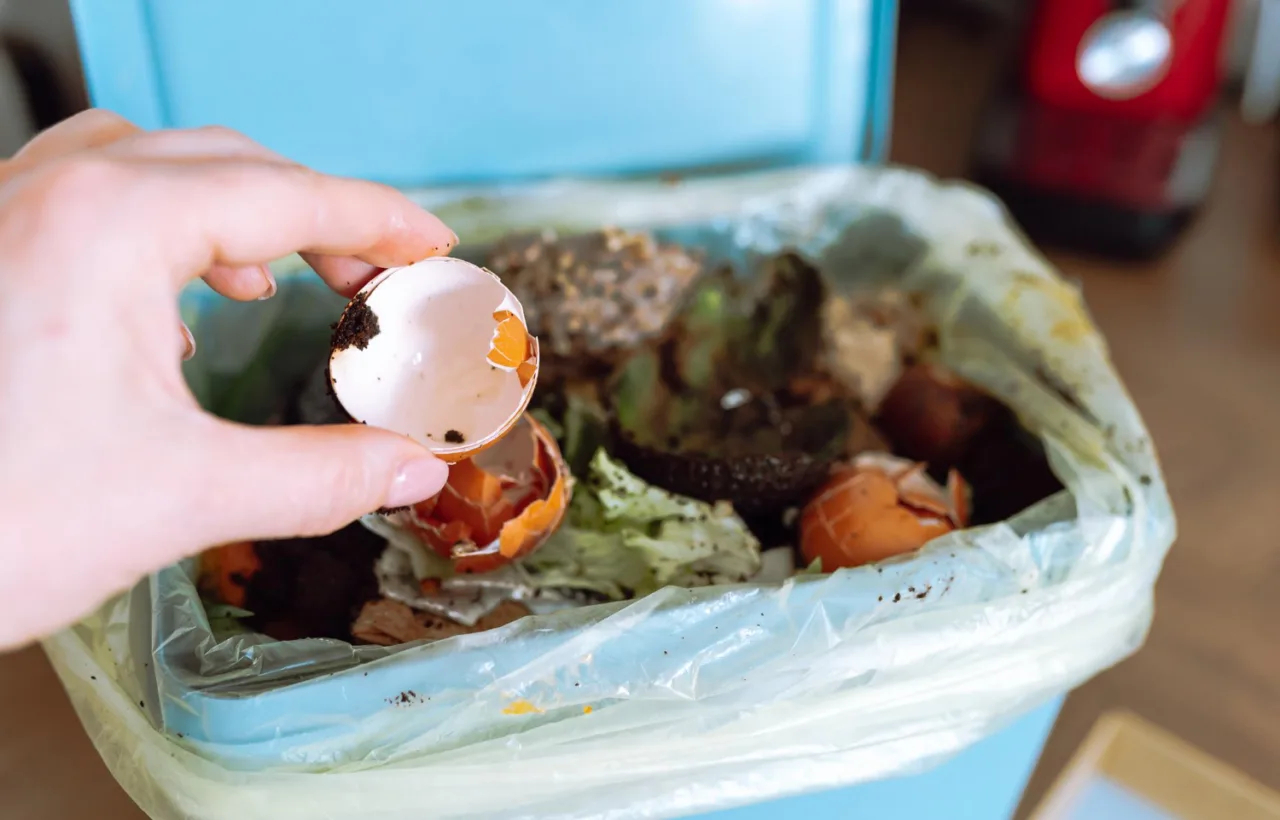

I started composting three years ago after my kitchen scraps piled up and my trash bill climbed. Honestly? I almost quit twice because the first pile stank like a swamp and drew every raccoon in the neighborhood. But I stuck with it. Now I turn food waste into rich black gold that feeds my vegetable beds and cuts my garbage output in half. If you want to learn how to compost without the usual headaches, this is the exact method I use every week.
You do not need a fancy setup or a huge yard. You just need the right mix of stuff, a bit of air, and some patience. I will walk you through everything I learned the hard way so you skip the failures I hit.
Why I Bother With Composting in the First Place
My garden soil used to look tired. Pale. Compacted. Water ran right off it. Then I started adding my own compost. The difference hit me the first spring. Plants grew stronger. I watered less. Weeds slowed down. Plus I stopped hauling so many bags of kitchen waste to the curb.
Composting keeps organic matter out of landfills where it creates methane. It builds soil that holds moisture better. And it feels good. I mean really good. Watching scraps turn into crumbly earth gives me a quiet win every time I open the bin.
See, most people think composting is complicated science. It is not. Microbes do the work. You just feed them properly.
The Basic Gear I Actually Use
I keep it simple. No expensive tumblers required unless you want one.
- A bin or open pile: I started with a free pallet enclosure. Later I bought a basic plastic bin with a lid. Size matters. Aim for at least 3 feet by 3 feet by 3 feet so it heats up.
- A pitchfork or compost aerator: For turning. My $15 garden fork works fine.
- A kitchen scrap pail: Something with a tight lid that sits under the sink.
- Optional thermometer: Handy if you want hot compost fast. I check mine sometimes just for fun.
That is it. You can start today with what you already own.
Avoid using a sealed plastic bin without drilled air holes or drainage. It will become anaerobic and stink.
How to Compost: My Step-by-Step Process That Works
Here is the exact routine I follow. It took me months of trial and error to land on this.
Pick Your Spot First
I put my bin in a shady corner of the yard. Not right against the house. Not in full baking sun. Level ground that drains well. Close enough that I will actually walk out there with the scrap pail. Far enough that neighbors do not complain about the occasional fruit fly.
If you live in an apartment, skip the outdoor ampl has options too. I will cover those later.
Build the Base Layer
Start with coarse browns on the bottom. Twigs. Small branches. Cardboard strips. This creates air flow. I learned this the hard way when my first pile turned into a soggy brick.
Add Greens and Browns in the Right Ratio
This is the core of how to compost successfully. Greens bring nitrogen. Browns bring carbon.
Greens (nitrogen-rich):
- Fruit and vegetable scraps
- Coffee grounds and filters
- Tea bags (paper ones)
- Fresh grass clippings
- Fresh plant trimmings
Browns (carbon-rich):
- Dry leaves
- Shredded cardboard or newspaper (no glossy ink)
- Straw or hay
- Wood chips
- Paper towels and napkins
I aim for roughly two to four parts browns for every one part greens by volume. Too many greens and it gets slimy and smelly. Too many browns and nothing happens for months.
I layer them. A few inches of browns. Then greens. Then more browns on top so no food shows. That last brown layer keeps pests away and odors down.
Keep It Moist Like a Wring-Out Sponge
I stick my hand in. If it feels dry, I add water. If water drips out when I squeeze a handful, I add more browns. Summer dries it out fast. Winter freezes it. I adjust as needed.
Turn It for Air
I turn the pile every one to two weeks with my fork. More often in hot weather if I want speed. Turning mixes everything and feeds oxygen to the microbes. Skip this and you get anaerobic sludge. Trust me. I made that mistake.
Hot composting (the active kind) can finish in 4 to 12 weeks if you keep it around 130–140°F and turn regularly. Cold composting takes 6 months to a year but needs almost no work. I do both depending on my mood.
What I Toss In and What I Never Touch
I keep a mental list taped inside my kitchen cabinet.
Yes, go ahead:
- All fruit and veggie peels and scraps
- Eggshells (crushed)
- Coffee grounds
- Tea leaves
- Yard trimmings (chopped small)
- Shredded plain paper
- Cardboard egg cartons
Hard no for backyard piles:
- Meat, fish, bones
- Dairy products
- Oils and greasy leftovers
- Pet waste
- Diseased plants
- Weeds with seeds
- Glossy or colored paper
- Plastics of any kind
Meat and dairy attract animals and smell terrible in a home setup. I stick to plant stuff and it stays clean.
My Real-Life Troubleshooting Stories
My first pile smelled like rotten eggs. Too wet and not enough air. I added dry leaves, turned it hard, and the smell vanished in two days.
Another time raccoons raided it. I started covering every green layer with browns and locked the lid. Problem solved.
Pests love exposed food. Cover it. Always.
If the pile sits cold and nothing breaks down, I add more greens or a scoop of finished compost as a starter. Or I chop materials smaller. Big chunks take forever.
Flies? Same fix. Bury the greens deep and keep the top layer brown.
I once got impatient and used half-finished compost. It burned my seedlings. Wait until it looks dark, crumbly, and smells like forest floor. No recognizable scraps left.
Indoor and Small-Space Options I Tried
No yard? I still compost.
Vermicomposting with red wigglers works great under the sink or in a closet. Worms eat scraps and make castings that plants love. I keep a small bin going year-round.
Bokashi is another indoor method. It ferments everything including meat and dairy with special bran. Then you bury the pre-compost outside or in a larger pile. Smells less than you think.
Many cities have drop-off sites or curbside green bins now. I used those before I had space. Check your local waste website.
ShareWaste app connects people who have scraps with people who have bins. I have both given and received through it.
How Long Until I Get Usable Compost
Hot method with weekly turning: 1 to 3 months. Cold method with occasional turning: 6 to 12 months. Worm bins: Continuous. Harvest castings every few months.
I know it is ready when the material is dark brown, smells earthy, and I cannot tell what the original scraps were. Sift out any big chunks and toss them back in for another round.
I spread finished compost as mulch around plants, mix it into potting soil, or top-dress beds in spring and fall. My tomatoes have never looked better.
Common Mistakes I See (and Made Myself)
People overthink the ratio. Start rough. Adjust as you go. The pile will tell you.
They put the bin in full sun. It dries out constantly.
They never turn it. Then they blame composting when it fails.
They add everything including the forbidden list. Then pests show up and they quit.
They expect finished compost in two weeks. Nature takes time. Give it that time.
Honestly? The biggest mistake is waiting for the perfect setup. Start messy. Improve later.
Frequently Asked Questions
How do I start composting if I have zero experience? Just pick a spot, throw down some twigs for the base, add kitchen scraps and dry leaves, and keep it damp. Turn it when you remember. You will figure it out faster than any book teaches.
Does composting attract rats and other animals? Only if you leave food exposed or add meat and dairy. Cover greens with browns every time and use a lidded bin. I have zero animal issues now.
Can I compost in winter? Yes. The pile slows or freezes but starts again when it warms. I keep adding scraps all winter. They break down once spring hits.
How to compost if I live in an apartment? Use a worm bin indoors, bokashi, or find a local drop-off. Many cities make it easy now. I did vermicomposting in a tiny studio for a year with no smell complaints.
What is the fastest way to get finished compost? Chop everything small, keep the green-brown balance, moisture right, and turn weekly. Hot composting can give you usable material in under two months if you stay on it.
Final Thoughts From My Backyard
I compost because it works. My soil is better. My trash is lighter. My plants thrive. And I feel connected to the cycle instead of just throwing things away.
Start small this week. Grab a bin or just a corner of dirt. Toss in your next banana peel and some leaves. Keep the mix roughly right. Keep it damp. Give it air.
You will mess up a little. I did. Then you will get it right. And once you hold that first handful of finished compost, you will understand why I keep going.
Go make some black gold. Your garden (and the planet) will thank you.


